
On This Page: [hide]
Your site outgrew shared hosting. Response times spike during traffic surges, resource limits throttle your database, and the “503 Service Unavailable” errors embarrass you in front of customers. VPS hosting solves these problems. But the migration itself? That’s where sites go dark for hours while owners scramble through FTP transfers and broken database connections.
It doesn’t have to be that way. With proper preparation, your visitors won’t notice anything changed. The secret is running both servers simultaneously, testing thoroughly before the switch, and using DNS TTL manipulation to control when traffic moves.
Quick answer: Lower your DNS TTL to 300 seconds 2-3 days before migration. Set up the VPS and transfer files while your old server stays live. Test using your computer’s hosts file to preview the new server privately. Switch DNS only after confirming everything works. Keep both servers running for 48 hours as a safety net. Total elapsed time: about one week. Active work: 2-4 hours.

Last updated: February 2026.
Most migration guides skip the critical pre-work that prevents downtime. This guide covers the DNS TTL trick that lets you control exactly when traffic switches, plus the hosts file method for testing your new server before anyone else sees it. We also address email migration, which other tutorials often ignore until it’s too late.
When to Migrate from Shared to VPS
Several warning signs indicate you’ve hit shared hosting’s ceiling:
- Consistent slowdowns during peak hours – On shared hosting, your site competes for CPU and memory with dozens of other sites. When neighbors get traffic spikes, your performance suffers.
- Resource limit warnings – Hosts throttle or suspend accounts that exceed CPU, memory, or “inodes” (file count) limits. If you’re hitting these regularly, you’ve outgrown the environment.
- Database connection errors – Shared MySQL instances have connection limits. E-commerce sites and membership platforms often exhaust these during sales or signups.
- Need for custom server software – Want to install specific PHP extensions, run Node.js alongside PHP, or use Redis caching? Shared hosting doesn’t allow this level of control.
- Security requirements – PCI compliance, custom firewalls, or isolation from other tenants requires the dedicated environment VPS provides.
If you’re unsure whether VPS is the right move, our VPS hosting comparison explains the differences and helps match your needs to specific providers.
Pre-Migration Checklist
Migration failures happen during preparation, not execution. Complete this checklist before touching any files:
1. Audit Your Current Setup
- Total disk usage – Check your current hosting control panel for total space used. Your VPS needs at least 30-40% more capacity than current usage for growth.
- Database size – Large databases (10GB+) need special handling. Export via command line rather than phpMyAdmin, which times out on big files.
- PHP version – Note your current PHP version. Your VPS must run the same version or higher to avoid compatibility breaks.
- Installed extensions – WordPress sites often depend on extensions like imagick, mbstring, or curl. List what’s installed now.
- Cron jobs – Document any scheduled tasks. These won’t transfer automatically.
- Email accounts – List all email addresses. Email migration is separate from website migration.
2. Choose Your VPS Configuration
Managed VPS (providers handle server maintenance) suits most users migrating from shared hosting. You get the performance benefits without learning Linux system administration. Unmanaged VPS costs less but requires comfort with command-line server management.
For managed options, see our cloud hosting comparison. For unmanaged with full control, the VPS guide covers raw infrastructure providers.
3. Lower DNS TTL (Critical Step)
This step happens days before migration, not during. DNS TTL (Time To Live) tells internet resolvers how long to cache your domain’s IP address. Default values are often 14400 seconds (4 hours) or higher.
What to do:
- Log into your domain registrar or DNS provider
- Find the A record for your domain
- Change TTL from the current value to 300 seconds (5 minutes)
- Wait at least 24-48 hours before proceeding
Why wait? Resolvers worldwide have your old TTL cached. They won’t check for the new (lower) TTL until the old one expires. If your previous TTL was 4 hours, wait at least 4 hours. Waiting 24-48 hours ensures global propagation.
Cloudflare users: If your domain uses Cloudflare’s proxy (orange cloud), you can skip TTL lowering. Cloudflare handles IP changes internally and propagates them almost instantly.
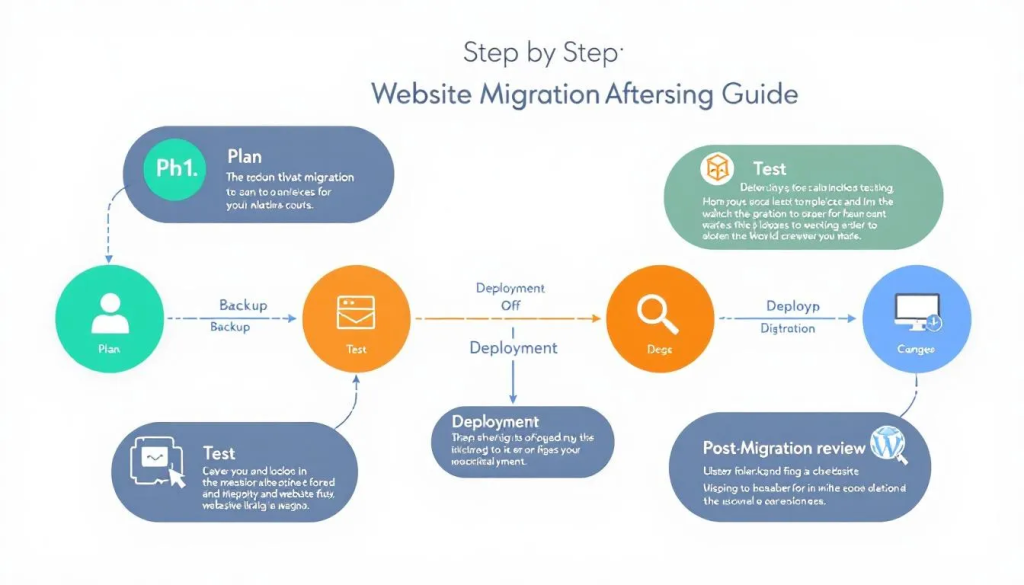
Step-by-Step Migration Process
Step 1: Create Full Backup on Current Host
Never begin migration without a complete backup stored somewhere accessible.
If your current host uses cPanel:
- Log into cPanel
- Navigate to Backup or Backup Wizard
- Select Full Backup
- Choose Home Directory as destination
- Wait for completion (large sites take time)
- Download the backup file to your local computer as secondary safety
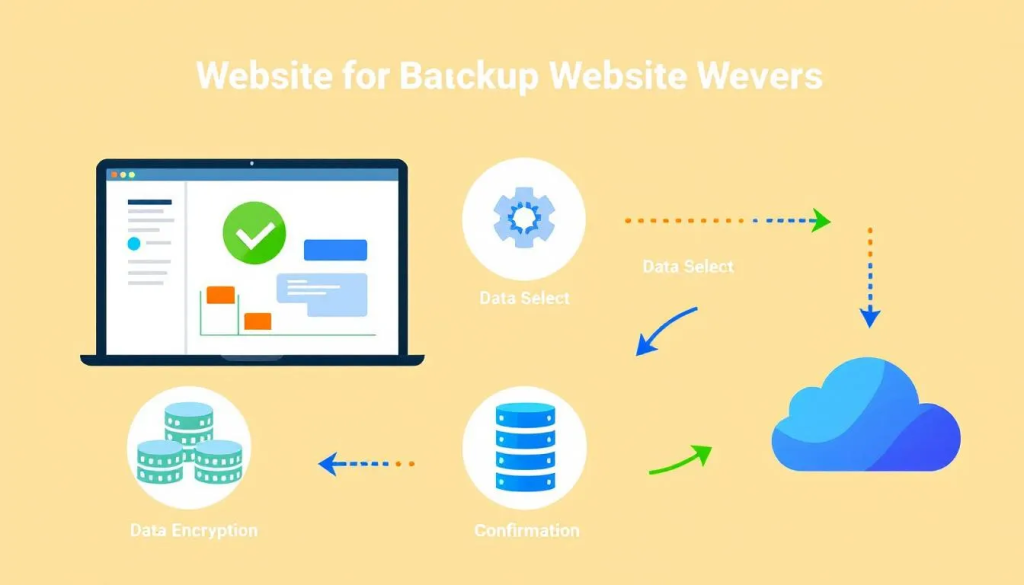
The full backup includes all files, databases, email configurations, and settings. Keep this file until you’ve confirmed the migration succeeded.
Alternative for large databases: Export databases separately via SSH using mysqldump:
mysqldump -u username -p database_name > backup.sql
This handles databases up to 30GB that would crash phpMyAdmin exports.
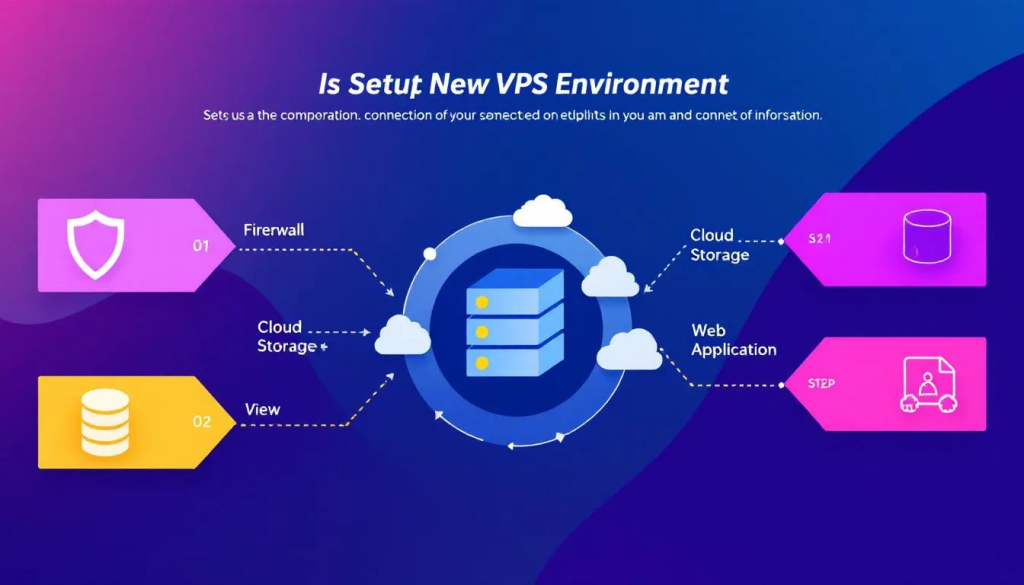
Step 2: Set Up Your VPS Environment
Your VPS needs a complete web hosting stack before receiving files. The approach differs based on managed vs. unmanaged hosting.
Managed VPS with control panel (cPanel, Plesk, CyberPanel):
- Deploy the VPS through your provider’s dashboard
- Access WHM (WebHost Manager) or your control panel
- Create a new hosting account for your domain
- Set up the same PHP version as your source server
- Create a database with matching credentials (or note new credentials to update configs)
Unmanaged VPS:
- Install your OS (Ubuntu 22.04 LTS recommended for beginners)
- Install web server (Apache or Nginx)
- Install PHP with required extensions
- Install MySQL/MariaDB
- Configure virtual hosts for your domain
- Set up firewall rules (ufw or iptables)
If terms like “virtual hosts” or “iptables” feel unfamiliar, stick with managed VPS. The cost difference doesn’t justify the learning curve for most site owners.
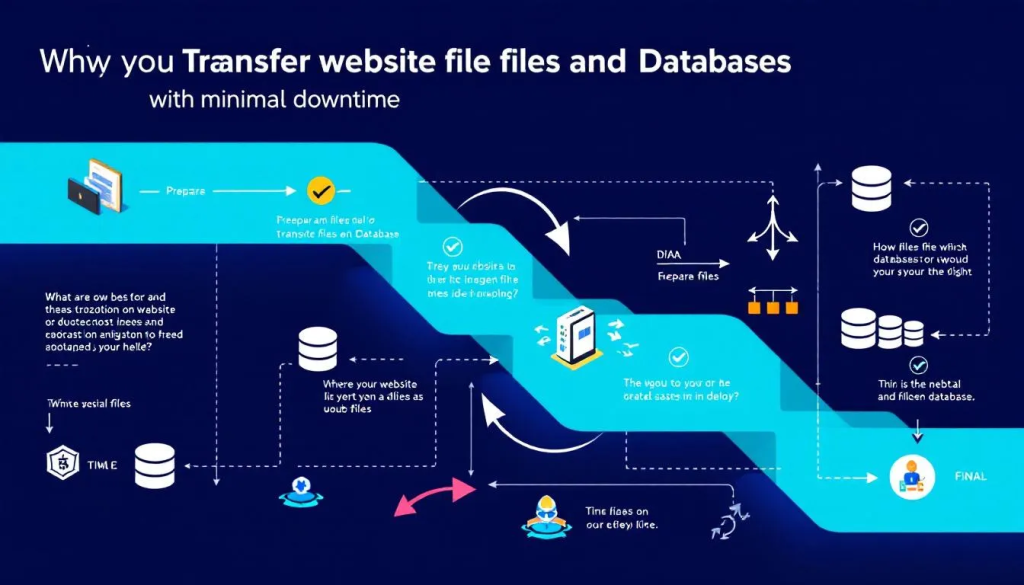
Step 3: Transfer Files to New Server
Multiple transfer methods exist. Choose based on your backup format and technical comfort:
Method A: cPanel to cPanel (Easiest)
If both hosts run cPanel/WHM, use the built-in transfer tool:
- Log into WHM on your new VPS
- Search for “Transfer Tool” or “Copy Account”
- Enter your old server’s IP, cPanel username, and password
- Select the account to transfer
- WHM copies everything: files, databases, email, DNS zones
This method handles permissions, database users, and email configurations automatically.
Method B: Full Backup Restoration
If you created a cPanel full backup:
- Upload the backup file to your VPS via SFTP (to
/homedirectory) - In WHM, navigate to “Restore a Full Backup/cpmove File”
- Select the backup file and restore
Method C: Manual Transfer (Non-cPanel)
- Connect to your old server via SFTP and download all web files
- Export your database via phpMyAdmin or mysqldump
- Connect to your new VPS via SFTP and upload files to the web root
- Import the database using phpMyAdmin or mysql command line
- Update configuration files with new database credentials
Step 4: Update Configuration Files
Database credentials often change during migration. Update these before testing.
WordPress sites: Edit wp-config.php
define('DB_NAME', 'new_database_name');
define('DB_USER', 'new_database_user');
define('DB_PASSWORD', 'new_password');
define('DB_HOST', 'localhost');
Other CMS platforms: Find the configuration file (usually in root or a config folder) and update database connection strings.
Hardcoded URLs: Some sites have the domain hardcoded in database records or config files. For WordPress, the site URL is stored in the database. You may need to run a search-replace using WP-CLI or a plugin after DNS switch. For now, leave URLs as-is since you’re testing with the hosts file trick (next section).
Step 5: Handle SSL Certificates
SSL presents a chicken-and-egg problem: Let’s Encrypt validates your domain by connecting to your server, but DNS still points to the old server.
Option 1: Copy existing certificates (recommended)
If your old server uses Let’s Encrypt, copy the certificate files to the new server:
- On old server, find certificates at
/etc/letsencrypt/live/yourdomain.com/ - Copy
fullchain.pemandprivkey.pemto your new server - Configure your web server to use these files
- After DNS switch, set up auto-renewal on the new server
Option 2: Use DNS-01 challenge
Certbot’s DNS challenge validates via DNS TXT record rather than HTTP connection:
certbot certonly --manual --preferred-challenges dns -d yourdomain.com
You’ll add a TXT record to your DNS, which doesn’t require the domain to point to the new server yet.
Option 3: Accept temporary warning
During your hosts-file testing (next section), you’ll see SSL warnings because certificates don’t match. This is expected and affects only your test browser, not real visitors.
Testing Before DNS Switch (The Zero-Downtime Secret)
This step separates successful migrations from disaster stories. You’ll force your browser to connect to the new server while the rest of the internet still sees the old one.
Edit Your Hosts File
Your computer’s hosts file overrides DNS for specified domains. Adding an entry pointing your domain to the new VPS IP lets you browse the migrated site before anyone else can.
Windows:
- Open Notepad as Administrator (right-click, “Run as administrator”)
- Open file:
C:\Windows\System32\drivers\etc\hosts - Add a line at the bottom:
123.45.67.89 yourdomain.com www.yourdomain.com - Replace 123.45.67.89 with your new VPS IP address
- Save the file
- Open Command Prompt as Administrator and run:
ipconfig /flushdns
Mac/Linux:
- Open Terminal
- Run:
sudo nano /etc/hosts - Add the same line:
123.45.67.89 yourdomain.com www.yourdomain.com - Save (Ctrl+X, then Y, then Enter)
- Flush DNS cache:
- Mac:
sudo dscacheutil -flushcache; sudo killall -HUP mDNSResponder - Linux:
sudo systemd-resolve --flush-caches
- Mac:
What to Test
Open your browser and navigate to your domain. You’re now viewing the site on the new VPS while everyone else sees the old server.
Test thoroughly:
- Homepage loads correctly – Check images, CSS, JavaScript
- Internal pages work – Navigate through the site
- Forms submit successfully – Contact forms, login forms, search
- E-commerce functions – Add to cart, checkout process (use test mode if possible)
- Admin/backend access – Log into WordPress admin, CMS backend, etc.
- Database-driven features – Comments, user registration, dynamic content
- File downloads work – PDFs, media files, downloads
- SSL works – You may see warnings if certificates aren’t set up yet; this is expected
Important: Test from multiple browsers. Some cache aggressively and may show old content even after hosts file changes.
Fix Issues Before Proceeding
Common problems discovered during testing:
- Missing images or broken CSS – Check file permissions (should be 644 for files, 755 for directories)
- Database connection errors – Verify credentials in config files match what you created on the VPS
- 500 Internal Server Error – Check PHP version compatibility and error logs
- White screen – Enable error display temporarily to see what’s failing
- Redirect loops – Often caused by hardcoded URLs or mixed HTTP/HTTPS settings
Do not proceed to DNS cutover until testing passes. Your old server remains live and serving visitors while you troubleshoot.
E-Commerce Sites: Extra Considerations
WooCommerce, Magento, and other shopping platforms need special attention:
- Freeze orders during cutover – Consider enabling maintenance mode or disabling checkout during the DNS switch window. Orders placed during propagation may hit either server.
- Export recent orders – Right before DNS switch, export orders from the old server. Import any that didn’t make it to the new database.
- Payment gateway settings – Verify API keys and webhook URLs work on the new server. Test with sandbox/test mode first.
- Inventory sync – If inventory changed on the old server after your database export, reconcile it manually.
- Schedule migration during low-traffic periods – Early morning or late night minimizes orders caught in transition.
DNS Cutover
Everything tested successfully. Time to switch traffic to the new server.
Update DNS Records
- Log into your domain registrar or DNS provider
- Locate the A record for your domain
- Change the IP address from old server to new VPS
- If you have a separate www record, update that too
- Save changes
Because you lowered TTL earlier, most visitors will see the new server within 5-15 minutes. Some ISPs ignore TTL settings, so full propagation can take up to 24-48 hours for every last visitor.
Keep Both Servers Running
Critical: Do not shut down your old server yet. During DNS propagation, some visitors still reach the old server while others see the new one. Keep the old server running for at least 48 hours after DNS change.
If something goes wrong, you can revert DNS back to the old server IP. With low TTL still in effect, this rollback happens quickly.
Remove Hosts File Entry
After DNS propagation completes, remove or comment out the hosts file entry you added earlier. This ensures you’re seeing the same thing as regular visitors.
Post-Migration Verification
Monitor for 7 Days
The first week after migration reveals problems that testing missed:
- Check server logs daily – Look for 404 errors, 500 errors, or unusual patterns
- Monitor uptime – Use a free service like UptimeRobot to alert you to outages
- Watch site speed – PageSpeed Insights or GTmetrix should show improvement over shared hosting
- Test email delivery – Send test emails from your site’s forms to confirm delivery
- Check SEO tools – Google Search Console may show crawl errors if something changed
Migrate Email (If Applicable)
Email migration is often forgotten until someone asks “where are my emails?” During DNS propagation, some messages may arrive at your old server while others hit the new one. Plan for this.
If you’re keeping email on the same server as your website:
- Email accounts should have transferred with your cPanel backup
- Verify mailboxes exist and passwords work on the new server
- Update email client settings (Outlook, Thunderbird, phone) if server hostname changed
- Check both old and new servers for incoming mail during the 48-hour overlap period
If migrating email separately or to a dedicated service:
- Create matching accounts on the new system before DNS switch
- Use imapsync (command line) or an email client like Thunderbird to copy existing messages
- Update MX records at the same time as your A record, or separately if using different providers
- Don’t delete old mailboxes until you’ve confirmed all messages copied and new delivery works
Consider separating email from hosting: Many businesses move email to dedicated services like Google Workspace or Microsoft 365 during VPS migration. This simplifies future hosting changes since email becomes independent. See our email hosting comparison for options.
Increase TTL Back to Normal
After confirming everything works (give it 48-72 hours minimum), raise your DNS TTL back to a normal value like 3600 seconds (1 hour) or higher. Low TTL increases DNS lookup overhead slightly.
Cancel Old Hosting
Only after you’re confident the migration succeeded:
- Download a final backup from the old server (just in case)
- Cancel your old hosting account
- Delete any stored backups containing sensitive data
Troubleshooting Common Issues
Site Shows Old Content After DNS Change
DNS propagation isn’t instant. Wait 24-48 hours. If still seeing old content:
- Clear browser cache completely
- Try a different browser or incognito mode
- Check from a mobile device on cellular (not WiFi)
- Use DNS propagation checkers like whatsmydns.net or dnschecker.org to see what IP resolves from different global locations
Database Connection Errors
Triple-check these values in your configuration file:
- Database name (exact spelling, case-sensitive)
- Database username (exact spelling, case-sensitive)
- Database password
- Host (usually “localhost” but some VPS configurations differ)
Broken Permalinks or 404 Errors
Apache’s mod_rewrite might not be enabled on the new server. For WordPress:
- Log into WordPress admin
- Go to Settings > Permalinks
- Click Save (without changing anything)
- This regenerates .htaccess rules
If using Nginx, you need to configure URL rewriting in server configuration, not .htaccess (Nginx ignores .htaccess files).
SSL Certificate Errors
After DNS propagation completes, generate fresh Let’s Encrypt certificates:
certbot --apache -d yourdomain.com -d www.yourdomain.com
or for Nginx:
certbot --nginx -d yourdomain.com -d www.yourdomain.com
Email Not Working
Check MX records. If your email was hosted separately from your website, MX records should still point to your email provider. If email was on your old shared hosting, you need to:
- Set up email on the new VPS, or
- Migrate to a dedicated email service (like Google Workspace), or
- Update MX records to point to wherever email is now hosted
Frequently Asked Questions
How long does the entire migration process take?
Active work takes 2-4 hours for a typical site. The waiting periods (TTL propagation before, DNS propagation after) add 2-3 days of elapsed time. Plan for a week from start to old-server cancellation.
Can I migrate with no technical experience?
Managed VPS providers often include free migration services. If the technical steps here feel overwhelming, ask your new host’s support team to handle it. Many providers migrate sites at no charge for new customers. Our free migration hosting guide lists providers who include this service.
What if something goes wrong after the DNS switch?
With low TTL and your old server still running, simply change the DNS A record back to the old IP. Traffic reverts within minutes. This is why you keep both servers running during the transition period.
Do I need to notify my visitors about the migration?
Not if you follow this guide. Zero-downtime migration means visitors never notice anything changed. They’ll just experience faster page loads once you’re on VPS.
Will my SEO rankings be affected?
Properly executed migration shouldn’t impact SEO. Google cares about content and user experience, not which server IP serves the content. Monitor Search Console for crawl errors during the first week to catch any issues early.
Final Checklist
Before considering the migration complete:
- ✓ Site loads correctly on new VPS
- ✓ All forms and interactive features work
- ✓ SSL certificate valid and auto-renewing
- ✓ Email functions properly (if hosted with site)
- ✓ Database backups configured on new server
- ✓ DNS TTL raised back to normal value
- ✓ Old server backups downloaded and stored safely
- ✓ Monitoring set up for uptime alerts
- ✓ 7 days passed without issues
- ✓ Old hosting cancelled
If you’re still choosing a VPS provider, our VPS hosting comparison covers options from budget unmanaged servers to fully managed platforms. For those who prefer someone else handling server maintenance, cloud hosting offers managed alternatives with similar performance benefits.