
On This Page: [hide]
Have you ever wondered why navigating from an old website to its shiny new counterpart is often so seamless, almost like magic? That’s the power of domain redirection at work – crucial yet invisible force behind a smooth transition.
This process not only ensures that visitors reach the intended web address without a hitch but also plays a pivotal role in protecting the hard-earned SEO value and visibility of a site.
Through this article, we’ll delve deep into the nuts and bolts of domain redirection, explore its different forms including 301, 302, and 307 redirects, and unveil the significance of DNS records in making it all happen.
![How to Redirect a Domain [Step-by-Step Guide]](https://cdn.howtohosting.guide/wp-content/uploads/2020/03/How-to-Redirect-a-Domain-Step-by-Step-Guide-1024x585.jpg)
What Is Domain Redirection and Why Do You Need It?
Domain redirection serves as a bridge in the digital world, ensuring that visitors who type in your old domain get seamlessly transferred to your new one. Whether you’re rebranding, merging websites, or need to direct traffic from multiple domains to a single main site, redirection plays a crucial role.
This process not only helps maintain your digital presence but also preserves the SEO value accumulated by your domain, ensuring search engines and users find the right page without confusion. In essence, domain redirection ensures a smooth user experience while improving your website’s accessibility and visibility.
Types of Domain Redirection: 301 vs 302 vs 307
- 301 Redirect: Also known as a permanent redirect, this tells search engines and browsers that a page has moved permanently to a new location. It’s ideal for rebranding or permanently shifting content from one URL to another, as it transfers the SEO history and link equity to the new URL.
- 302 Redirect: This is a temporary redirect, signaling that a page’s move or redirection is only short-term. It’s useful for content that’s moved during website maintenance or when testing new features without affecting the original page’s SEO value.
- 307 Redirect: This newer version of the 302, a temporary redirect, adheres strictly to the HTTP/1.1 specifications. It’s best used when a site wants to preserve the method of the request, say, for a form that’s temporarily moved.
Choosing the right type of redirect depends on your specific needs and the duration you plan to redirect a page or website. A wrong choice can severely impact your SEO, so it’s crucial to consider the implications of each redirect type carefully.
The Role of DNS Records in Redirecting Your Domain
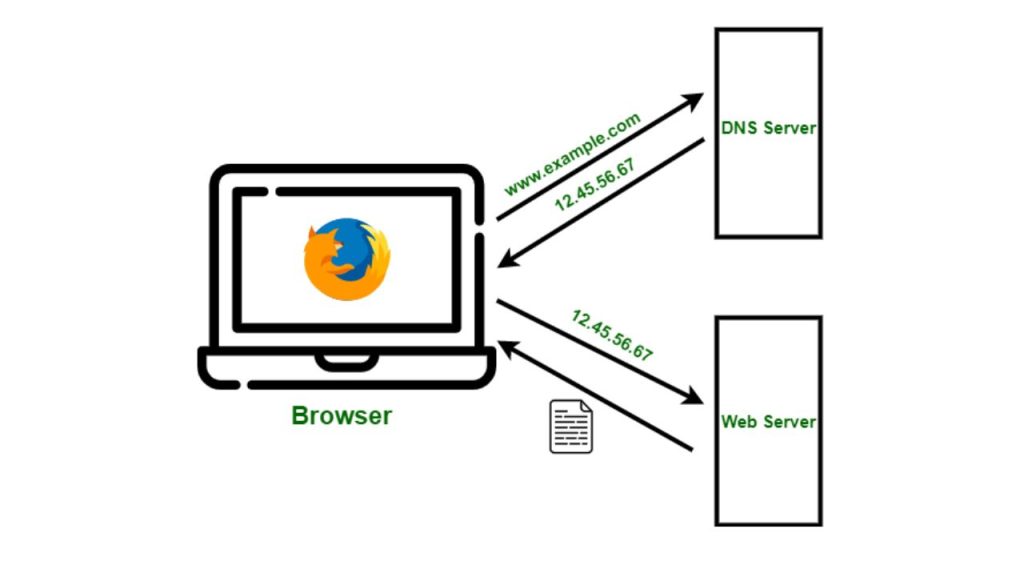
DNS records are the backbone of the internet, translating domain names into IP addresses that routers and servers understand. They play a pivotal role in web navigation, including the process of domain redirection.
Using A Record for Directing Traffic
The A (Address) Record is straightforward: it connects your domain to the IP address of the server where your website lives. If you want to redirect your domain, updating the A record to point to the new server’s IP address is a direct method. This is particularly useful when you’re moving your site to a new host but keeping your domain name the same.
Employing CNAME Record for Smooth Redirection
The CNAME (Canonical Name) Record allows a domain to be an alias for another domain. It’s ideal for redirecting subdomains or when you have multiple domains that you want to lead to the same website.
By setting up a CNAME record, you can ensure that variations of your main domain bring visitors to your primary site without needing multiple A records. This is especially helpful for businesses that own multiple domain extensions (.com, .net, etc.) and want them all to point to the same website.
Utilizing DNS records for domain redirection ensures users and search engines are directed to the correct address without manual input, maintaining your site’s accessibility and SEO ranking. However, remember that DNS changes can take time to propagate across the internet, so some patience may be required for the redirect to fully take effect.
How to Set Up Domain Redirection: A Comprehensive Guide
Redirecting your domain to a new one is a straightforward process that can significantly impact your online presence. Whether you’re rebranding or simplifying your site’s URL, a proper redirection ensures that visitors and search engines are directed to your new domain without encountering broken links.
This guide will walk you through the necessary steps to set up domain redirection, focusing on using a domain registrar’s control panel and implementing a 301 redirect via a .htaccess file.
Redirecting Your Domain via Domain Registrar’s Control Panel
Initiating a domain redirect through your domain registrar’s control panel is one of the easiest methods available. The process generally involves:
- Logging into your domain registrar account.
- Navigating to the domain management dashboard to access domains’ settings.
- Locating the domain you wish to redirect and finding the “Forwarding” or “URL Redirect” option.
- Entering the target domain you’re redirecting to in the designated field.
- Selecting either a 301 (permanent) or 302 (temporary) redirect, based on your needs.
- Saving your changes to apply the redirect.
This method doesn’t need technical knowledge and can be done quickly, making it a preferred option for many users. However, it’s essential to understand the type of redirect you are implementing: a 301 redirect is generally used for permanent changes, while a 302 redirect is for temporary ones, each influencing search engine indexing accordingly.
Advanced Techniques: Redirecting with .htaccess File
For those with access to the server, using a .htaccess file offers more control over the redirection process. This method is suitable for sites hosted on Apache servers.

Step-by-Step: Implementing 301 Redirect in .htaccess
A 301 redirect is a server-side method to tell web browsers and search engine crawlers that a page has permanently moved to a new location. To set up a 301 redirect in your .htaccess file:
- Connect to your web server, usually via FTP, and navigate to the root directory of your site, where you’re likely to find the .htaccess file.
- If the .htaccess file doesn’t exist, create one. If it does, make a backup before making changes.
- Edit the .htaccess file to include the following lines of code, replacing “yourdomain.com” with your current domain and “newdomain.com” with the new domain:
RewriteEngine On RewriteCond %{HTTP_HOST} ^yourdomain\.com [NC] RewriteRule ^(.*)$ http://newdomain.com/$1 [L,R=301] - Save and upload the .htaccess file back to the server.
- Test the redirect by visiting the old domain and verifying that it redirects to the new one.
This advanced technique requires careful attention as incorrect configurations can result in website downtime or errors. However, when done correctly, it’s a powerful way to ensure seamless site migrations or rebrands.
It’s worthwhile to reinforce that maintaining SEO rankings during a domain change involves setting up proper redirects and updating your site’s sitemap.
Ensuring a Smooth Transition: Testing Your Domain Redirect
Redirecting a domain is crucial for maintaining SEO rankings and ensuring a seamless user experience when your website undergoes changes. Whether you’re switching domains or moving to a new website, testing the redirect process can help avoid common pitfalls that could impact your online presence.
Manual Testing: How to Confirm Your Redirection Works
Manually testing your domain redirect is a straightforward yet effective way to confirm its functionality. This process involves a few simple steps to ensure your website’s visitors are directed to the new destination without issues.
- Open your preferred web browser: Any common browser like Chrome, Firefox, or Safari can be used.
- Enter the original domain: Type the domain name you’re redirecting from in the browser’s address bar.
- Press Enter: Initiating the search will navigate toward the domain you entered.
- Observe the redirection: The browser should seamlessly take you to the new designated URL.
- Verify the target: Confirm that the destination is correct and that the URL in the address bar matches your expectations.
Note: Domain name system (DNS) changes might take a while to propagate. If the redirect isn’t immediate, wait and try again later.
Utilizing Online Tools for Redirect Testing
In addition to manual checks, various online tools offer a more in-depth analysis of domain redirects. These tools can verify if the redirection is functioning as planned and provide valuable insights into the HTTP status codes returned by the server.
- Redirect Checker Tools: Websites like redirect-checker.org and redirectdetective.com analyze the full redirect path. They ensure the desired destination is reached and highlight any potential issues along the way.
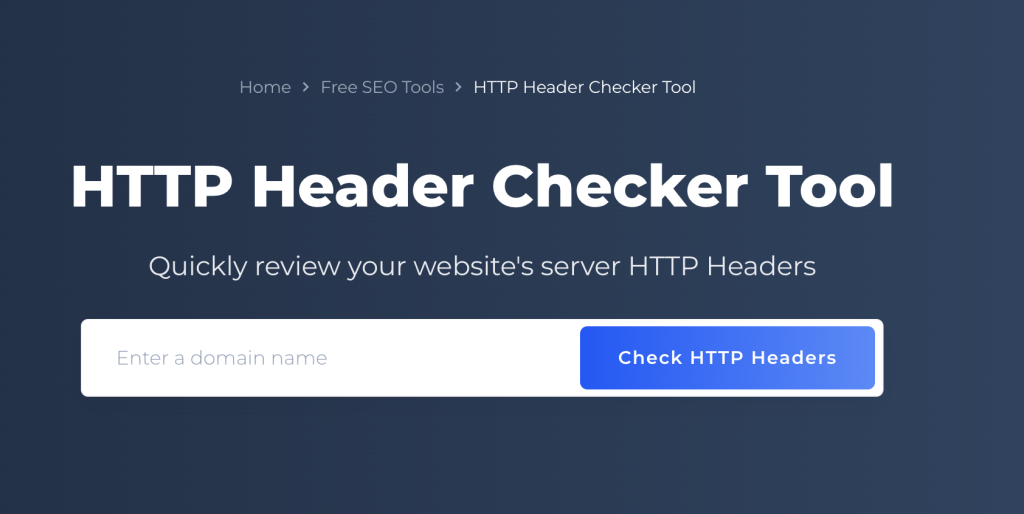
- HTTP Header Check Tools: Tools available on webconfs.com and seoreviewtools.com can inspect the HTTP headers returned during a redirect. This is crucial for verifying the type of redirect (e.g., 301, 302) and ensuring search engines interpret the move correctly.
These online tools not only simplify the testing process but also pinpoint specific technical details that might not be apparent through manual testing alone.
Conclusively, a thorough testing strategy that combines manual checking with specialized online tools can provide a comprehensive overview of your domain redirect’s effectiveness. It’s an essential step towards preserving SEO value and enhancing user experience.
Troubleshooting Common Domain Redirection Issues
Domain redirection issues can stump even the most experienced website administrators. Yet, with a systematic troubleshooting approach, resolving these issues can be straightforward. The key is to diagnose the problem accurately before implementing a solution.
How to Fix Loop or Chain Redirect Errors
Loop or chain redirect errors occur when a website continuously redirects between different URLs, preventing it from reaching the final destination. This problem not only affects user experience but can also harm your site’s search engine ranking. To fix these errors:
- Check Your Redirects: Examine your .htaccess file or your website’s control panel to ensure redirects are correctly set up. Look for any redundant or conflicting rules that might cause a loop.
- Simplify Redirect Chains: If multiple redirects lead from the original URL to the destination, try to simplify this by setting up a direct redirect. This step decreases load times and potential errors.
- Use Developer Tools: Browser developer tools can help trace the redirect path. This can shed light on where the loop is occurring.
- Clear Cache: Sometimes, your browser or DNS cache might store outdated redirect information, causing a loop. Clearing your cache can resolve this issue.
Fixing loop or chain redirect errors often requires a bit of detective work. By methodically checking each potential source of the problem, you can identify and rectify the issue, simplifying the redirect process for your site.
Solving HTTPS Redirect Problems
Redirecting to HTTPS is essential for security and SEO, but it can introduce issues if not configured appropriately. Here are steps to solve common HTTPS redirect problems:
- Ensure SSL Certificates are Valid: The SSL certificate on both your original and destination domain must be up to date and correctly installed. An invalid or expired certificate can prevent redirects from working.
- Configure Redirects Properly: Check your .htaccess file or your web host’s control panel to make sure your redirects to HTTPS are set up correctly. Incorrect rules can cause the site not to load properly.
- Test with Different Browsers: If the redirect works in one browser but not another, clearing the browser cache or checking for browser-specific issues might help.
- Review Host Settings: Some web hosts offer tools for SSL redirection. Ensure these settings are correct and don’t conflict with any manual redirects you have set up.
When moving to HTTPS, maintaining a smooth and functional redirect process is crucial for preserving user experience and SEO benefits. By carefully checking SSL certificate validity, ensuring proper redirect configuration, and resolving any browser-specific issues, you can achieve a seamless transition to a secure site.
Maximizing SEO Benefits of Domain Redirection
Changing your website’s domain name doesn’t have to spell disaster for your SEO efforts.
With the right approach, you can preserve – and even enhance – your search engine rankings. Domain redirection, when done correctly, offers a smooth transition that maintains the user experience and preserves the SEO value of your site.
Here, we’ll dive into how domain redirects impact SEO and outline best practices to ensure your site’s visibility remains strong during and after the transition.
Do Domain Redirects Affect SEO? Insightful Analysis
One common concern is the potential negative impact of domain redirection on SEO. It’s true, changing your website’s address can temporarily disrupt your search engine rankings as search engines re-evaluate your site.
However, using a 301 permanent redirect minimizes these effects by informing search engines that the move is permanent, allowing most of the SEO value from the old domain to pass to the new one. This type of redirect is crucial for maintaining backlink value, ensuring search engines and users are directed to the proper domain without hitting dead ends.
A well-executed domain redirect also safeguards the user experience, a key factor in search engine rankings. Ensuring visitors who click on an old link quickly and seamlessly reach the correct page on your new domain contributes positively to SEO. It indicates to search engines that your site is reliable, enhancing your site’s credibility and, by extension, its SEO value.
SEO Best Practices for Domain Redirection
- Implement 301 Redirects: This is the most SEO-friendly method for website migration. A 301 redirect tells search engines and users that your site has moved permanently, transferring most of your SEO credibility to the new domain.
- Update Internal Links: Adjust internal links to point directly to the new URLs. This step reduces the dependency on redirects and speeds up the site’s navigation, improving the overall user experience.
- Notify Google: Use tools like Google Search Console to inform Google of your domain change. This helps Google reindex your site more quickly, mitigating any temporary drop in rankings.
- Check External Links: While updating all external links might not be feasible, prioritize reaching out to the owners of significant backlinks to update them to your new domain.
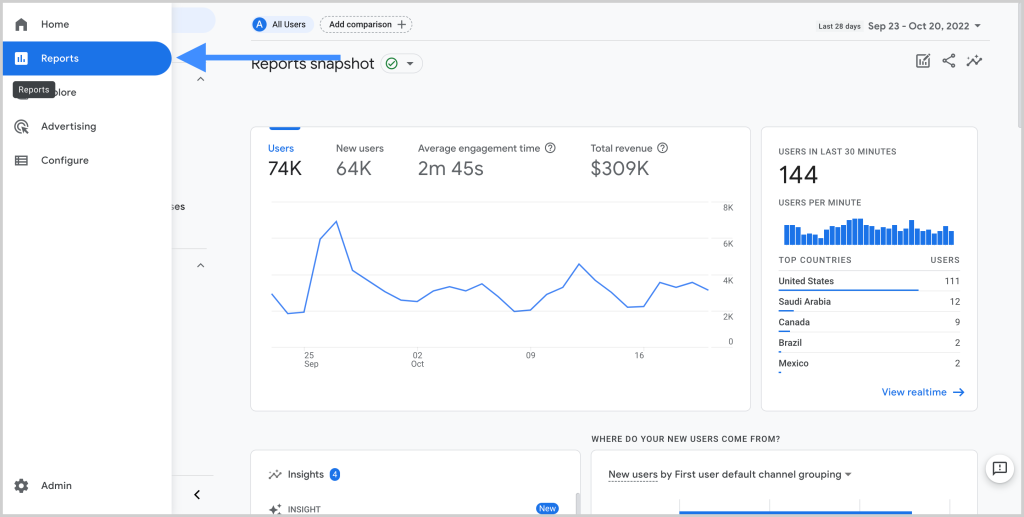
- Monitor Your Site’s Performance: Keep an eye on your website’s traffic and search rankings following the transition. Tools like Google Analytics and Google Search Console can help identify issues, allowing you to address them promptly.
- Engage in Continuous SEO efforts: Continue your SEO strategy on the new domain, focusing on building quality content and acquiring new backlinks to solidify and improve your site’s SEO standing.
Ultimately, while a domain change involves careful planning and implementation, it presents an opportunity to re-evaluate and refine your SEO strategy. By applying these best practices, you not only mitigate potential SEO risks but also set the stage for improved search visibility.
Frequently Asked Questions About Domain Redirection
Domain redirection is a strategic move for many businesses aiming to streamline their online presence or transition to new web addresses. Understanding the common inquiries about this process can clarify its benefits and implementations. Below, we delve into frequently asked questions to offer clear, easy-to-follow insights.
Can I Redirect Multiple Domains to a Single URL?
Yes, redirecting multiple domains to a single URL is not only possible but also a common practice for businesses consolidating their online presence or brands seeking to capture various domain name variations to direct traffic to their main website.
To achieve this, each domain you wish to redirect requires configuration to point to the primary URL. This strategy ensures users reaching your site through different addresses are funneled to the same destination, enhancing user experience and strengthening your web footprint.
Is It Possible to Reverse a Domain Redirect?
Absolute flexibility is key in web management, and yes, it is possible to reverse a domain redirect. If the needs of your business or strategy change, you can modify the redirect settings to point the domain to a new address or remove the redirect altogether.
This process typically involves accessing your web hosting or domain management panel and adjusting the redirect settings to your new preference. Remember, changes might take a few minutes to several hours to propagate across the internet due to DNS caching.
How to Handle Domain Redirection for Mobile Sites?
With the increased usage of mobile devices to access the web, ensuring your mobile site is accessible and user-friendly is crucial.
One effective approach is using responsive web design, which automatically adjusts the layout and content based on the device’s screen size. This method negates the need for a separate mobile domain, simplifying web management and improving SEO.
In scenarios where a separate mobile domain is needed or preferred, implementing domain redirection specifically for mobile users is viable. Use user-agent detection to identify mobile browsers and redirect them to the mobile-specific version of your site. This technique should be used judently to maintain a cohesive user experience and support your site’s SEO strategy.
Understanding and implementing domain redirection effectively can significantly impact your website’s usability and SEO. Remember, the goal is to create a seamless user experience across all devices while ensuring your site remains easy to manage and optimally positioned in search engine results.
Critical Considerations: Domain Redirection Impact on Email and Website Speed
Does Domain Redirection Affect Email Delivery?
One common concern when moving or redirecting a domain is the potential impact on email delivery linked to the domain.
It’s reassuring to know that domain redirection typically does not affect emails. Email services usually operate independently from the web hosting services, thus are not impacted directly by domain redirection.
However, it’s important to verify the configuration of your email service provider to ensure continuous, uninterrupted service. Ensuring that your MX (Mail Exchange) records are correctly pointed to your email host is crucial. If in doubt, consulting with your domain registrar or email hosting provider can provide peace of mind that your email services will continue as normal.
Examining Website Load Speed Post-Domain Redirection
Website loading speed is a critical factor for user experience and SEO ranking. While domain redirection itself does not directly impact website load speed, the efficiency of the redirect configuration and the performance of the destination server can play a significant role.
To minimize any potential indirect effects on loading speed:
- Choose a reputable hosting provider known for reliability and speed to ensure that your destination server is optimized for the best website performance.
- Ensure that your redirect configurations are efficiently set up. Using a 301 permanent redirect is recommended as it informs search engines that the move is permanent, helping to preserve SEO value while ensuring a quick redirect process.
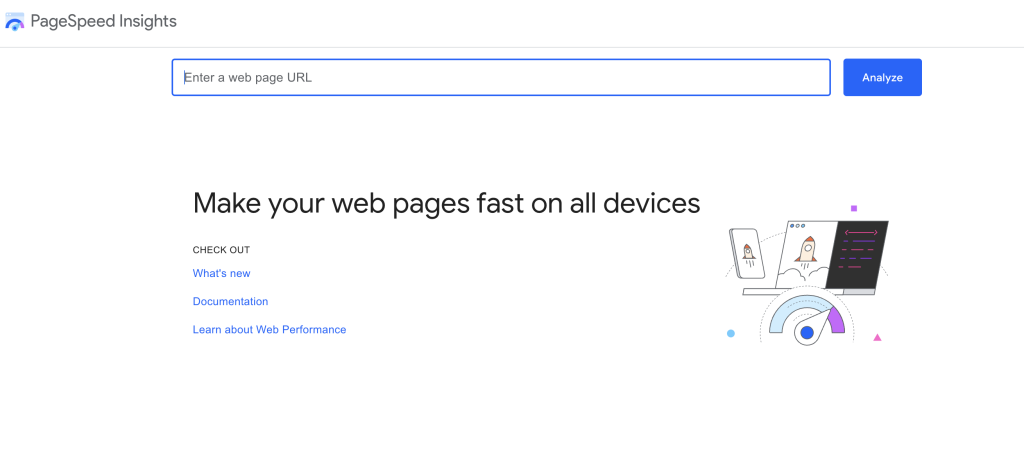
- Continuously monitor and optimize your website’s performance post-redirect. Tools like Google PageSpeed Insights can provide valuable feedback on loading times and suggestions for improvements.
Regularly checking these areas and making adjustments as needed can help maintain or even improve your website’s load speed following a domain redirection.
Conclusive Thoughts on Domain Redirection
When it comes to managing domain redirection, selecting the right approach is crucial for a seamless transition and maintaining search engine rankings. Domain redirection, an essential process in web development and online business management, involves guiding website traffic from one domain to another seamlessly.
While there are multiple methods available for achieving this – ranging from simple settings in your domain registrar’s control panel to configuring DNS records or manipulating the .htaccess file – the choice of tool can significantly impact the effectiveness and ease of the process.
For beginners and those not familiar with web server configurations, utilizing tools provided by domain registrars or web hosting services offers a straightforward solution. These platforms often provide user-friendly interfaces that guide users through setting up redirects, whether it’s a permanent 301 redirect, which signals a permanent move, or a temporary 302 redirect.
On the other hand, more experienced users or those with specific redirection needs might opt for the flexibility and control offered by editing the .htaccess file or configuring DNS records. This approach allows advanced configurations, such as redirecting certain pages to new locations while leaving others unchanged, or implementing sophisticated URL rewriting rules.
One common factor in successful domain redirection management is ensuring that the method chosen aligns with both the technical capabilities of the user and the specific requirements of the website’s infrastructure. A misstep in this process can lead to website downtime, lost traffic, or diminished search engine visibility, making the right tool and approach indispensable.