
On This Page: [hide]
Want to step by step move from shared to VPS hosting with zero downtime? This guide will show you exactly how to do it. We’ll cover everything from planning and backing up your data to setting up the new environment and transferring your website. Follow these steps to ensure a smooth and uninterrupted transition.

Key Takeaways
Meticulous planning is essential for a successful migration to VPS hosting, minimizing uptime and customer impact.
Creating full backups of website data, including files and email accounts, is crucial to prevent data loss during the migration process.
Post-migration testing and clear communication with stakeholders ensure website functionality and maintain user trust through the transition.
Planning Your Migration Strategy
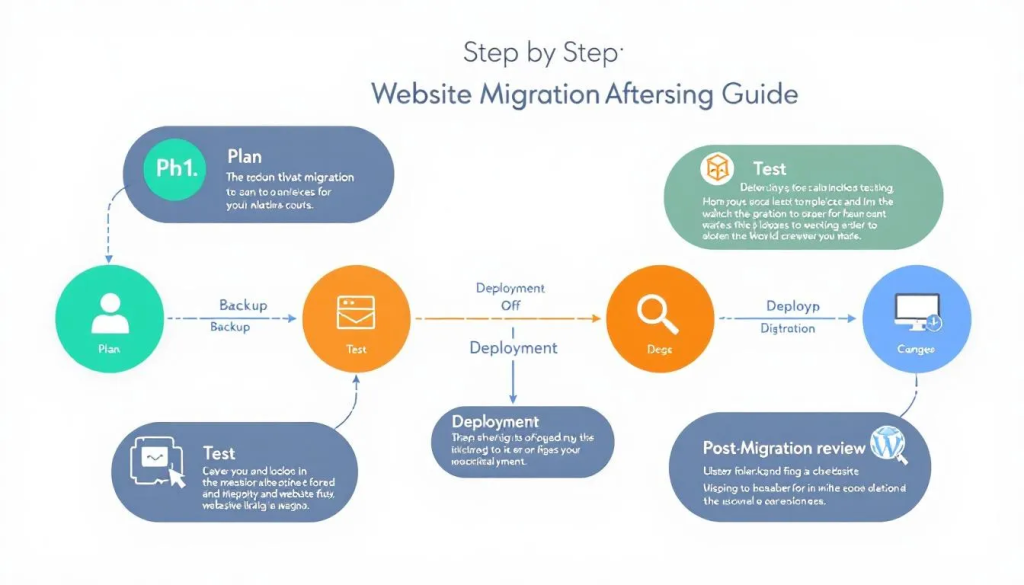
Meticulous planning is the cornerstone of a successful migration. Without proper planning, the migration process can lead to disruptions that negatively impact customer experience and potentially result in revenue loss. Effective planning minimizes risks, reduces downtime, and helps avoid potential pitfalls. This guide will walk you through the critical steps to ensure a smooth server migration.
To transition to VPS hosting smoothly, follow these steps:
Assess your current hosting environment by evaluating the limitations and performance metrics of your existing setup.
- Identify what needs to be addressed for a smooth transition to VPS hosting.
- Select a VPS hosting plan that meets your current and future needs to ensure sustained performance and growth.
- Establish a migration timeline during low-traffic periods to minimize user impact.
- To communicate effectively during a site migration:
- Detail the migration process clearly.
- Inform users of any expected changes.
- Follow outlined steps.
- Use recommended plugins to ensure a migration without downtime.
With a well-thought-out strategy, you can navigate the complexities of site migration seamlessly.
Assess Your Current Hosting Environment
Before moving to a new hosting environment, it’s essential to assess your current hosting environment thoroughly. Monitor website load times, uptime, and response rates to gauge current performance. This data will help you understand the limitations of your current hosting plan in terms of bandwidth, storage, CPU usage, and server resources.
Examine your existing configurations, including installed software and settings, to ensure they will work in a VPS environment. This step helps identify potential compatibility issues that could arise during the migration. Use the gathered performance, resource, and configuration data to make an informed decision about transitioning to VPS hosting.
Understanding your current hosting setup helps you better prepare for the new staging environment in the new VPS environment and the new server environment. This careful assessment ensures that your new hosting account will meet the demands of your website, providing a seamless transition without unexpected surprises.
Choose the Right VPS Hosting Plan
Selecting the right VPS hosting plan is critical for a successful migration. VPS hosting offers improved speed, the ability to handle more traffic, and dedicated servers, making it a superior choice compared to shared hosting. Consider current traffic, resource requirements, and specific application needs when selecting a VPS plan.
A suitable VPS plan should align with your website’s current demands and future growth expectations. Assess the hosting provider’s ability to meet both your immediate and long-term needs, including reliable uptime and customer support. This ensures that your new hosting environment will support your website effectively, providing a robust foundation for growth.
Carefully selecting a VPS hosting plan that matches your requirements ensures a smooth transition and maintains optimal website performance. This step is crucial for a successful migration, laying the groundwork for a stable and scalable hosting solution.
Establish a Migration Timeline
A well-planned migration timeline minimizes disruptions during the transition. Plan your migration during periods of minimal traffic to reduce the impact on your users. Careful planning ensures the migration process does not interfere with peak usage times, providing a smoother experience for your audience.
Notify visitors about possible downtimes using social media. Alternatively, you can communicate through email newsletters. Clear communication sets expectations and helps maintain trust with your users. By outlining the migration process and providing timely updates, you can keep your audience informed and prepared for any temporary interruptions.
Backing Up Your Website Data
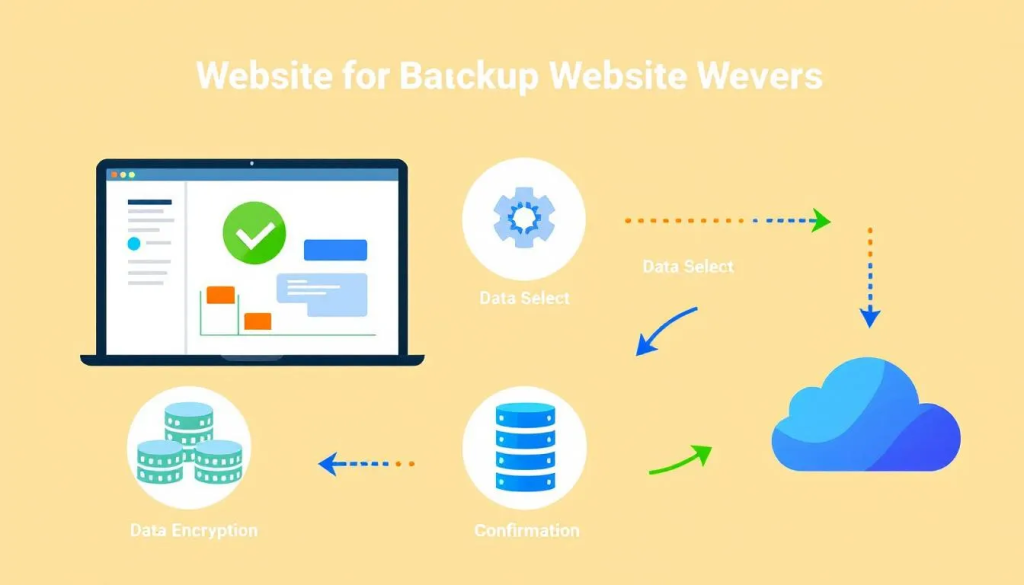
Before setting up the new VPS, create a full backup of your current setup. Storing backups in various locations, such as local drives and cloud services, enhances data security. This safeguards your website data and prevents any loss during the migration process.
Creating a full website backup involves accessing the Web Hosting Control Panel, selecting the backup option, and downloading all website files. Verifying the integrity of these backups is equally important to ensure that you can restore your website if needed. Also, backing up email accounts is crucial to avoid data loss, especially if your website relies on email communications.
These precautions ensure that your website data is secure and ready for migration. This step is essential for a smooth transition, providing peace of mind that your data is protected.
Create a Full Website Backup
Creating a full website backup is crucial for the migration process. Follow these steps:
- Access your web hosting control panel, such as hPanel.
- Select the Backups option.
- Verify the backup date.
- Download all website files.
This ensures that you have a complete copy of your website data before making any changes.
Alternatively, you can create a full website backup using tools like an FTP client, phpMyAdmin, or command line. These tools provide additional flexibility and can be particularly useful for more complex websites. Ensure that the backup includes all website files, databases, and configuration files, including any necessary php file, to guarantee a comprehensive backup.
By creating a complete backup, you can safeguard your website data and ensure that you have a reliable restore point if needed. This is essential for a successful migration, providing a safety net in case of issues during the transition.
Verify Backup Integrity
To ensure a smooth migration and data safety, follow these steps:
Verify backup integrity to ensure your data is intact and can be restored if needed.
Gather detailed information about your current hosting setup before migrating.
Ensure that your full backup includes all website files, databases, and email accounts to prevent any data loss.
Create a complete backup of your database using tools like phpMyAdmin or mysqldump to validate restore capabilities. Store these backups in multiple locations, such as local drives and cloud storage, to enhance data security.
Thoroughly verifying your backups ensures your data is safe and ready for migration.
Backup Email Accounts (If Applicable)
Backing up email accounts avoids data loss during the migration process. Use your email client’s export functionality to back up your email accounts. This ensures that all email data is preserved and can be restored on the new VPS.
If you encounter issues with the export process, contact your hosting provider’s support for assistance. They can provide guidance and help ensure that your email accounts are backed up successfully before proceeding with the transition to VPS hosting.
Preparing the New VPS Environment
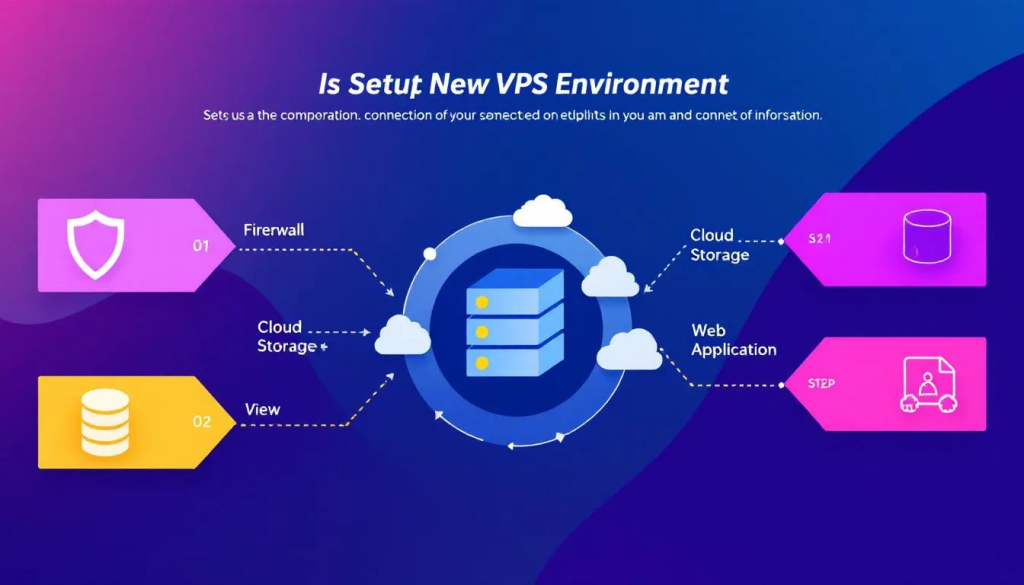
Setting up the new VPS environment ensures a smooth transition. Follow these steps:
Install the required software on the VPS, such as web server software and the same CMS version.
Access the VPS using SSH with the provided credentials.
Use FTP or a hosting control panel to upload website files.
Choose the right operating system and stack for optimal performance and compatibility. Common choices for VPS operating systems include Ubuntu, CentOS, and AlmaLinux. In this tutorial, AlmaLinux 8 64bit is used as the operating system, with Webmin/Virtualmin and LAMP stack as the recommended server template.
Install and Configure Web Server
Installing and configuring the web server prepares the VPS environment. Install web server software like Apache or Nginx on your VPS. In the Post-Installation Wizard of Virtualmin, configure memory allocation, database configuration, and DNS settings.
Secure the VPS by installing updates and setting up a firewall. This ensures that your VPS is protected against potential security threats and is configured correctly for optimal performance.
Set Up FTP/SFTP Access
Setting up FTP/SFTP access ensures secure file transfers to your VPS. Here’s what you need to know:
Ensure appropriate permissions are set when creating a user account for file management on the VPS. This maintains the security and integrity of your website files during migration.
Transferring Website Files and Databases
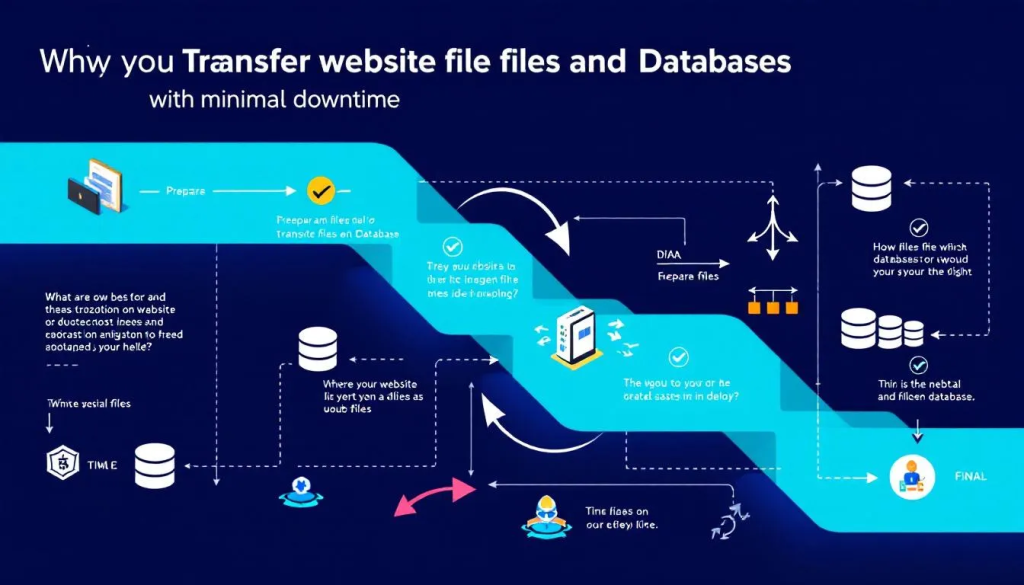
Transferring website files and databases is a critical migration phase. Preparing to migrate your website ensures a smooth transition by transferring files.
This step involves securely uploading website files, importing databases, and updating the website’s configuration files to reflect the new settings.
Upload Website Files
Use SFTP or rsync for secure file transfers to protect your website files during migration. Access your VPS for file transfer using SSH with a command such as `ssh your_username@your_vps_ip`.
The `rsync` command is used to synchronize local backup with the destination folder on your VPS.
Transfer all files, including static and dynamic sites, accurately. Check file permissions and ownership after uploading to maintain proper functionality. This ensures a successful website file migration.
Import Databases
Before importing database backups, create a new database on the VPS. You have several options for transferring the database, including direct upload, remote connections, or file transfer protocol. To import the database backup, use the command:
`mysql -u your_username -p your_database_name < /path/to/backup.sql`
Handle database backups carefully to ensure accurate data import into the new VPS. After migration, import your databases into the VPS with updated connections and configurations.
Update Configuration Files
To update the website configuration files for the new database settings, follow these steps:
- Identify all relevant configuration files that manage database connectivity for your website.
- Update the database host in each configuration file to the new VPS database host.
- Update the database username to the new username provided.
- Update the database password to the new password.
- Update the database name to the new database name.
- Save the changes in each configuration file.
Verify that the configuration files reflect the new settings of your VPS to guarantee proper database connectivity. This maintains the functionality of your website after migration.
Updating DNS Settings
Updating DNS settings avoids downtime during migration. A domain’s DNS records determine where your domain points, and they need to be set to the new VPS IP address during migration. This ensures a seamless transition to the new server.
After updating DNS settings, conduct thorough testing. This will help ensure that the website functions properly. Planning migration during off-peak hours significantly reduces user impact.
Change Domain’s A Record
To update your DNS settings:
Log in to your Domain Registrar’s Control Panel.
Find the section to update DNS settings and locate the A record.
Update the A record to point to your new VPS IP address.
Save the changes and exit the control panel to update DNS records.
This directs users to the new server, keeping your website accessible during the transition.
Monitor DNS Propagation
Use tools like `nslookup` or DNS Checker to verify that the DNS changes have propagated correctly. DNS changes can take between 24 to 48 hours to fully propagate.
Monitor performance during this period to ensure the website remains accessible and functional. This step is crucial to confirm that the DNS changes have been successfully implemented.
Post-Migration Testing and Optimization
Post-migration testing confirms that all website elements function as intended. Use a temporary URL provided by the host for testing to ensure that your website works correctly on the new server. During testing, check the following:
Thoroughly test the website on the new host to gauge performance and response times. If you notice any errors or missing content, please investigate the file paths. Ensure the configuration settings are correct. Post-migration assessments identify and rectify issues that may affect user experience.
Test Website Functionality
Ensure all website functionalities, including forms and links, are operational after migration. Functionality testing should include checks for navigation ease, content readability, and operational broken links and forms.
Check for content readability and ensure users can navigate without issues. Document errors or missing content found during testing for further review.
Monitor Server Performance
Tools such as `top`, `htop`, and server monitoring services can be utilized to track your VPS performance in real-time. Reviewing web server logs is essential for identifying issues that may arise on your VPS.
Monitoring VPS performance helps identify potential issues before they affect your website’s functionality. By combining performance monitoring and server logs review, you can maintain optimal operation of your VPS and address any issues promptly.
Validate Security Settings
One option for securing your new VPS is to configure an SSL certificate. Many users prefer free SSL certificates provided by Let’s Encrypt. Use online tools like SSL Labs to test the SSL certificates after migration.
After installing a web server, it is crucial to configure security settings, such as enabling a firewall. Regularly update your security settings to maintain VPS security.
Informing Stakeholders and Users
Inform stakeholders about the migration’s success to maintain transparency and trust. Consulting your hosting provider can provide additional support for backing up email data effectively.
Communicating the migration plan and setting expectations about zero downtime and data backup maintains trust and transparency with your team and clients. This ensures everyone is aware of the migration process and potential impacts.
Notify Team and Clients
To effectively communicate the migration plan and set expectations, follow these steps:
Communicate the migration plan and set expectations about downtime and data backup.
Inform users about the successful migration.
Notify users of any changes they should expect.
This communication helps maintain trust and ensures that everyone is prepared for the transition. Keeping your team and clients informed ensures a smoother migration process.
Monitor User Feedback
Check social media, emails, and website analytics for feedback. Address any issues or concerns raised by users promptly. Monitoring user feedback identifies post-migration issues and ensures the website meets user expectations, including database interactions.
This step is crucial for maintaining user satisfaction and addressing any potential problems.
Summary
Migrating your website from shared to VPS hosting requires meticulous planning, thorough preparation, and effective communication. By following the steps outlined in this guide, you can ensure a smooth transition with zero downtime. Key steps include assessing your current hosting environment, choosing the right VPS hosting plan, backing up your website data, preparing the new VPS environment, transferring website files and databases, and updating DNS settings.
Post-migration testing and optimization are essential to confirm that all website elements are functioning as intended. Informing stakeholders and users about the migration’s success helps maintain transparency and trust. By following this step-by-step guide, you can achieve a successful migration and provide a seamless experience for your users.
Frequently Asked Questions
What is the first step in migrating from shared to VPS hosting?
The first step in migrating from shared to VPS hosting is to carefully plan your migration strategy by assessing your current hosting environment and selecting the appropriate VPS hosting plan. This foundational step will ensure a smooth transition.
How can I ensure my website experiences zero downtime during migration?
To ensure your website experiences zero downtime during migration, prioritize careful planning, establish a migration timeline during low-traffic periods, and verify your DNS settings are correct. This will help you achieve a smooth transition without interruptions.
What tools can I use to back up my website data?
To effectively back up your website data, utilize your web hosting control panel, FTP client, phpMyAdmin, or command line tools. These methods ensure you have a comprehensive backup solution.
How do I update DNS settings after migration?
To update your DNS settings after migration, log in to your domain registrar’s control panel, find the A record, and change it to your new VPS IP address. After that, monitor the DNS propagation to ensure the changes take effect.
What should I do if I encounter issues during the migration process?
If you encounter issues during the migration process, document any errors and reach out to your hosting provider for assistance. Also, review file paths, configuration settings, and server logs to identify potential problems.