On This Page: [hide]
Most of the time, when WordPress fails to send an email with its contact forms or other types of communications it is most likely to be due to some problems regarding the server configuration.
Similarly to many other web applications, WordPress uses a PHP function called ()mail to send its emails, and if the server is configured the right way, this feature works without any need for further configuration. Yet, some hosts have different restrictions that might cause the function to fail.
There are a few steps that you can try to get the mail function works.
Use your email account’s SMTP servers
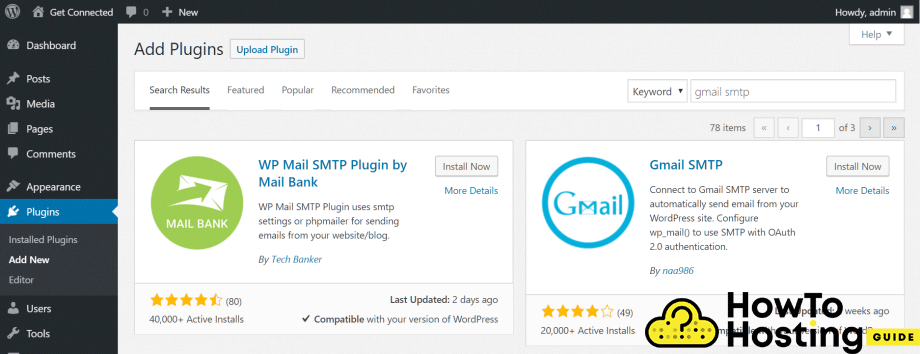
The first step you can try is to use your email account’s SMTP servers. It is quite easy with the plugin called WP Mail SMTP.
Download it and install it on your WordPress installation.
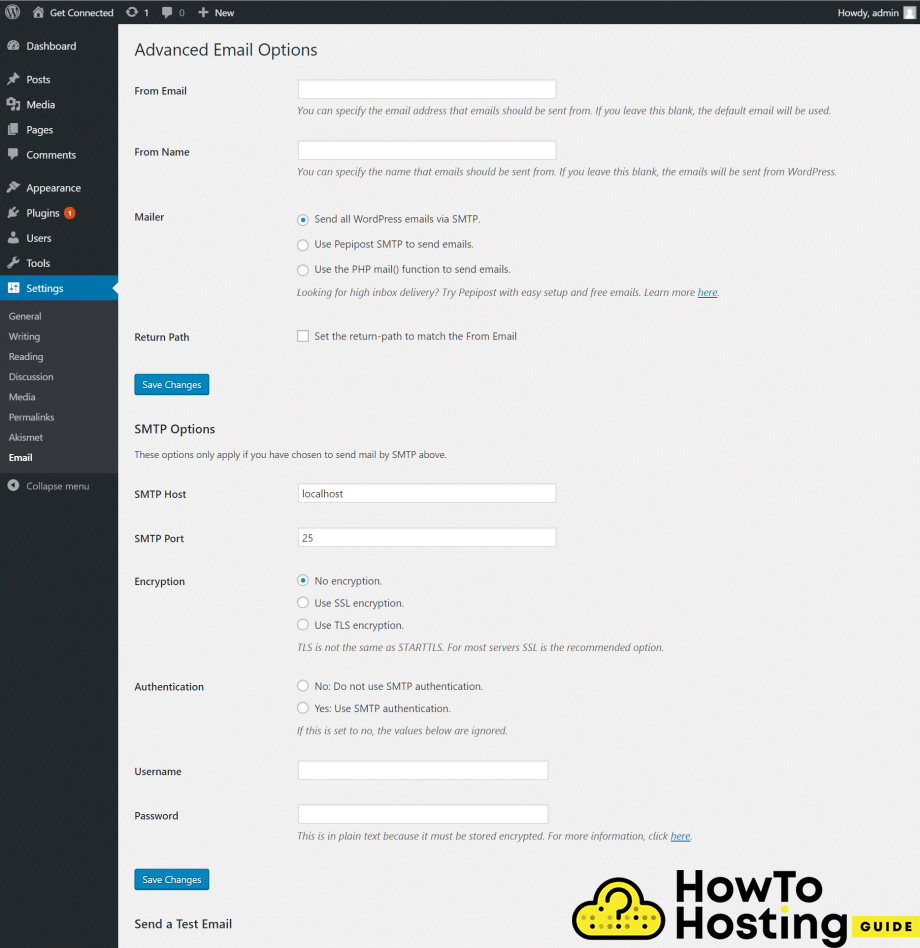
Once you activate WP Mail SMTP, > Settings > Email so you can configure it.
Then, jump to your hosting email service.
Most of the time you can find the Email Accounts in your cPanel. Click on Email Accounts > set up email client and you will see your SMTP settings. Make sure that SMTP Authentication is checked and enter your login details. Click ( SAVE changes ) and then you can test the settings of your website by submitting any contact form.
Use Google SMTP email servers
If the first solution did not work for any reason, you can try to fix your problem with Google’s email servers. To do that, go to Gmail > set up your account. This configuration works with Gmail or Google Apps accounts.
Again, you will need to download and install a plugin which is called “Gmail SMTP”
Download and install the plugin and then go to Settings – Gmail SMTP so you can configure it.
You will have to authorize your WordPress installation and to do that you should create a few secure credentials.
To do that, go to the Google’s console and log in with your account. On the top of the page click on My Project and you will see an Add+ button, that will let you create your new project.
Name it as you wish and click on the create button to proceed.
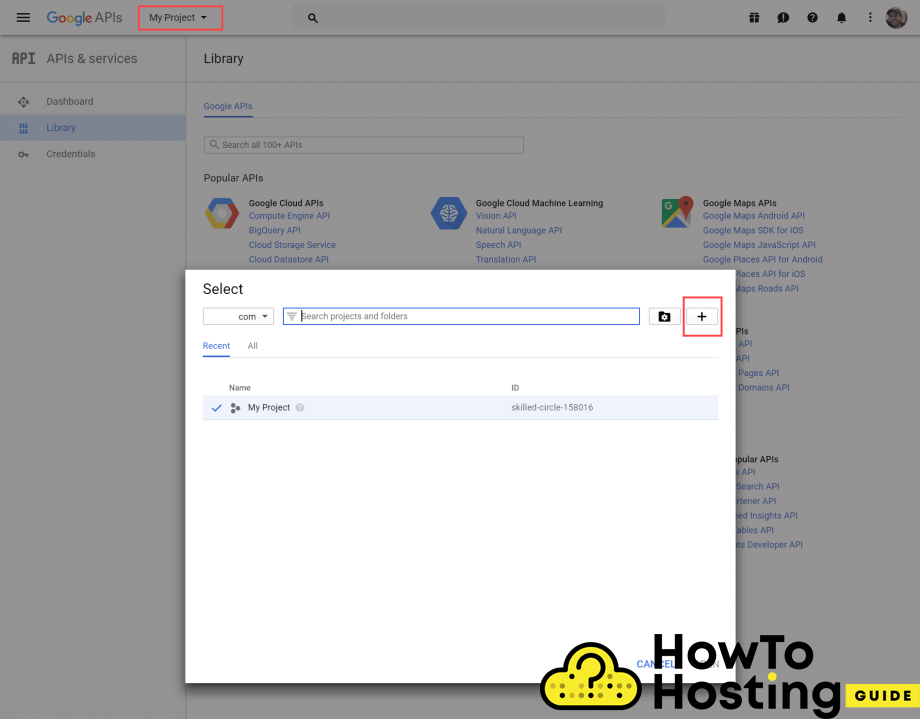
Then, go to the Dashboard in the left section and click Enable APIs and Services link that can be found on the top of the page. Then, click on the Gmail API link.
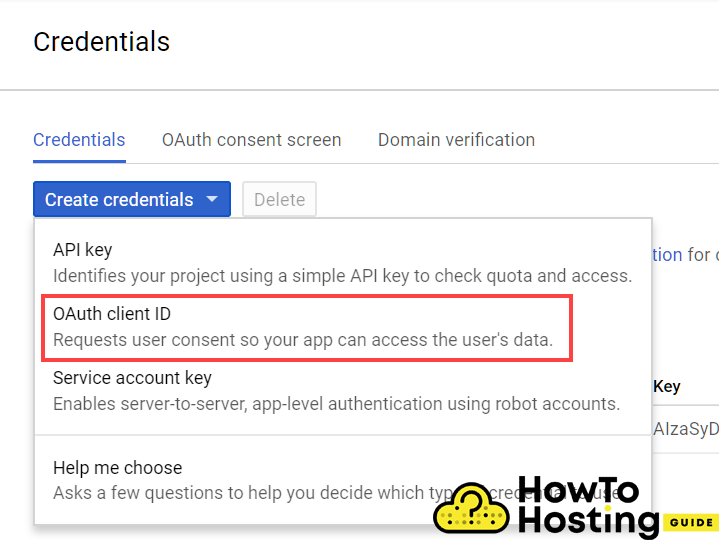
On the top of the screen, you are going to see a link called Enable. Click on it and it will create access credentials for use with the google’s Gmail API. Select Credentials from the sidebar and click Create credentials button.
Then, click on the Oauth client ID and then in the Application type, select Web Application and then hit the create button. The first thing you need to do to create your OAuth client ID is to set up your product name. Enter a name then go back to your website’s dashboard. Copy the code of the Authorized Redirect URL into the field of Gmail Api Create Client ID
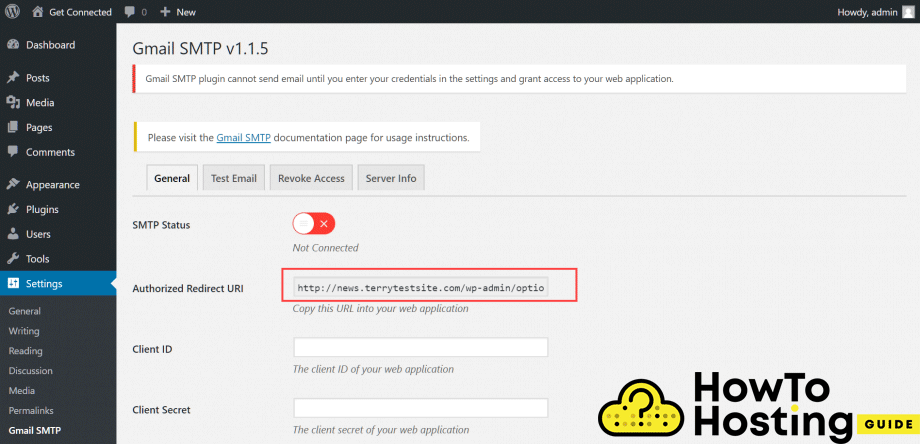
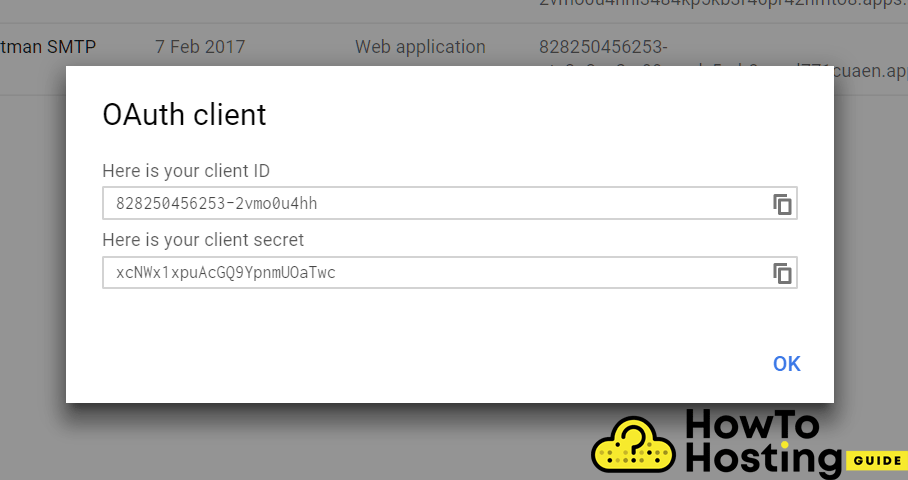
Click on the create button and you will see your client id and your client secret.
