
On This Page: [hide]
Ready to get your WordPress site live using the LEMP stack? In just 10 minutes, this beginner-friendly guide will show you how to install WordPress with LEMP by breaking down the process into simple steps, ensuring you set up WordPress efficiently. You will learn how to install and configure Nginx, MySQL, and PHP, and get WordPress running with minimal hassle.
Key Takeaways
- The LEMP stack combines Linux, Nginx, MySQL, and PHP for powerful WordPress hosting, focusing on performance and scalability.
- Ensure you have a CentOS 7 VPS, SSH access, and security measures like key-based authentication before installing WordPress.
- Secure your WordPress site by disabling root access, using strong passwords, and regularly updating both software and backups.
Understanding LEMP Stack
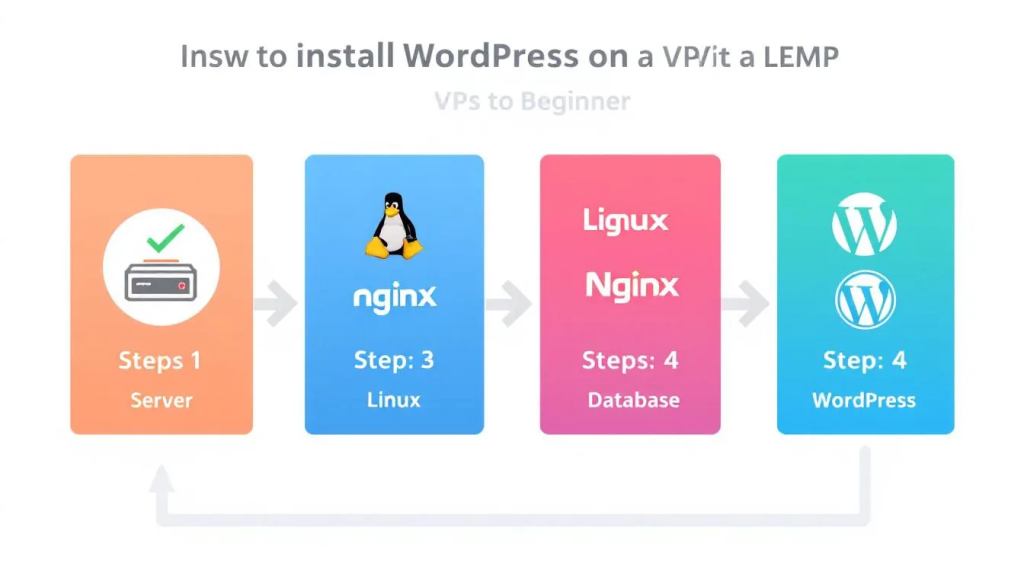
The LEMP stack is a powerful combination of four technologies: Linux, Nginx, MySQL, and PHP. This stack is particularly effective for hosting WordPress due to its performance and flexibility.
- Linux: The stable and secure foundation OS.
- Nginx: Efficient web server for high volumes.
- MySQL: Database system for storing content.
- PHP: Language powering dynamic content.
Using Nginx as a reverse proxy enhances performance, making it ideal for everything from personal blogs to enterprise systems.
Prerequisites for Installation
- A CentOS 7 VPS (virtual private server).
- A cloud server is preferred for affordability and control.
- SSH access via password or SSH key.
- Key-based authentication for SSH is strongly recommended.
- Optional: a domain name for easier access.
- Create a non-root sudo user.
- Basic command-line knowledge is helpful.
- Enable an uncomplicated firewall (UFW) for security.
Setting Up Your VPS
- Access your VPS securely using SSH and login credentials.
- Update packages:
sudo apt updatesudo apt upgrade
After updates, install the necessary software components: Nginx, MySQL, PHP.
Installing Nginx Web Server

- Install with:
sudo apt install nginx - Start and enable:
systemctl start nginx,systemctl enable nginx - Check status:
systemctl status nginx - Visit your server IP to see the default welcome page.
Installing MySQL Server

- Install MySQL using your package manager.
- Set a root password during installation.
- Remove anonymous users and test database.
- Disallow remote root login.
Creating a MySQL Database for WordPress
- Log into MySQL.
- Create database:
wordpress - Create a new user and assign a password.
- Grant privileges:
GRANT ALL ON wordpress.* TO 'wordpress'@'localhost';
Installing PHP and PHP-FPM
- Install
php,php-fpm, andphp-mysql - Adjust
cgi.fix_pathinfo = 0in PHP config. - Check syntax:
php-fpm -t - Restart PHP-FPM if no errors found.
Configuring Nginx to Process PHP Files
- Configure Nginx server block to process PHP.
- Include PHP index in the index list.
- Test config syntax and restart Nginx.
- Create
info.phpto verify PHP setup.
Downloading and Configuring WordPress

- Download and extract WordPress:
tar -xzvpf a.tar.gz - Move files to:
/var/www/html/wordpress - Rename config file:
wp-config.php - Secure config by placing it one level above public root.
Setting File Permissions
- Directories:
755, Files:644 wp-config.php:400or440- Writable directories (e.g.
/wp-content/):775
Completing WordPress Setup via Browser
Open the browser and complete the install by entering your site title, user credentials, and enabling or disabling search indexing. After submission, the WordPress admin login screen will appear.
Securing Your WordPress Site

- Disable remote root login.
- Use strong passwords.
- Apply regular software and plugin updates.
- Enable TLS/SSL certificates to encrypt data traffic.
Installing SSL Certificate
- Point your domain to the VPS.
- Create:
/root/.secrets/cloudflare.ini - Use Let’s Encrypt to generate free certificates.
- For personal use, a self-signed certificate is acceptable.
Optimizing WordPress for Speed
- Implement caching strategies (e.g., plugins, FastCGI).
- Enable OPcache in PHP settings.
- Use a Content Delivery Network (CDN).
- Run MySQL Tuner for performance suggestions.
Setting Up Automatic Backups
- Use
mysqldumpto backup databases. - Schedule backups (daily/weekly).
- Use plugins like UpdraftPlus.
- Keep at least three backups in separate locations.
Summary
By following this guide, you’ve successfully set up a WordPress site with the LEMP stack, optimized it for performance, and secured it against common threats. Keep your installation updated and backed up regularly!
Frequently Asked Questions
What are the components of the LEMP stack?
Linux, Nginx, MySQL, PHP – a solid platform for hosting web applications like WordPress.
How do I access my VPS securely?
Use SSH with your server IP and key-based authentication while disabling passwords for security.
What are the recommended file permissions for WordPress?
Directories: 755, Files: 644, wp-config.php: 400 or 440.
How can I optimize my WordPress site for speed?
Use caching, enable OPcache, and implement a CDN for performance gains.
Why are regular backups important for my WordPress site?
Backups protect against data loss. Use mysqldump or plugins like UpdraftPlus to automate the process.