On This Page: [hide]
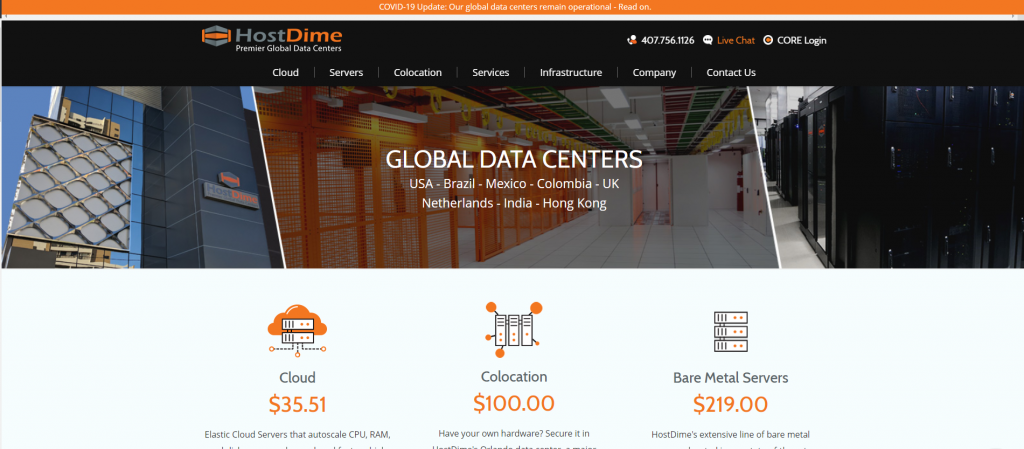
This is a guide that aims to show you how to Install WordPress 5.4 on HostDime.com. HostDime is a hosting provider that offers different personalized solutions, scalable cloud services, and many different options for each of their hosting plans.
Hostdime.com
| Targeting Locations | Los Angeles, Orlando, Bogota, Joao Pessoa, Sao Paulo, London, New Delhi, Chai Wan, Guadalajara |
| Price Range | Hosting services from 35.51$ to 219.00$ |
| Products | Cloud, Colocation, Bare Metal Servers, SSL, Migration |
| Support | 24/7 chat support |
| Suitable for | WordPress, Custom Websites, Online Stores, Email services |
Setting Up The WordPress Database on Hostdime.com
HostDime does not offer a 1 click WordPress installation option like some of the other hosting providers, but yet, installing WordPress is quite an easy job. The first thing that you have to do is to create your database. To do that, go to your cPanel, and under the “Databases” section click on the “Create Database” button. Write down a unique name for your database and then go to the next section which is the “User Creation”.
Also Read Install WordPress With PuTTy and FileZilla (Steps)
Fill your username and password and click on the Create User button and you are done with setting your database.
Download and Installation of WordPress on Hostdime.com
After you have successfully set your database it is time to download and install WordPress.
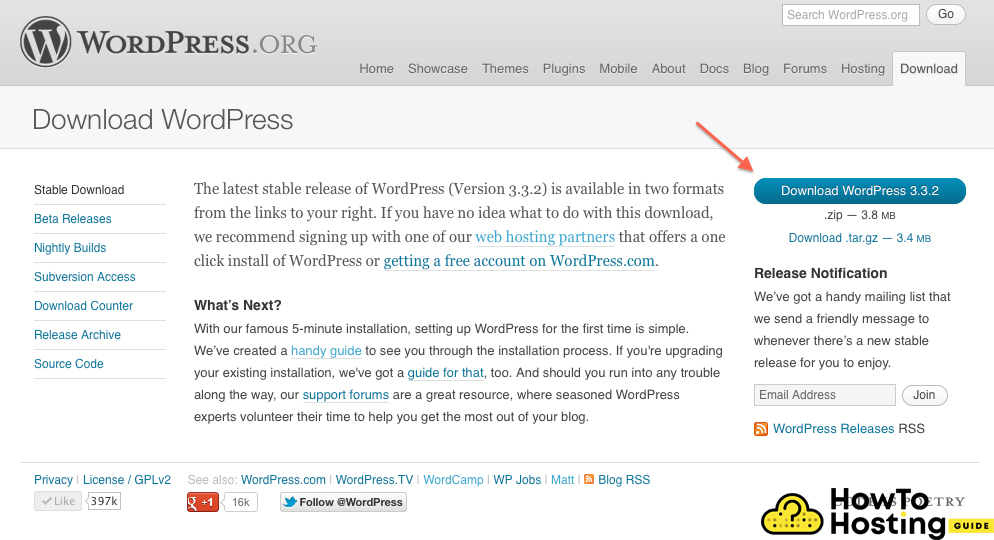
To do that, go to wordpress.org/download/ and click on the download button. After the archive is downloaded extract its files with any file extractor software and look for a file named “wp-config.php” and open it with any text editing software (for example notepad++).
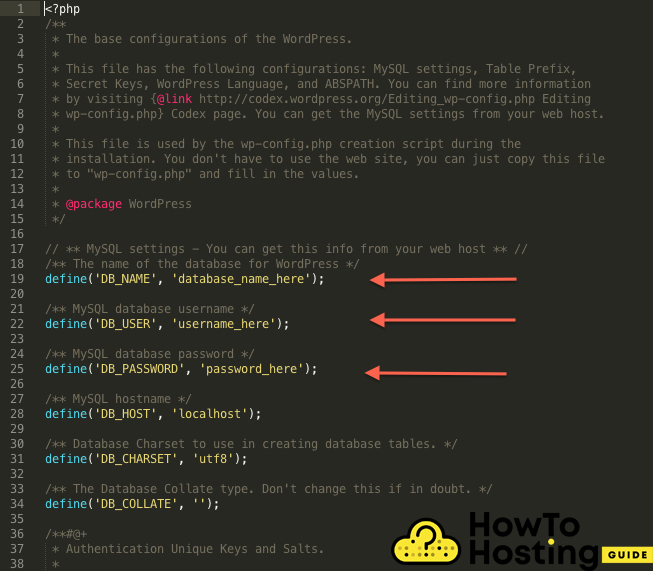
Find the fields shown in the picture below –
define DB_NAME, DB_USER, and DB_PASSWORD and fill in the information you entered when you have created the database.
Upload The WordPress Files on Hostdime.com
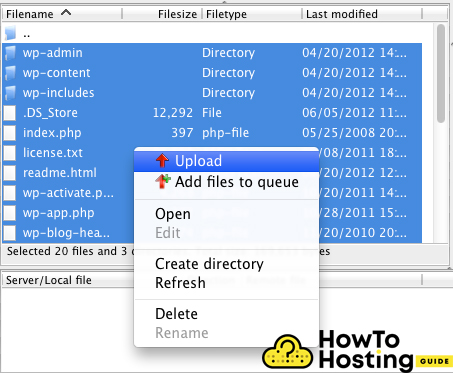
Now after you set up the config files, you have to upload your WordPress to hostdime.com so that you can Install WordPress on Hostdime.com. To do that, you will need FTP software that can make the connection between your computer and the hosting server and thus enable you to upload the files. The most famous FTP software is Filezilla, but you can do it with any other FTP program.
Log in to your host and find the folder where you want to install WordPress. Select all of the files and click upload.
Install WordPress 5.4 on HostDime.com
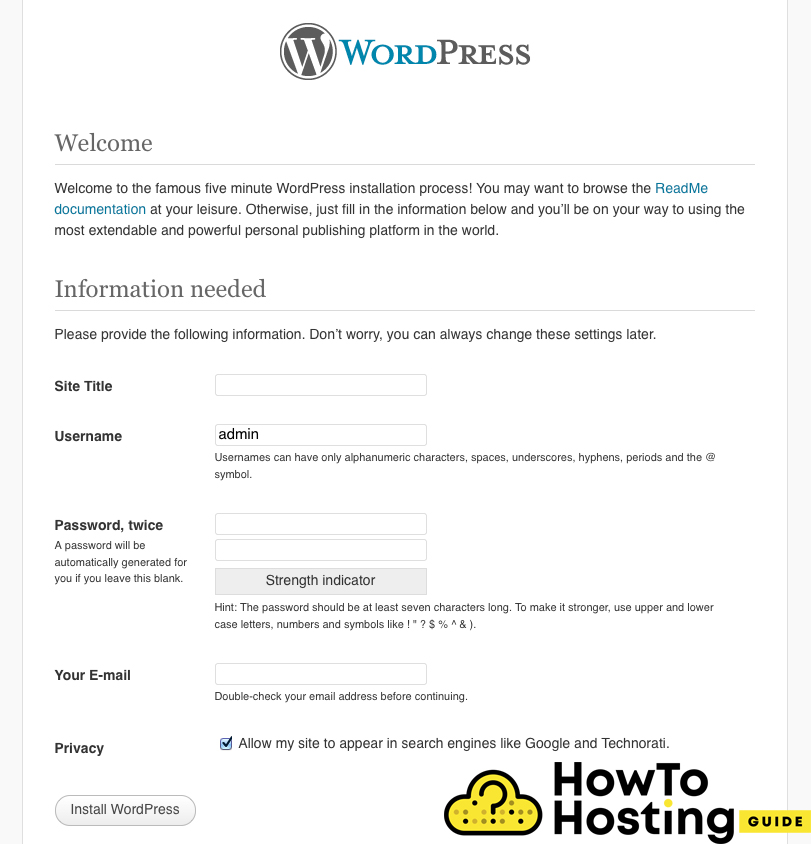
When the upload is done you will be able to visit your website from the URL – YourDomainName.com/wp-admin and you will be asked for some information such as your WordPress admin name, password, and email.
When you write your details there, click on the install WordPress button and you are ready to start building your website.

