On This Page: [hide]
Bigrock is one of the best hosting service providers for India. It is well known for using the last technologies, great support and it also offers a great variety of services and tools that are cheaper than most of its competitors. It provides 4 different WordPress hosting plans which are the starter, the advanced, the business, and the Pro plan.
Bigrock.com
| Targeting Locations | India, USA, GLOBAL |
| Price Range | Hosting Services starting from 1.59$/month to 5.39$ per month |
| Products | Web hosting, Linux, WordPress hosting, VPS, Joomla |
| Support | 24/7 chat support |
| Suitable for | WordPress, Online Stores, Email services |
Also, Read How to Install WordPress on HostGator
How To Install WordPress on BigRock
There are two main ways to install WordPress on BigRock.
Install WordPress with cPanel
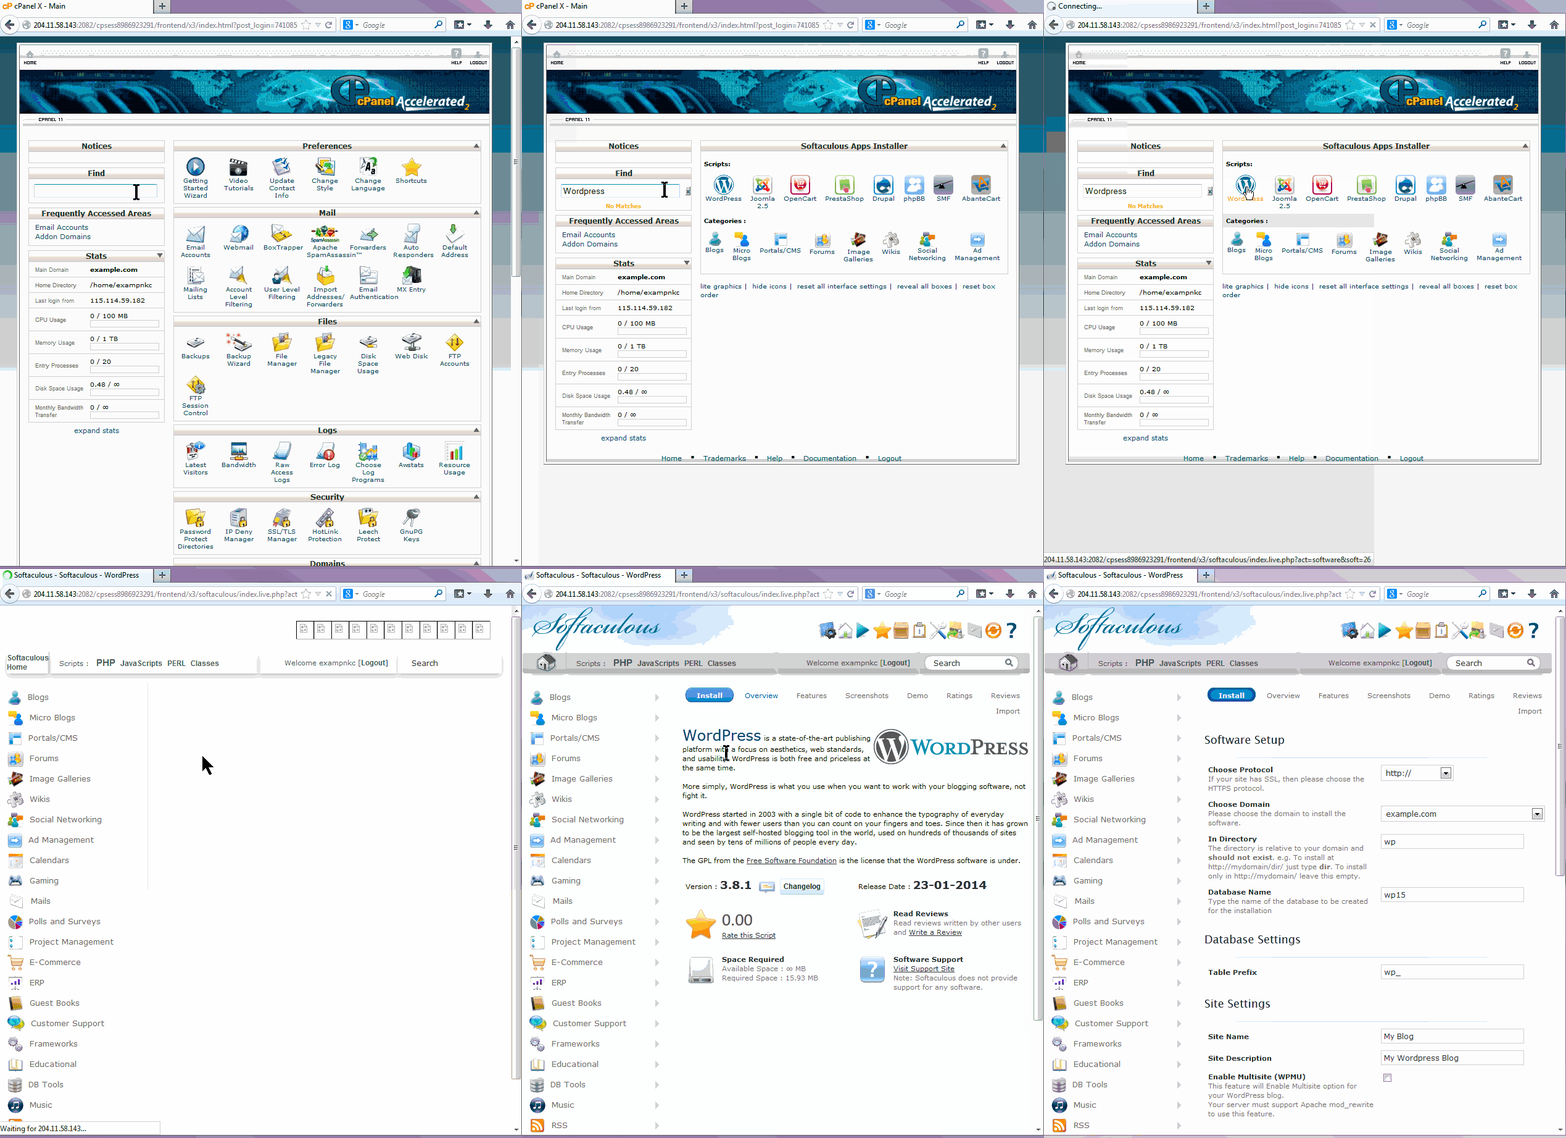
First off, you have to log in to your BigRock cPanel account, and then search for the WordPress icon, that will redirect you to the Softaculous installer page, where you have to click the “Install” button.
It takes just a few minutes to set up your WordPress website and then you can log in and start building it.
Install WordPress Manually on BigRock
The manual installation takes more effort than the first method with the Softaculus application, but if you still prefer to do it this way, here is how:
First, you need to download the last WordPress release. You can do it from the official WordPress website here.
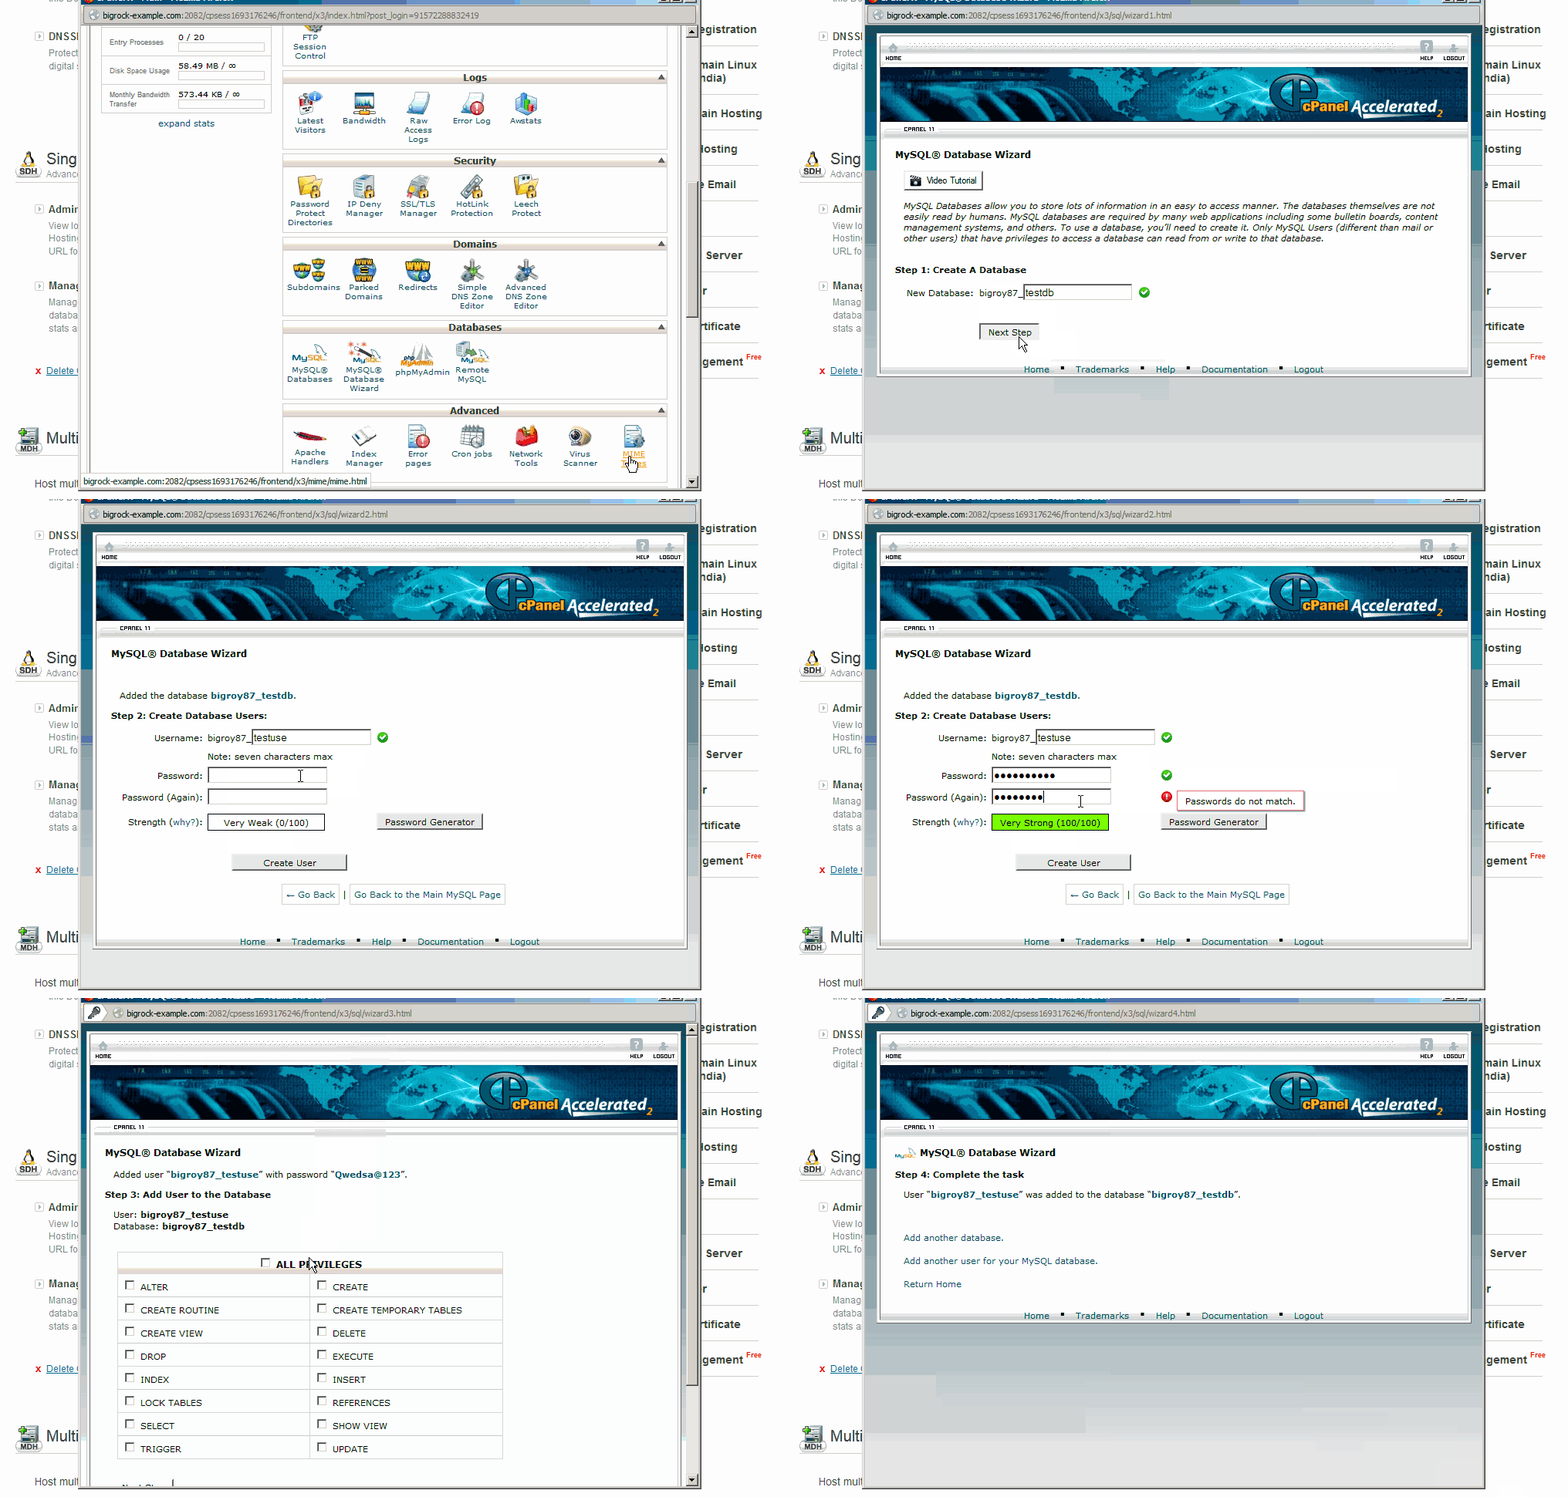
Then, log into your BigRock cPanel account, click on the MySQL wizard to create your new database.
On the next screen type your database name and click “Next Step“. Type your username and password and click “Create User“. Select “All Privileges” and proceed to the next step.
It is important to remember or write down your database details, including your database name and password.
Installation of WordPress on Your Domain
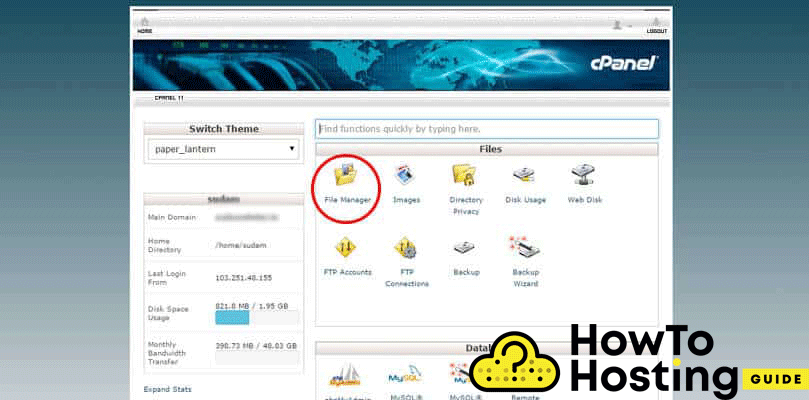
Log into your BigRock cPanel and look for the “File Manager“, and you will see a window, find the public_html and create a new directory, where you will upload your WordPress, that you’ve downloaded previously.
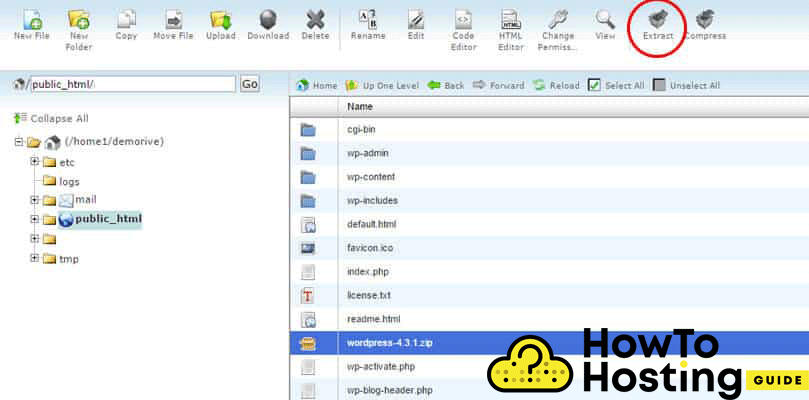
After you upload your WordPress files, extract the content of your .zip file by the “extract” button on the top right corner (see the image below)
Make sure that you are extracting the files straight into your root directory because if you extract them into /WordPress/ for example, your website will be accessible when your visitors write down yourDomain.com/wordpress/, and not only your domain name.
Edit Wp.config
You will need to open and update the information in your wp-config.php file, to do that open it with right-click, and then Code Editor, and search for the lines shown in the picture below:
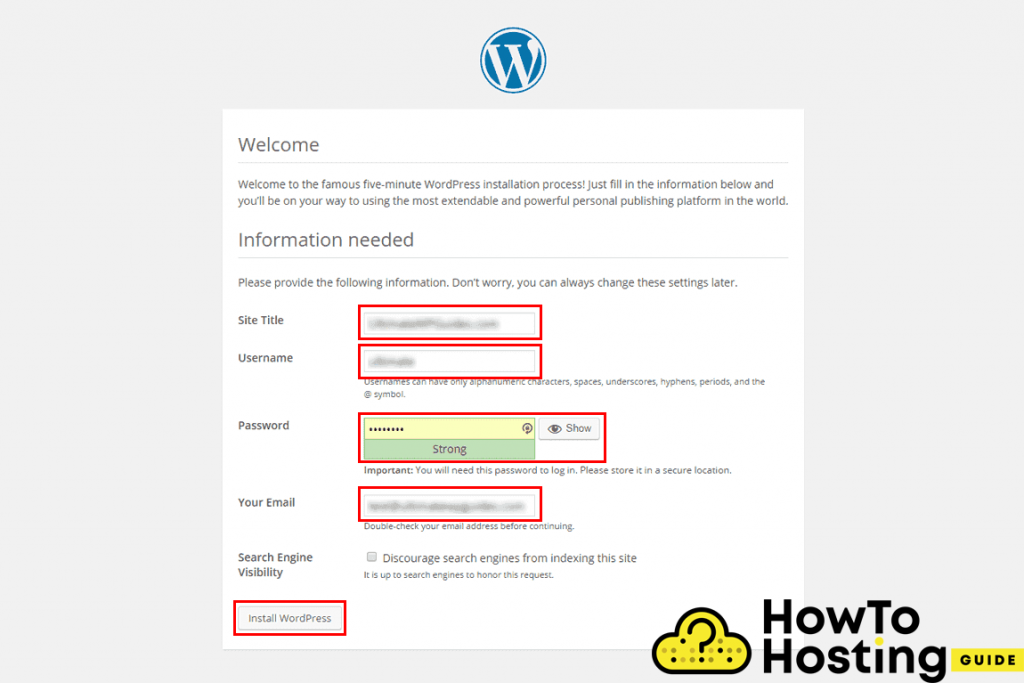
Replace the database name, user and password with your details and then you can go to yourdomain.com/wp-admin/install.php and you will see a Welcome WordPress screen, that looks like that:
On that screen, you can change your site title, and set your admin username and password as well as your admin email address.
That’s all. You can now start building your WordPress website.

