How To Install WordPress on Namecheap

Namecheap is a hosting company established in the USA over 20 years ago. It provides VPS, Shared and managed WordPress hosting services to its customers as well as 24/7 chat support, free migrations, and enhanced security measurements.

Namecheap.com WebHosting Summery


Targeting Locations Phoenix, Arizona, United States
Price Range WordPress Hosting services from 3.88$, 7.88$, 11.88$
Products VPS, Shared, WordPress, Website Builders, Emails
Support 24/7 chat support
Suitable for WordPress, Custom Websites, Online Stores, Email services

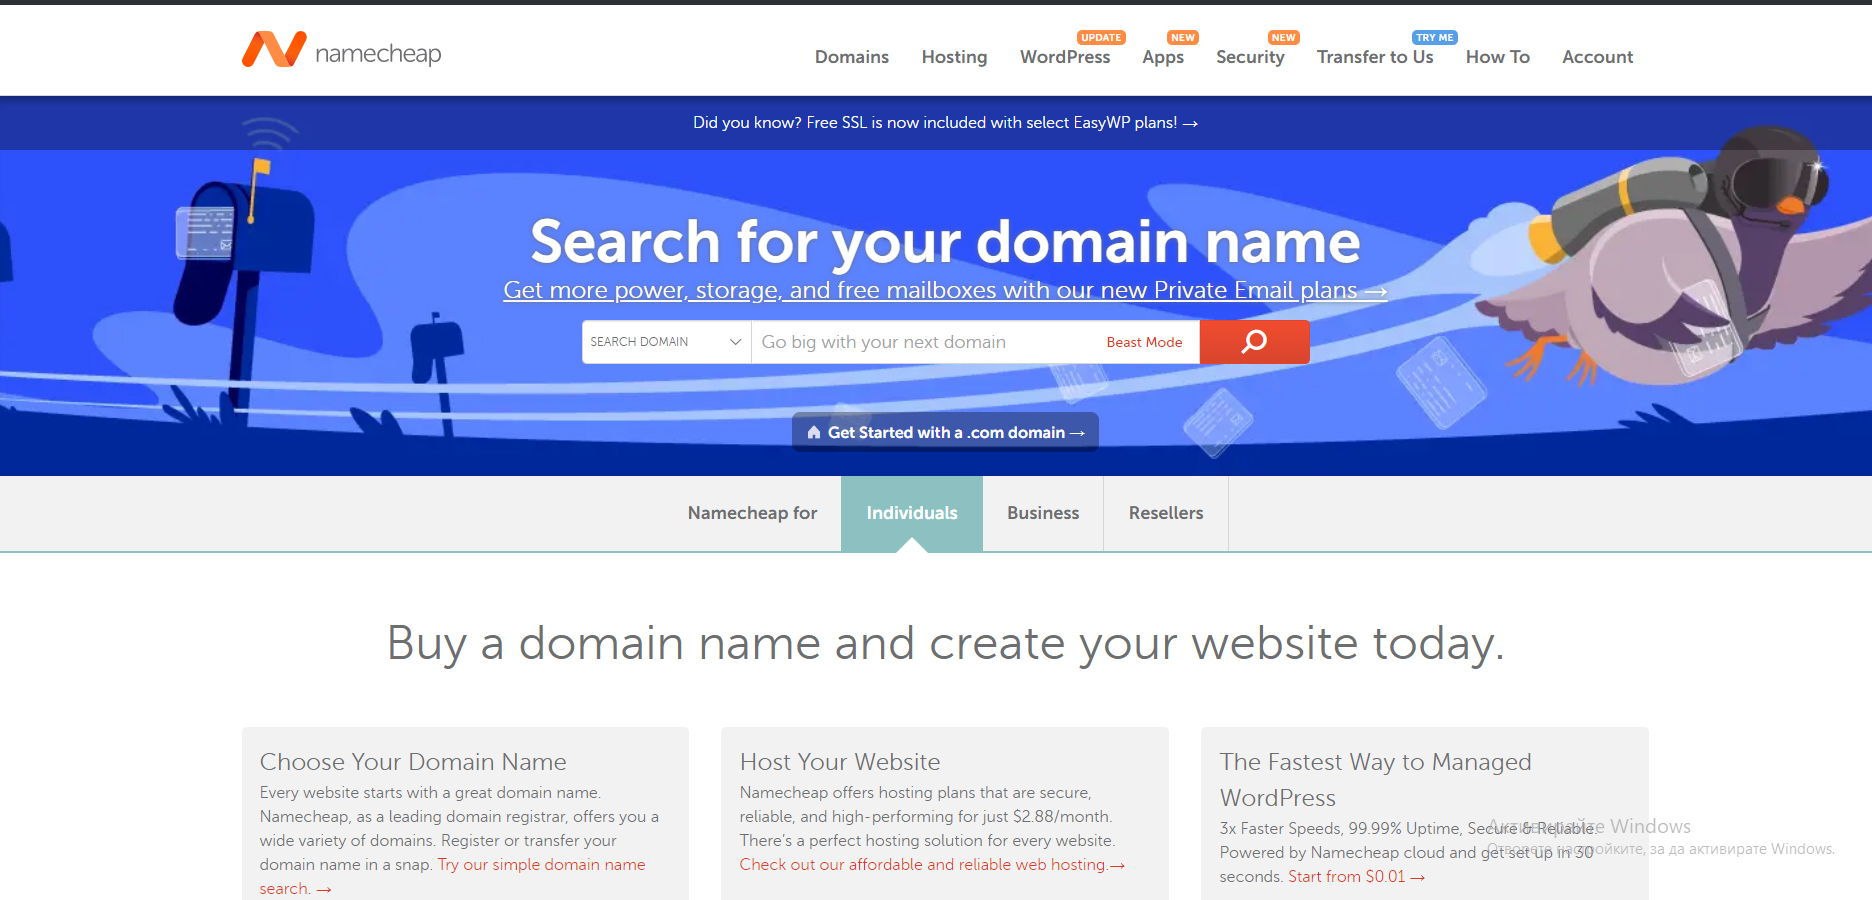
namecheap homepage image

Before Your Installation
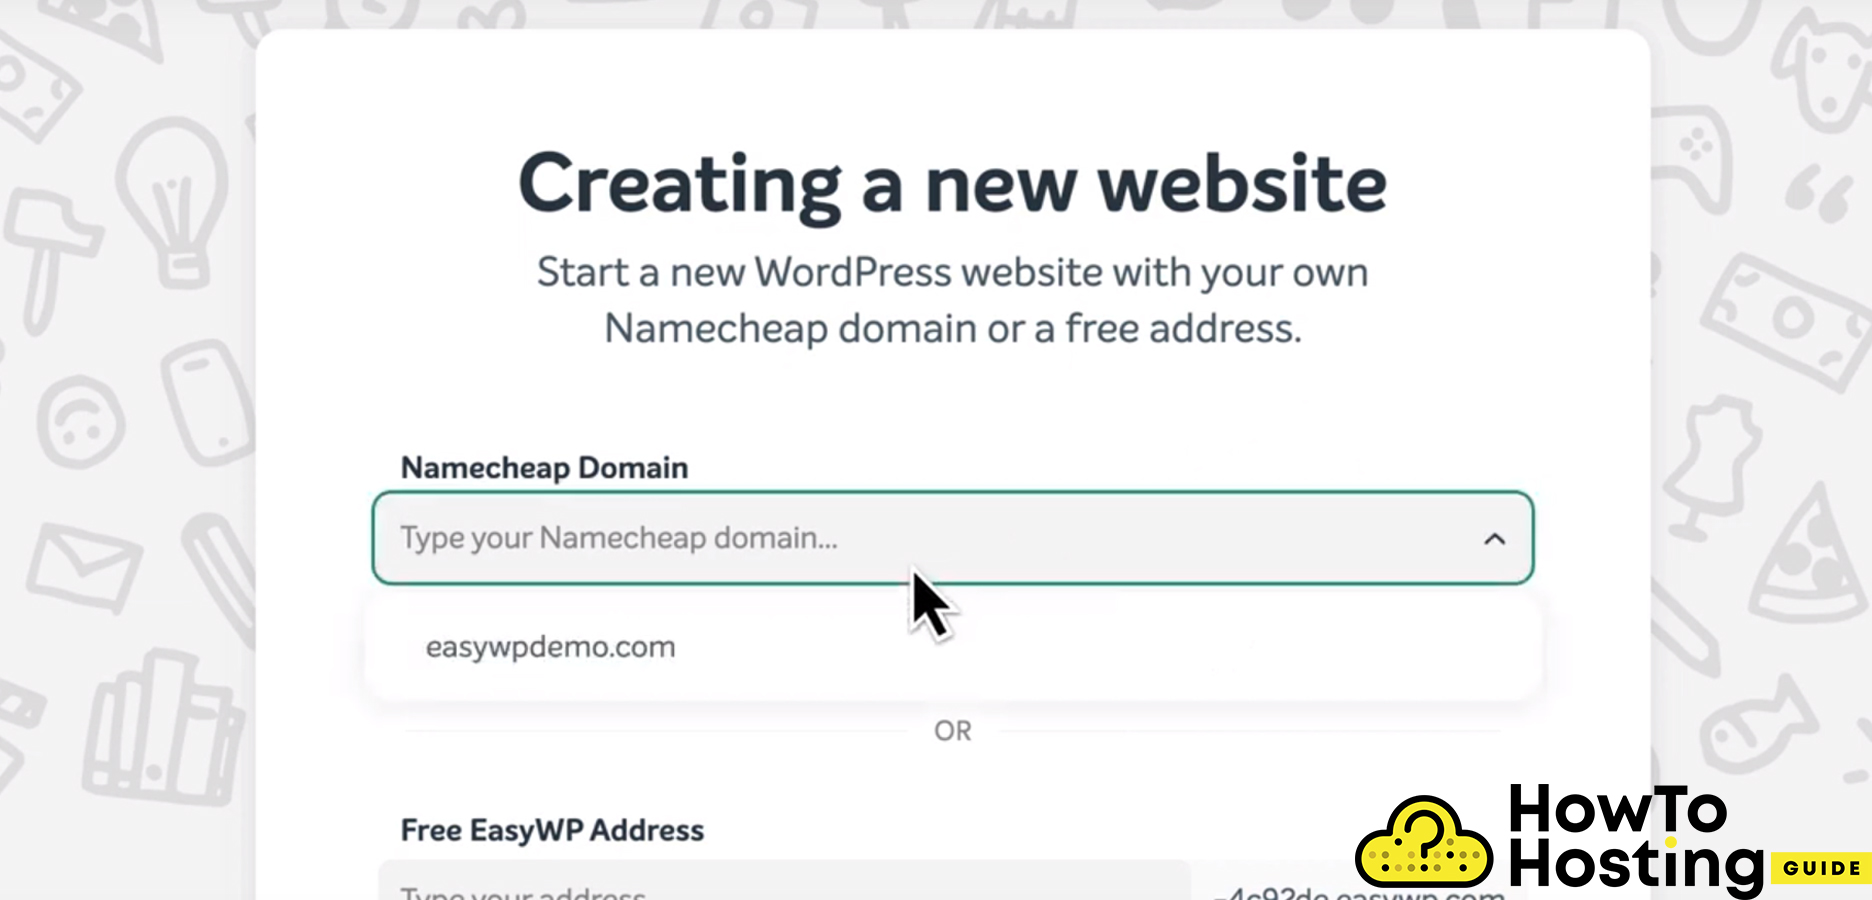
namecheap hosting domain choice image
There are two things that you need to have before starting your WordPress installation. The first thing is the domain name and the second is your hosting plan. If you have purchased them you can proceed with your WordPress installation.

WordPress Installation Steps
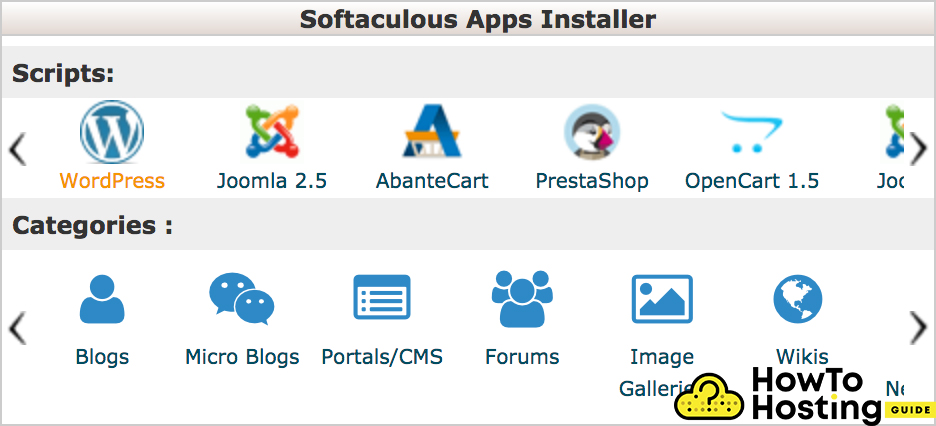
install WordPress on namecheap hosting image

Namecheap offers its clients a very easy and convenient way for an automatic WordPress installation. They work and support the Softaculous app, which allows its users to install WordPress with a few clicks and in less than 2 minutes.

To create your installation, you have to go to your cPanel account and find the WordPress installer icon in the auto-installers section.

Then click on it and you will need to fill out some more details regarding your website.

  • You have to choose your domain name, where you want to install the WordPress.
  • Specify the folder for the installation – if you leave it blank it will be assumed that your WordPress will be installed in the root folder which is being opened by accessing yourdomain.com. If you want to install your WordPress in another subfolder – for example, “blog”, write down “blog” and click install. Then WordPress will be installed in yoursite.com/blog
  • Then you will see a database name field that can be left as its default value. For extra security measurements, you can change the wp_ prefix before your database name to something else. This will ensure a bit more safety to your website.
  • Fill the website settings such as website information and title (this can be edited later on as well)
  • Click on the install button and wait for the success message.
  • After you see the success message you are ready to log in to your website with your admin account from yourdomain.com/wp-admin and start building it.

    Here you find extra tips:
    How to create your first blog in proper way
    How to install wordpress with PuTTy and FileZilla
    Why you have to use shared hosting for your first website

    Researched and written by:
    HowToHosting Editors
    HowToHosting.guide provides expertise and insight into the process of creating blogs and websites, finding the right hosting provider, and everything that comes in-between. Read more...

    Leave a Comment

    Your email address will not be published. Required fields are marked *

    This website uses cookies to improve user experience. By using our website you consent to all cookies in accordance with our Privacy Policy.
    I Agree
    At HowToHosting.Guide, we offer transparent web hosting reviews, ensuring independence from external influences. Our evaluations are unbiased as we apply strict and consistent standards to all reviews.
    While we may earn affiliate commissions from some of the companies featured, these commissions do not compromise the integrity of our reviews or influence our rankings.
    The affiliate earnings contribute to covering account acquisition, testing expenses, maintenance, and development of our website and internal systems.
    Trust howtohosting.guide for reliable hosting insights and sincerity.