
On This Page: [hide]
In this article, we will guide you through the process of How to Create a Blog with Elementor and dive deeper into its features and the way you can customize your design to your preferences. To create a WordPress blog with Elementor Plugin is now easier than ever before.
Before you start the creation process of your WordPress blog, you should first buy a hosting and a domain name from some hosting provider.
Almost every hosting provider offers a quick and easy way to install WordPress, so using the quick install options will enable you to install your WordPress Blog in a matter of a few minutes.
How To Install Elementor To Your Blog
After your WordPress installation is ready you can start to create your blog with Elementor. To do that, you should first go your Dashboard, click on the Plugins tab, then Add New and write down “Elementor” and then download and install the Elementor plugin. We recommend going for the premium version of the plugin because the free one has some limitations when it comes to its features.
How To Set Elementor’s General Options
Once the Elementor plugin is installed you can start building your blog.
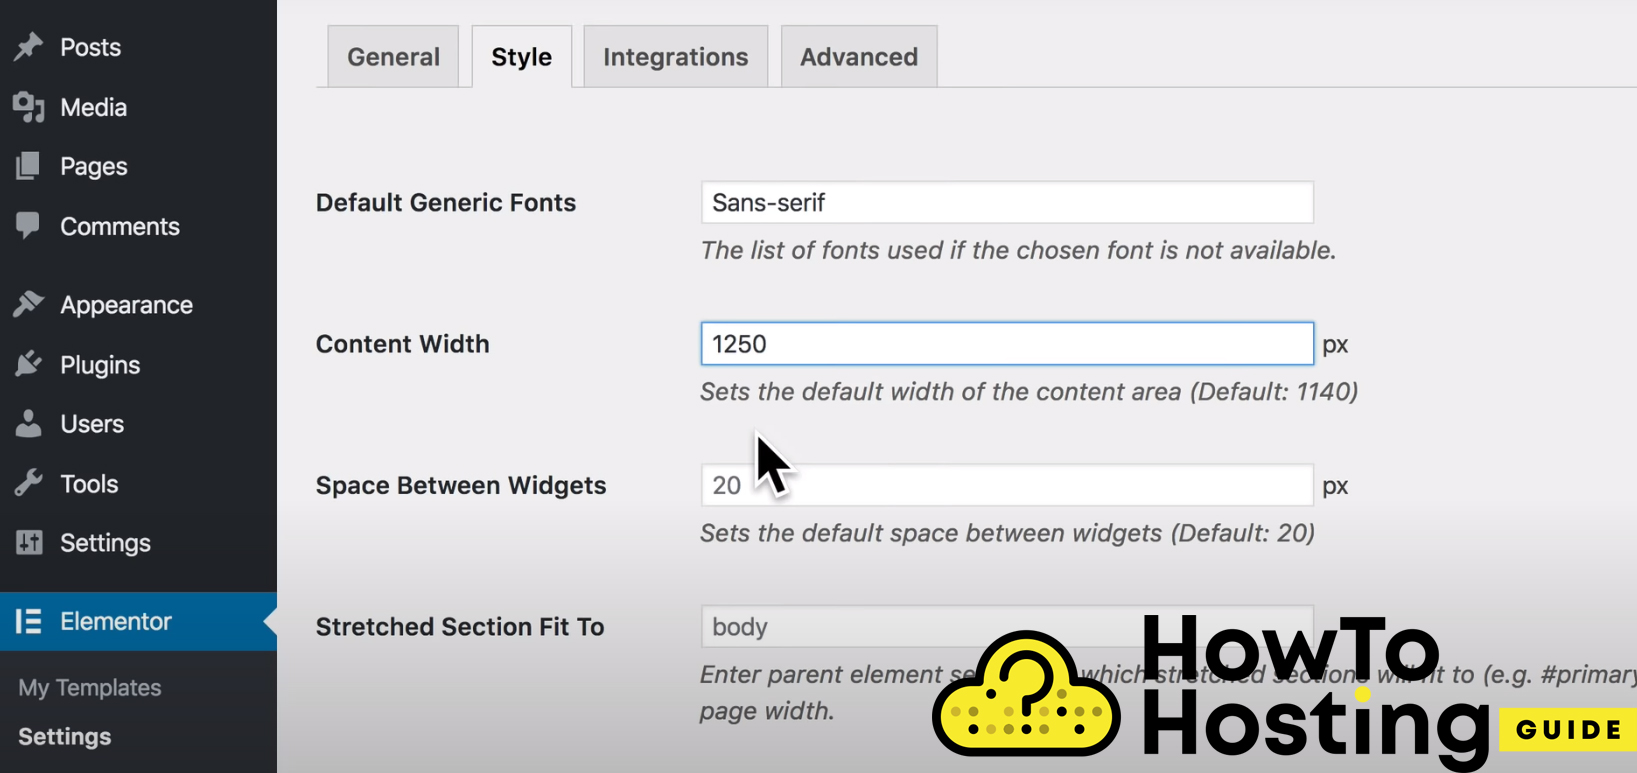
For our tutorial, we will go to ELementor, then Settings, and adjust the general settings of the plugin, by changing the content width to 1250px, and also choosing the proper fonts for our website.
How To Create Header and Footer with Elementor
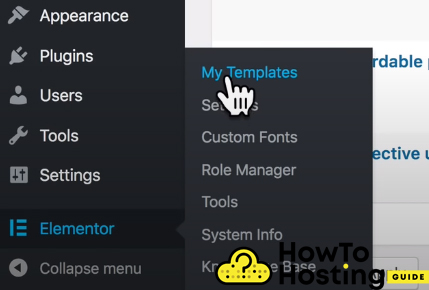
With Elementor you can easily create your header and footer. To do that go to Elementor, then click on My Templates, and then Header / Footer.
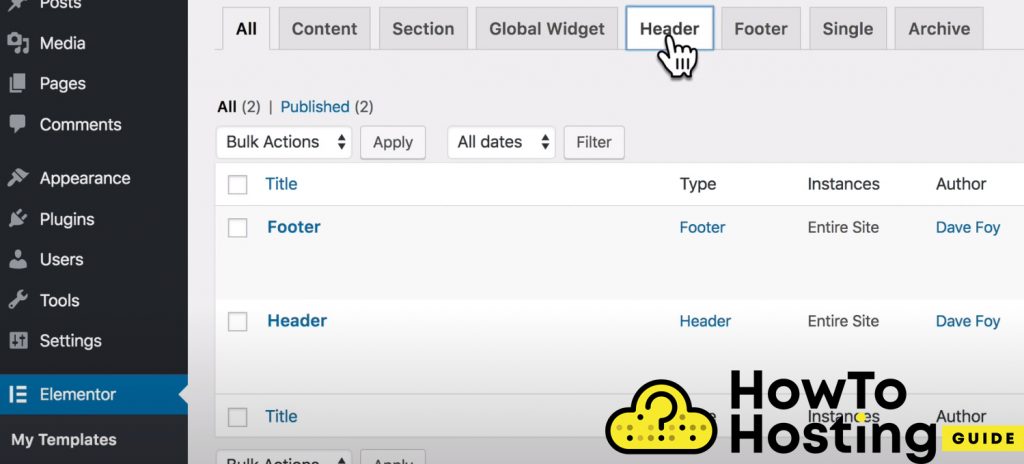
As you can see we’ve created a very simple header including logo and navbar and we also did the same to the footer, using the Elementor’s footer builder.
How To Create a Blog Single Post Template With Elementor
To be able to apply a single post template to any of your posts, you should first publish a few blog posts. Then, go to Elementor and click on the My Templates.
Then you should choose “Single” from the menu, as you want to create a template for your single posts and click on the Add new single.
You will be introduced to a template type box, where you can choose the post type and set write a name for your Single Blog Post.
How To Adjust Single Post Template Width
For our tutorial, we are going to use a full-width size for our post template. To do that, go to the settings icon on the bottom left of your Elementor editor, then on the General settings change the page layout to Elementor Full Width. This will give us the full width of the page while keeping the header and the footer.
To proceed with editing our single post template, we need some real content from our posts to be displayed on our newly created page.
To do that, go to the Preview settings on the left sidebar and you will see that it suggests. You can click apply a preview and if you notice that nothing changes, this is because you haven’t added any Elementor’s widgets to the right section of your site.
How To Add Section Background Image With Elementor
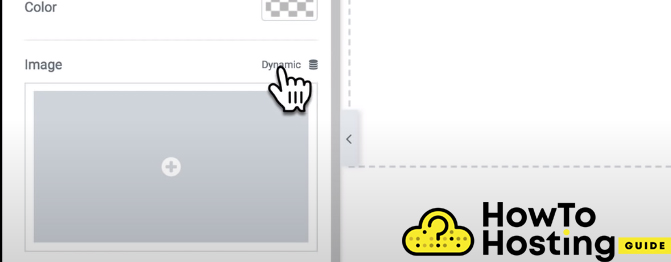
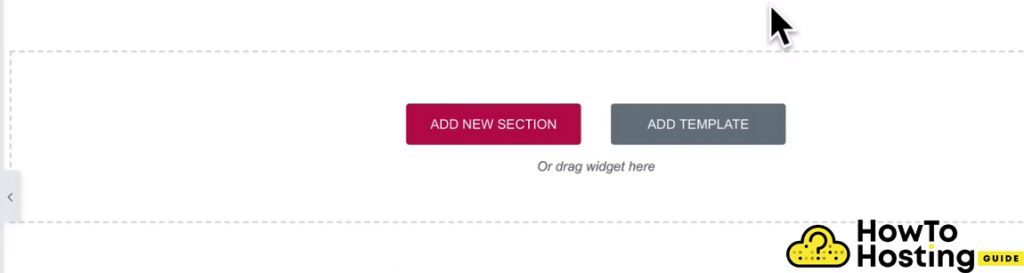
Click on the Add new section and then click on the section settings icon in the middle of the section and then on the section styles on the left click on Background, select background type, and set the image to Dynamic.
However, we will need to adjust the section height to be able to see our image properly. To do that go to the Layout tab on the left, go to the Height options and select Min Height from the drop-down menu.
You can set the height to pixels or viewport percentages.
Then, we need to adjust the positioning of the image. To do that click on the upper Style menu, choose a position, and select Top center from the drop-down menu. We will set the Repeat to No-repeat, because we don’t want our image to be shown over and over again, on the size we are going to select Cover and that will enable us to achieve a very fluent and beautifully looking visual effect.
How To Create The Layout For Your Blog
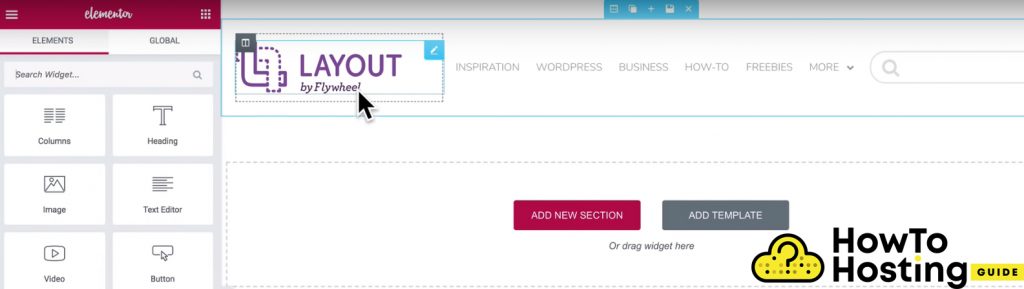
Once you’ve created the beautiful header part for your blog, you need to start building its body. To do that click on the Add New Section and for our purpose, we will choose the three-column layout. You can drag the width of the sections to adjust it the way you want. We are going to make it 20% width for the left, 60% for the middle, and 20% for the right section.
How To Dynamically Add Blog Posts To Your Page
You probably don’t want to have to edit your page every time you add a new blog post, so for that reason, Elementor offers a feature called post title widget. Just click on the widget menu on the left section of the theme element section and look down for the Post.
Title Widget
Drag it in your middle section and it will display your latest posts.
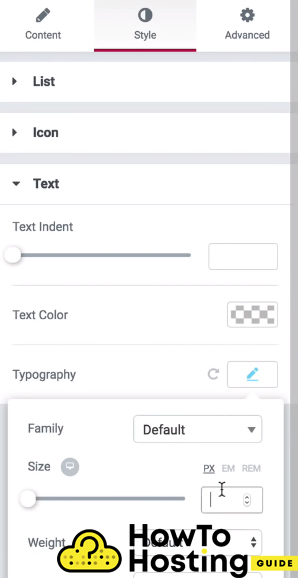
You might notice that its font is quite different than the one that you are using on your entire website. To change it simply go to Style, and change its typography.
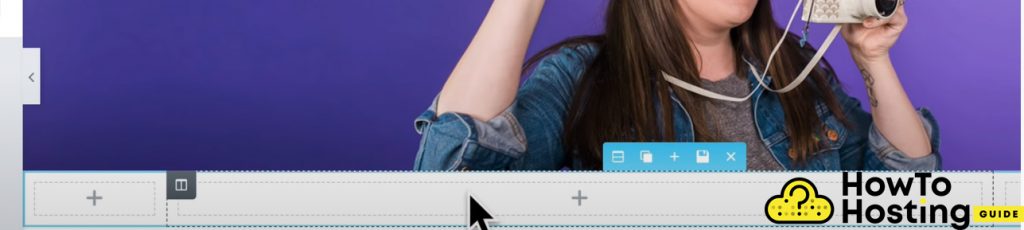
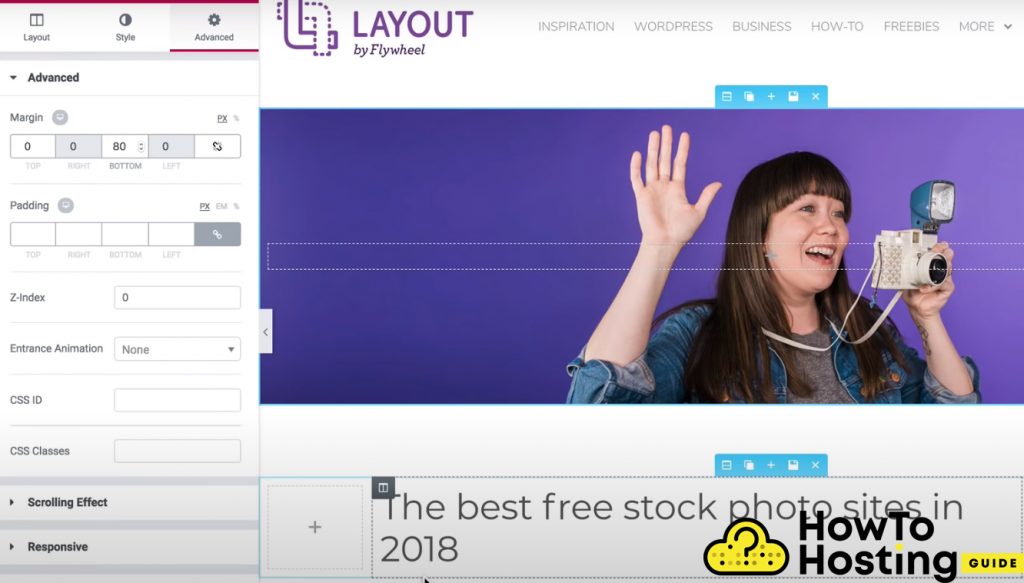
If you want to add some spacing between your header and the titles of your blog posts, you need to set some margin to your section.
Click on it and go to its options and from the left section go to Advanced, and set the bottom margin to 80 for example.
Then, we should drag the Post Info element from the left widgets panel and put it below our previous element. You can edit the post info options by adding or deleting elements from it, so you can leave just the date, the year, and the author for example.
You can also edit the text size, font, and color of the post info widget by clicking on Style –>Text and edit them.
Then, after we’ve already prepared our top part of our blog post page we need to add the content to our page. Simply go to the widget section and look for the post content widget.
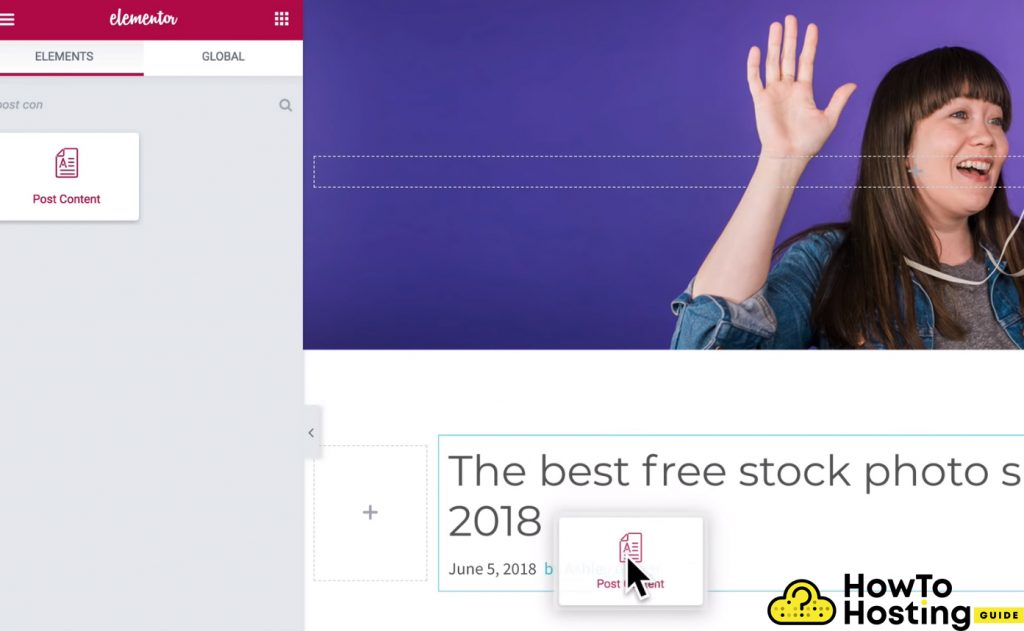
Drag it to your page and your content will be displayed. If you want to edit the typography of your blog posts, alignment, or colors, you can do that from the left side of the screen, where you can see all of the available options.
How To Add Author To BlogPosts
Since we’ve added the main content of our page to the middle section, we have to add the author to our left widget.
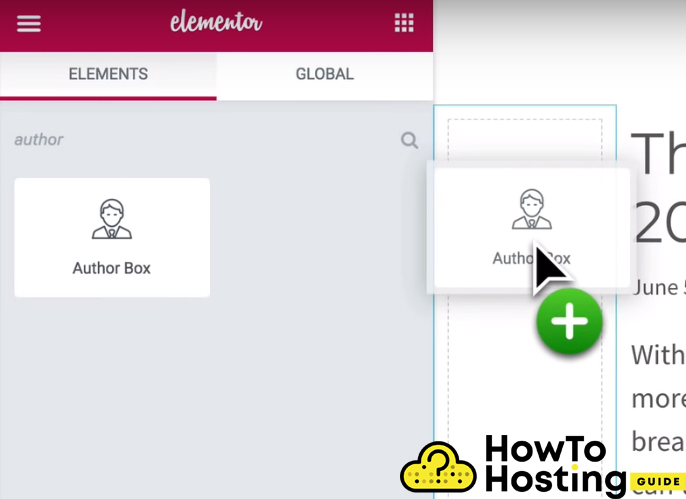
Just drag the author to your first section and you can adjust all of the Elements options again. You can choose whether you want its picture and name to be displayed, its font, link, active button, and many more options.
How To Display Blog Post Category in Elementor
Then let’s say you want to add the name of the category where the blog post is published. To search for the post info element again and then drag it under your author widget.
You can also edit its options and change the metadata information, switching between the type of the widget and setting it to Terms, and the Taxonomy to Categories. We can adjust the style options as well and center the widget and set some border-radius to our element.
How To Add Social Icons in Elementor
To make our blog post page look even more professional, we need to add some social media sharing buttons to it. With Elementor it is a very easy thing to do and all you have to do is to look for the Share Buttons widget and drag and drop it into your page. We will use it in our left section.
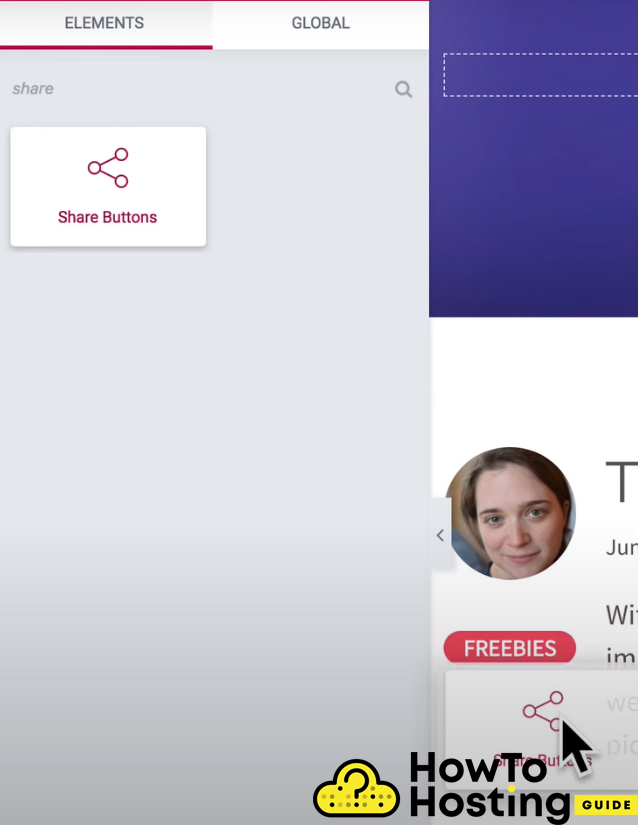
You can also edit the way the social buttons appear and style them uniquely, so they perfectly fit your website.
Creating The Right Sidebar of Your Blog
After you’ve created your left and middle section, all you have to do is to create the content for your right sidebar.
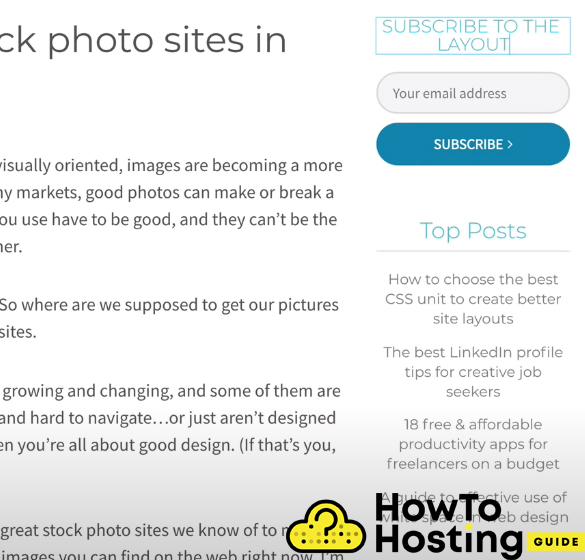
The text on the top we’ve created on this page is just a Heading widget set to H3 and in style, we’ve set the color to be blue, and the font to be Montserrat. Then, under that Heading, we’ve dragged an Elementor form widget to create our subscription form. To create some spacing you can drag a spacing widget under the subscription form, to make your sidebar look more professional.
How To Display Posts In Elementor
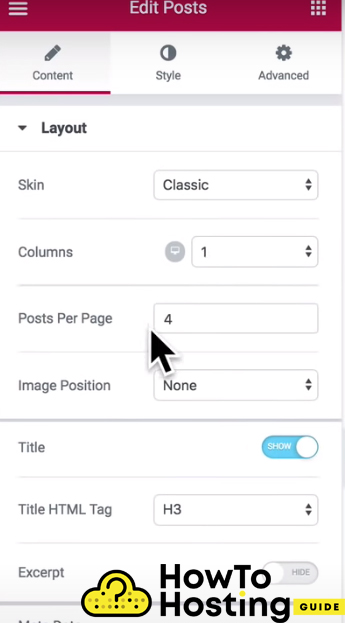
To get a simple list of posts, you can look for the Posts widget and drag and drop it where you want it to appear. We decided to add the list under the subscription form and adjust its options. You can customize pretty much everything in the widget, for example, the number of the columns, the posts that are going to be shown, the title, headings, metadata, and even more.
Make sure that you scroll down the element options and exclude the Current post because you don’t want your current post to be listed in the right sidebar while your visitors are already reading it.
Finally, you can adjust the styles from the Style tab and adjust columns gap, rows gap, colors, and alignment.
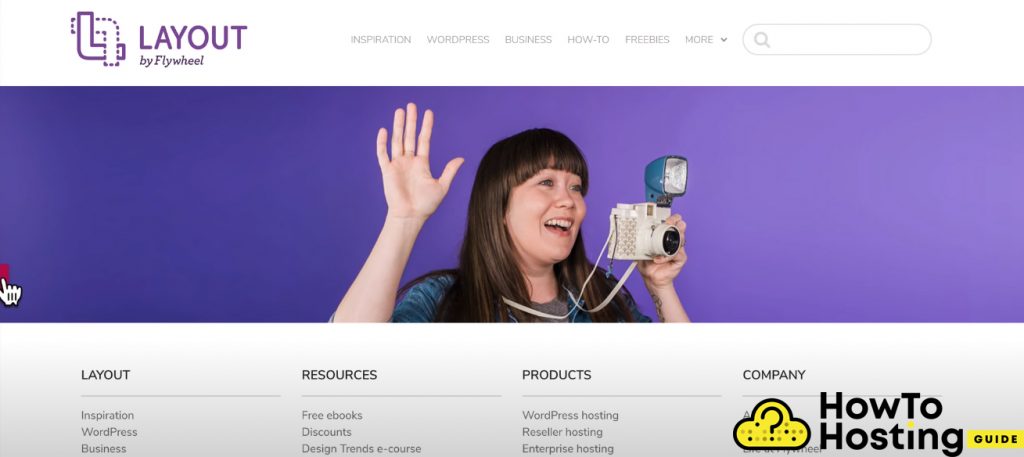
Create a Blog with Elementor – Final Results
Here is the final result of our Blog page that we’ve successfully built with Elementor. Of course, you can also add even more elements and customizations if you want. It is all up to your preferences.
Thank you soooo much for this tutorial. I have been looking for Elemntor tutorial for a few days and now I’m ready to start my first blog.
The main reason i prefer Elementor is because this solves a lot of the performance issues I had with one of the embedded WP themes. I am however still trying to master It, since I do not know some aspects of the layout and the media. Still, this guide helped me with some of them, so thnx, appreciate it.
Hi, I would like to say thanks for the steps. At first, i had problems adding social buttons and author and was not sure whether Elementor was the right choice for my university project, but now that I see more info about it and its functionality plus how easy it is to set up, you helped me with the decision.