
On This Page: [hide]
What Is NFT and How to Sell NFT?
By definition, NFT, or non-fungible tokens our a unique digital identification objects that cannot be copied altered divided or tampered with because they are recorded in a block chain which certifies their ownership and makes them unique and original.
NFTs can be different types:
- Art.
- Collectibles.
- Domain names (NFT domains).
- Music.
- Photography.
- Sports.
- Trading cards.
- Virtual worlds.
In this tutorial, we aim at showing to you how you can create a unique NFT collection or a single piece of art and sell NFT on the largest marketplace – Opensea.
How to Sell Your NFT and Make Money?
Before we begin with explaining to you how you can create your first NFT collection, we would I strongly recommend that you have at least basic skills and how to create a transparent image.
These skills will particularly help you when it comes to creating a collection.
One of the easiest ways to create a custom model for your NFT is in Adobe Photoshop.
For this tutorial, we will use a unique NFT that is called “CryptoTreePlant” and is created on online 3d modelling website, called SculptGL and then exported to Adobe Photoshop so that it can have transparent background and be refined with improved quality.
Step 1: Create Your NFT Collection (or Art Piece)
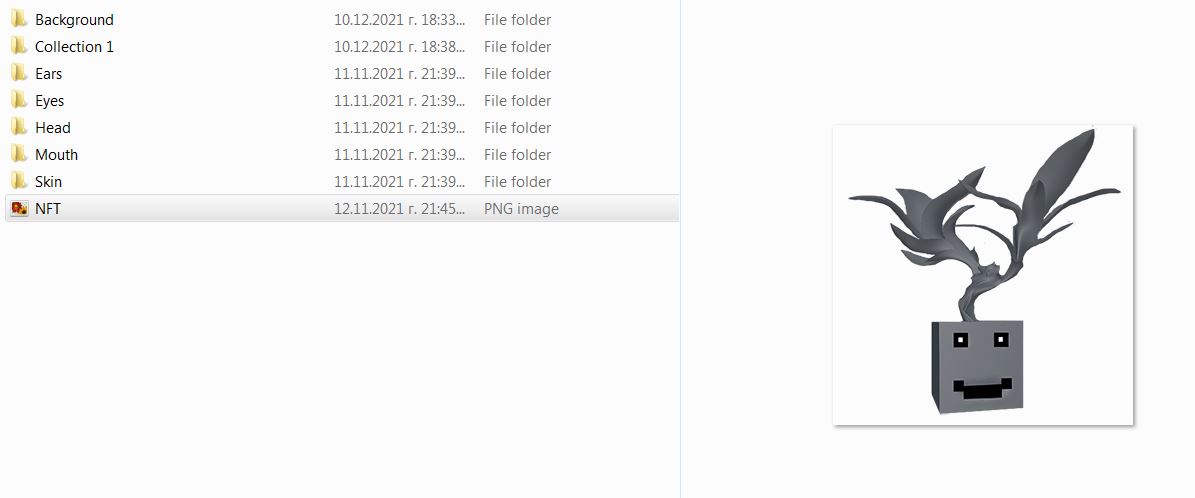
When you make an NFT collection, first thing you should think about creating is the properties of your non-fungible token. Our NFT will have the properties “mouth”, “eyes”, “background”, etc., and we have created 20 items for each property, as shown below:
It would take hours and even days to create hundreds of NFTs for your collection end it is very confusing to decide which item should be more rare than the others (for example 0.1% of all NFTs are with a green background). This is why, to save you hours of time and confusion, we will now explain how you can make this process automatic by using an online NFT generator service.
IMPORTANT TIP: Before starting, make sure that:
- All of the the properties are images of the same size (in our case 300×300 pixels).
- The property “background” is first and other properties are transparent images.
- The properties that are designed to fit on the mouth, for example, should be laid over the mouth of the NFT so that they fit perfectly when you place one over the other.
Having said that, it is now time to create your first NFTcollection so you can sell NFT later.
1. Go to the online service, called NFT Generator:
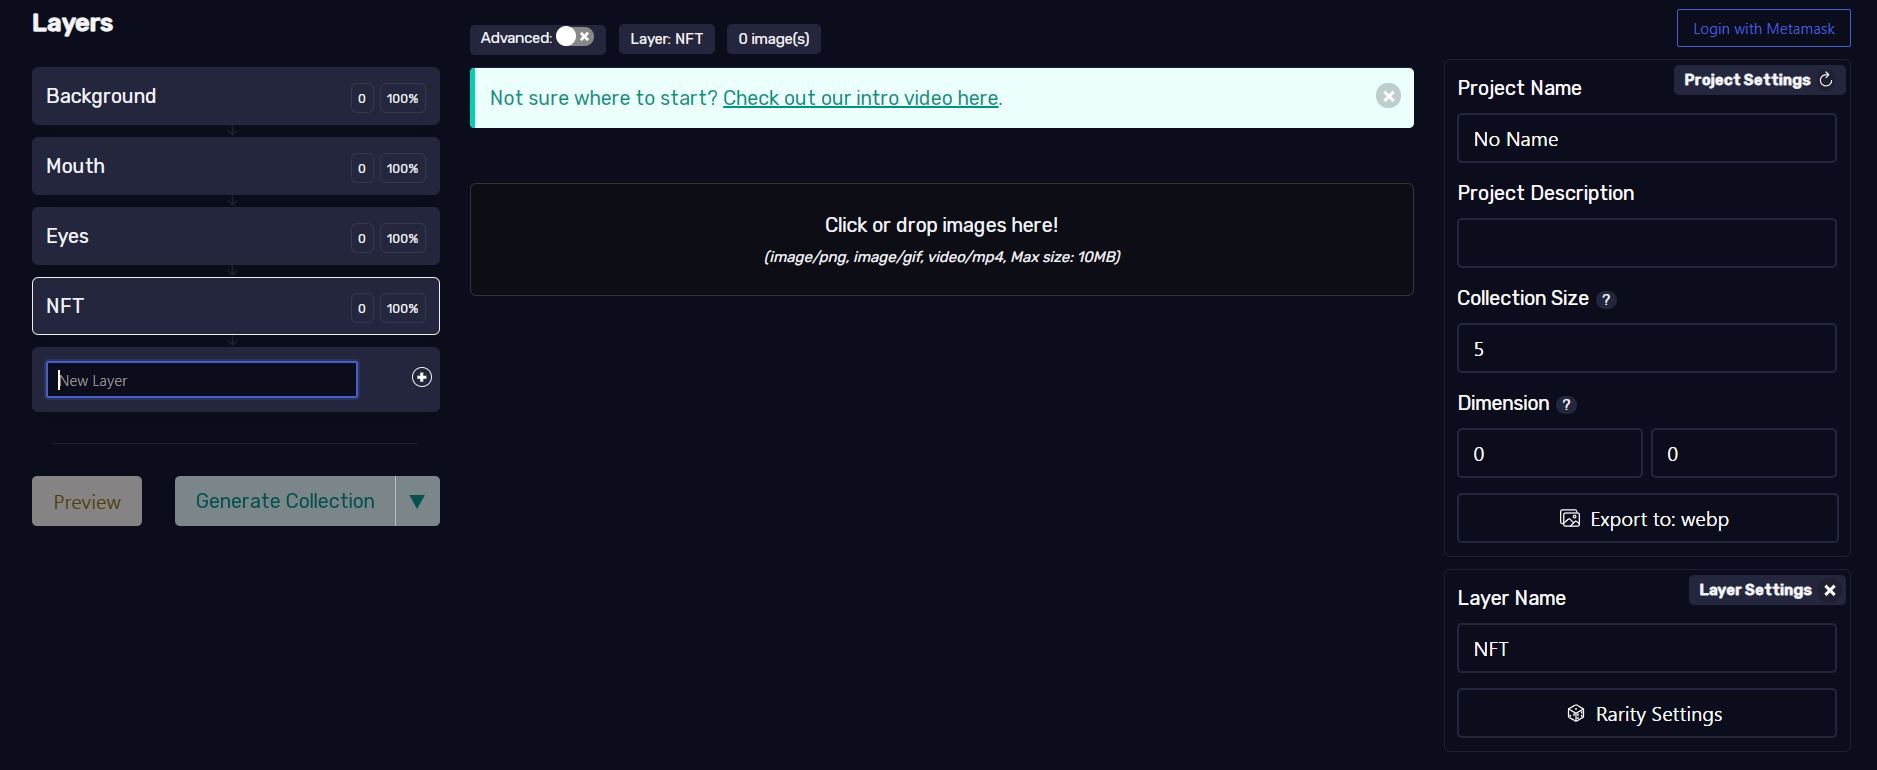
2. As you can see from the image above, we have created on the top left corner all of the properties and set them in a specific order so that the generator can lay them one on top of the other. Make sure to create them in the exact order they would be generated.
3. When you are done creating your layers, go to each layer and upload the specific property that is corresponding to it, like shown below:
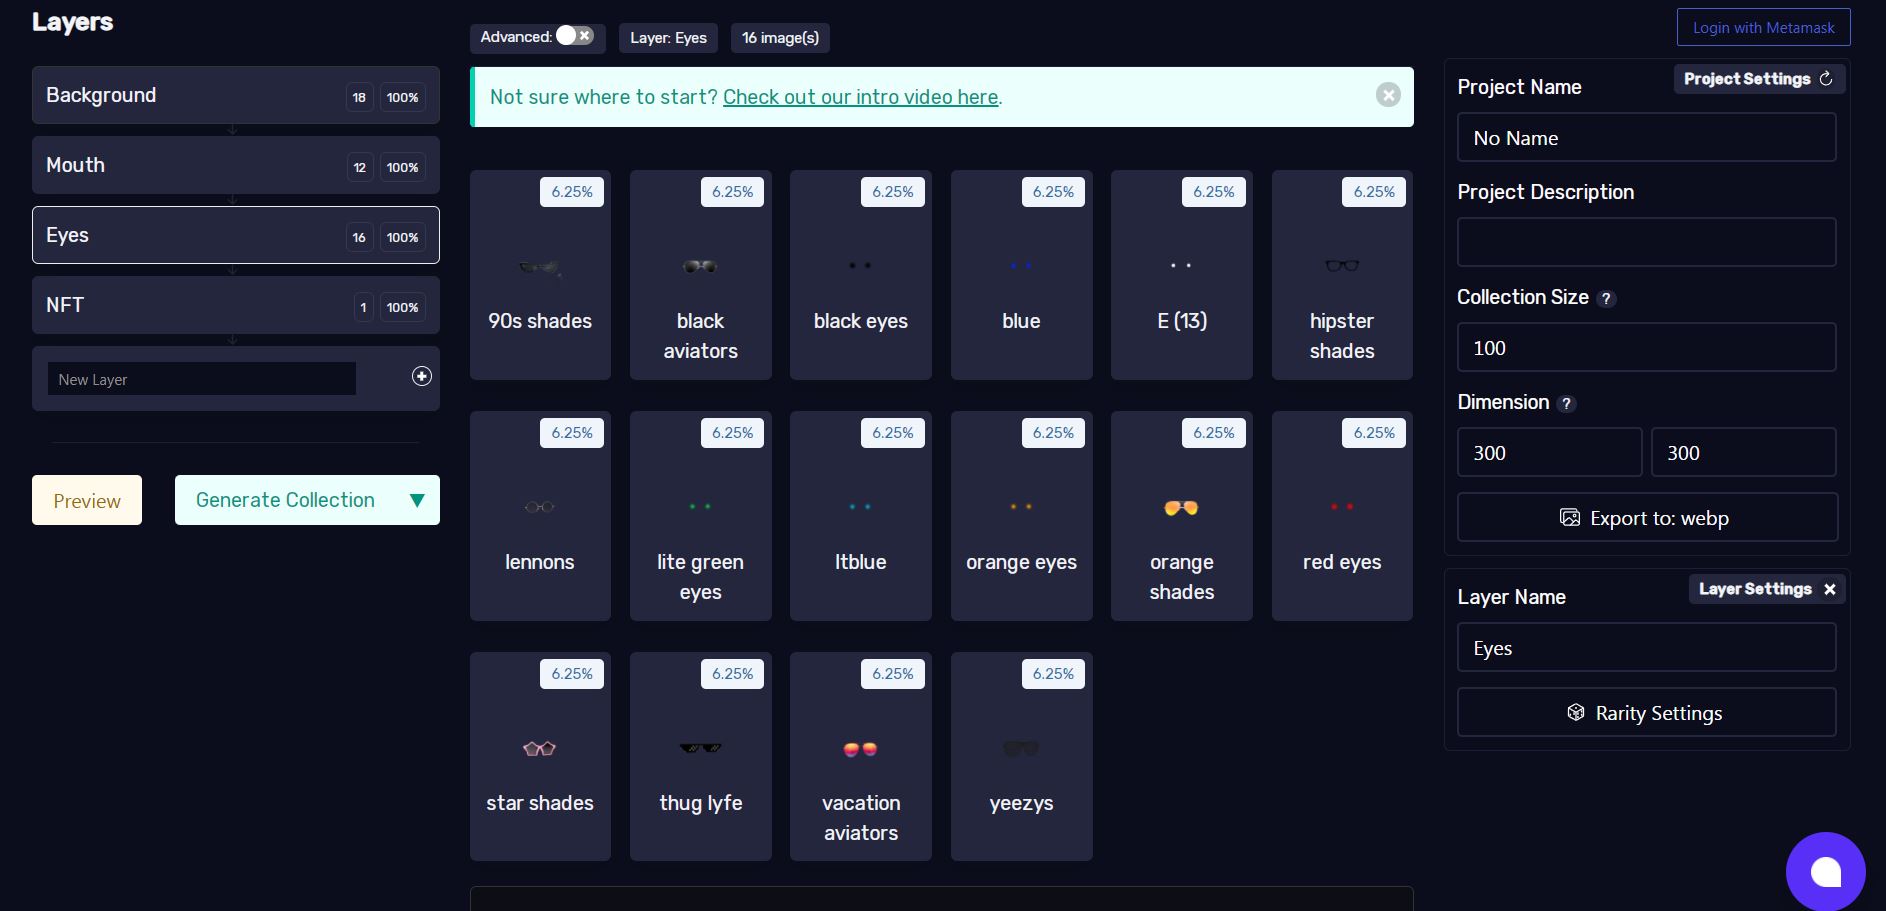
IMPORTANT TIP: The percentage of rarity or how often the item should show up on the NST can be modified by clicking on each property’s top right corner, where the percentages “6.25%” are shown in the demonstration image above. Reducing the percentages makes the NFT that has this specific property more valuable among all the others in the collection.
4. From the panel on the right side, select the collection size (we have typed 100 to begin with) and then go to the left side and click on Generate Collection to start the process. It may take some time, so be patient. When the NFTs are generated, they will pop up as a download prompt for an archive on your browser so you can save them somewhere easy to find.
Congratulations! If you followed all steps correctly, now you have created your first NFT collection. Now let’s upload it and make some money!
Step 2: Mint Your NFT Collection on Opensea
Now that you have successfully created your first collection, it is time to mint it in the largest marketplace currently for NFTs, called Opensea.
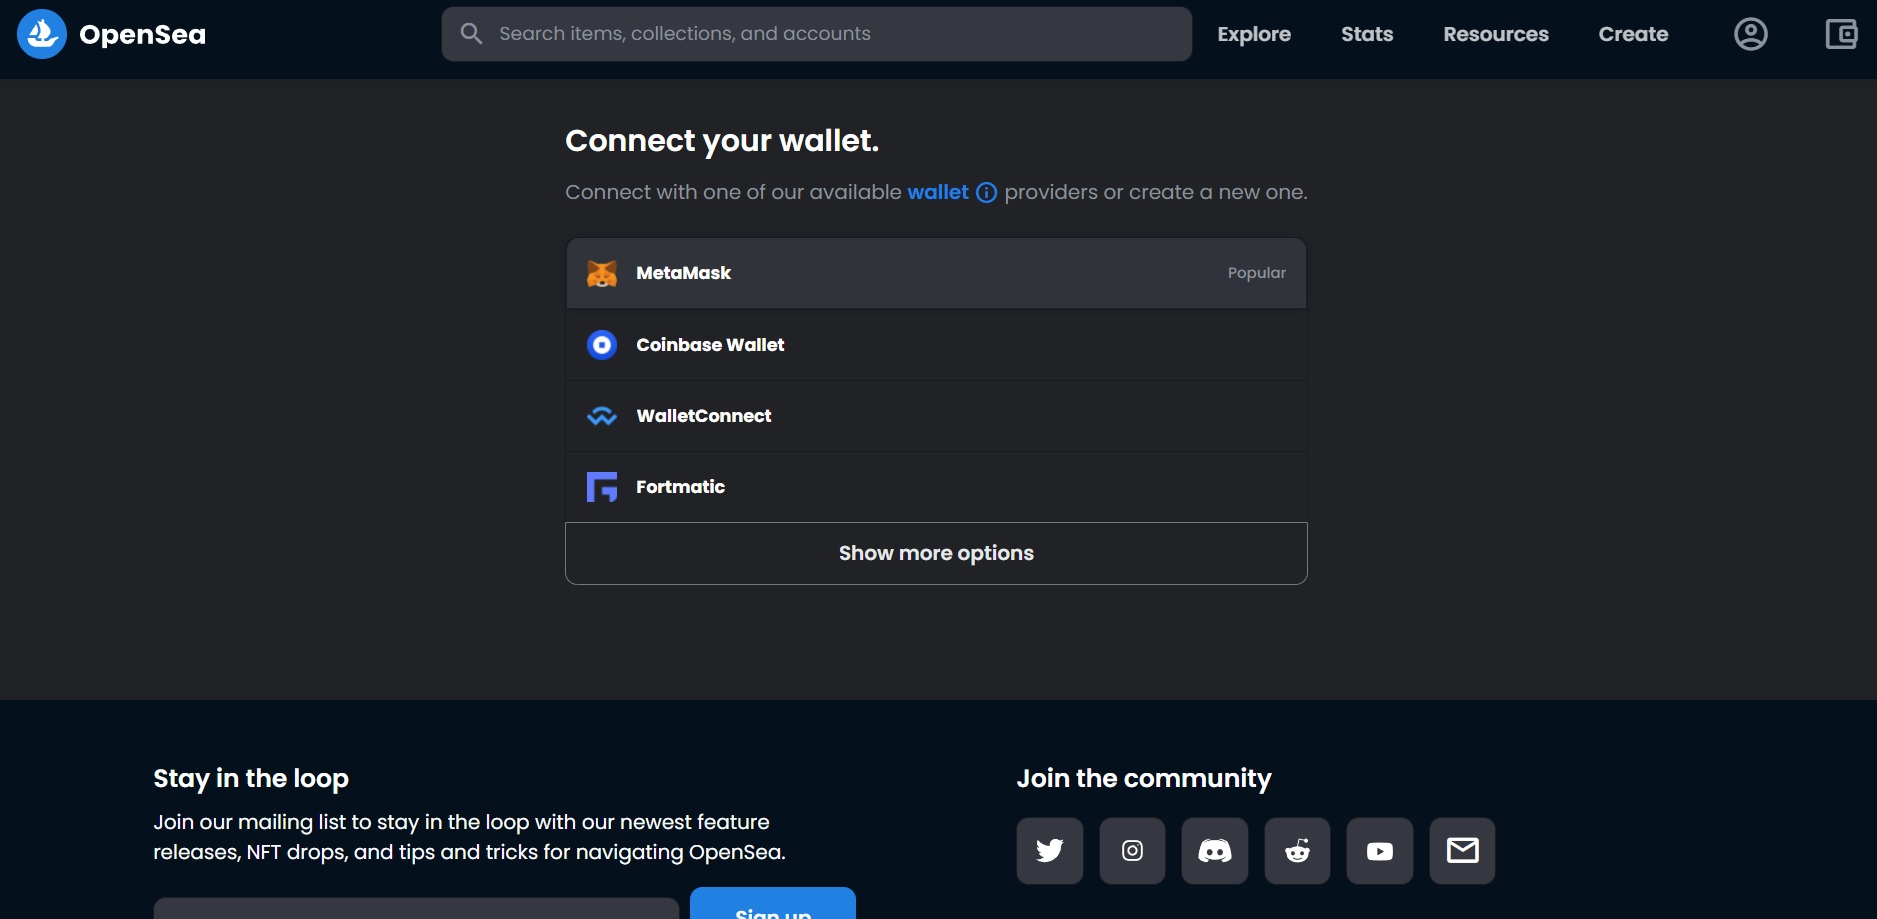
1. Go to the homepage of Opensea and click on the top-right corner, where it says Create. You should see the following page:
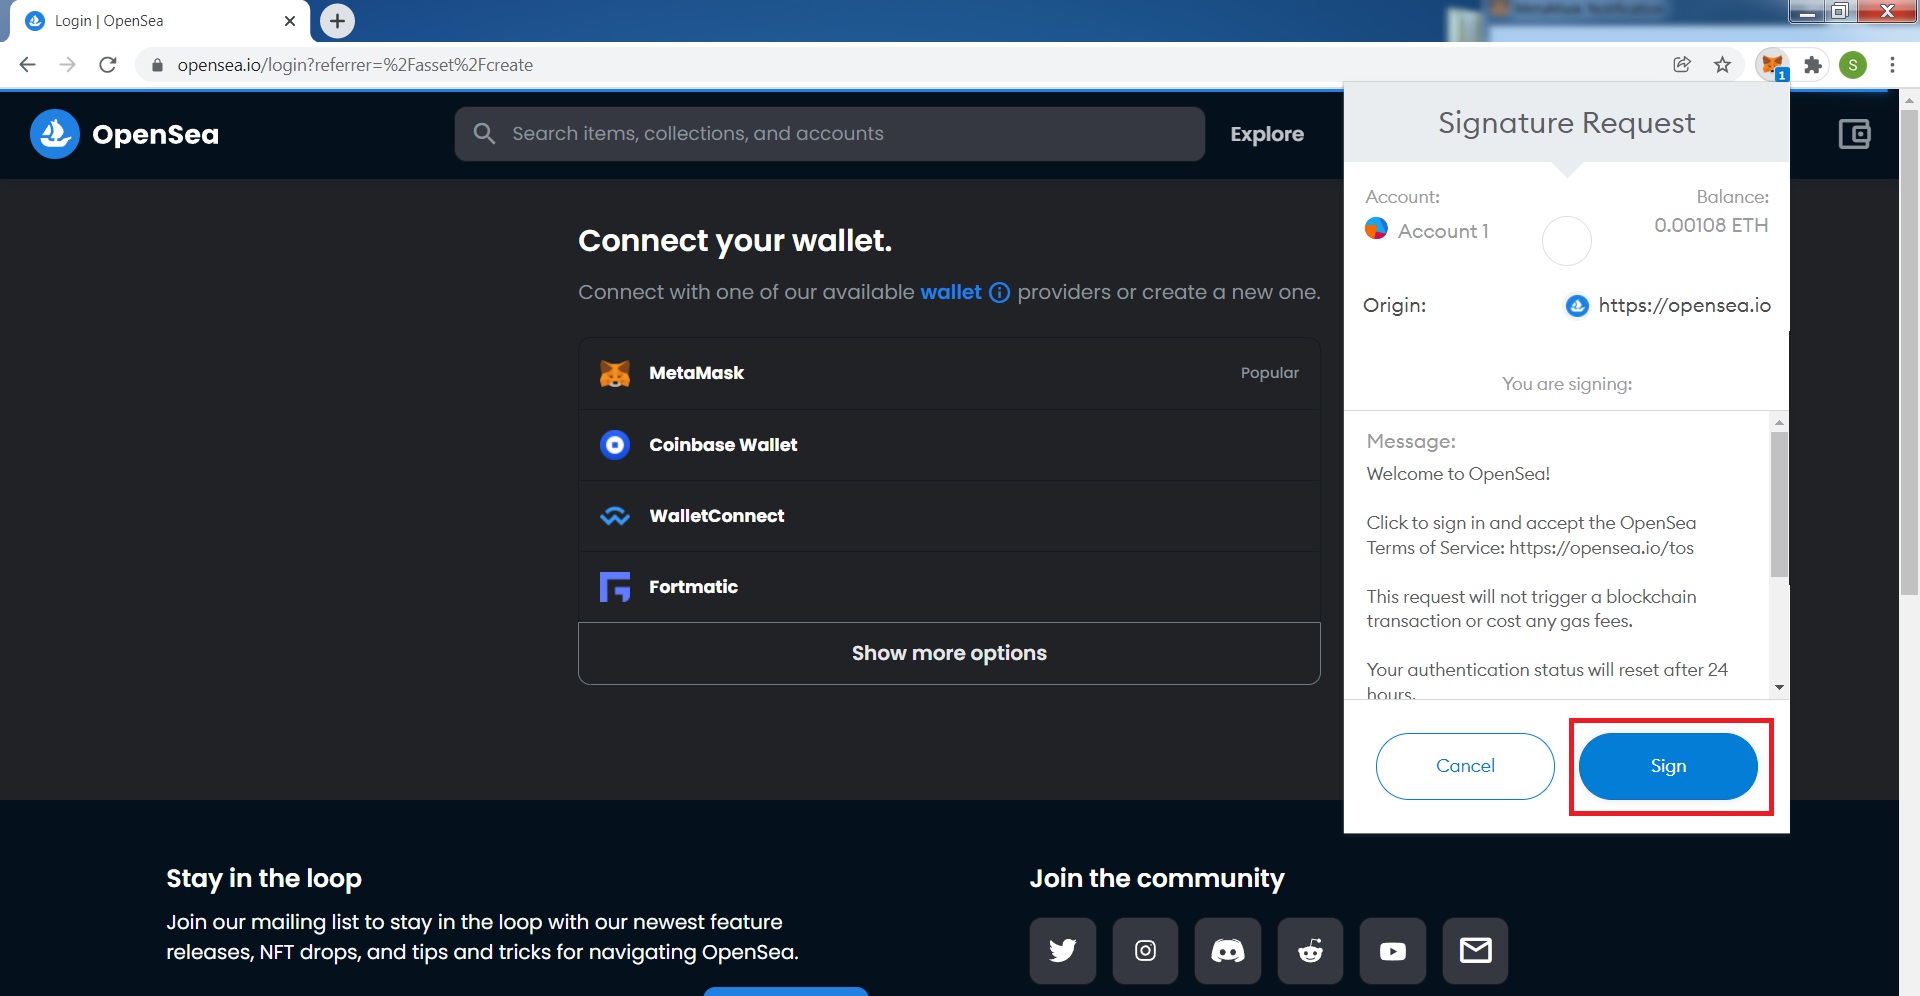
2. Select a cryptocurrency wallet and validate it. If you do not have one, we would recommend creating a Metamask wallet and downloading its extension for Google Chrome to use it with Opensea – it is fast and easy. After you log in your meta-mask wallet, the website will send the prompt to it, which you should sign:
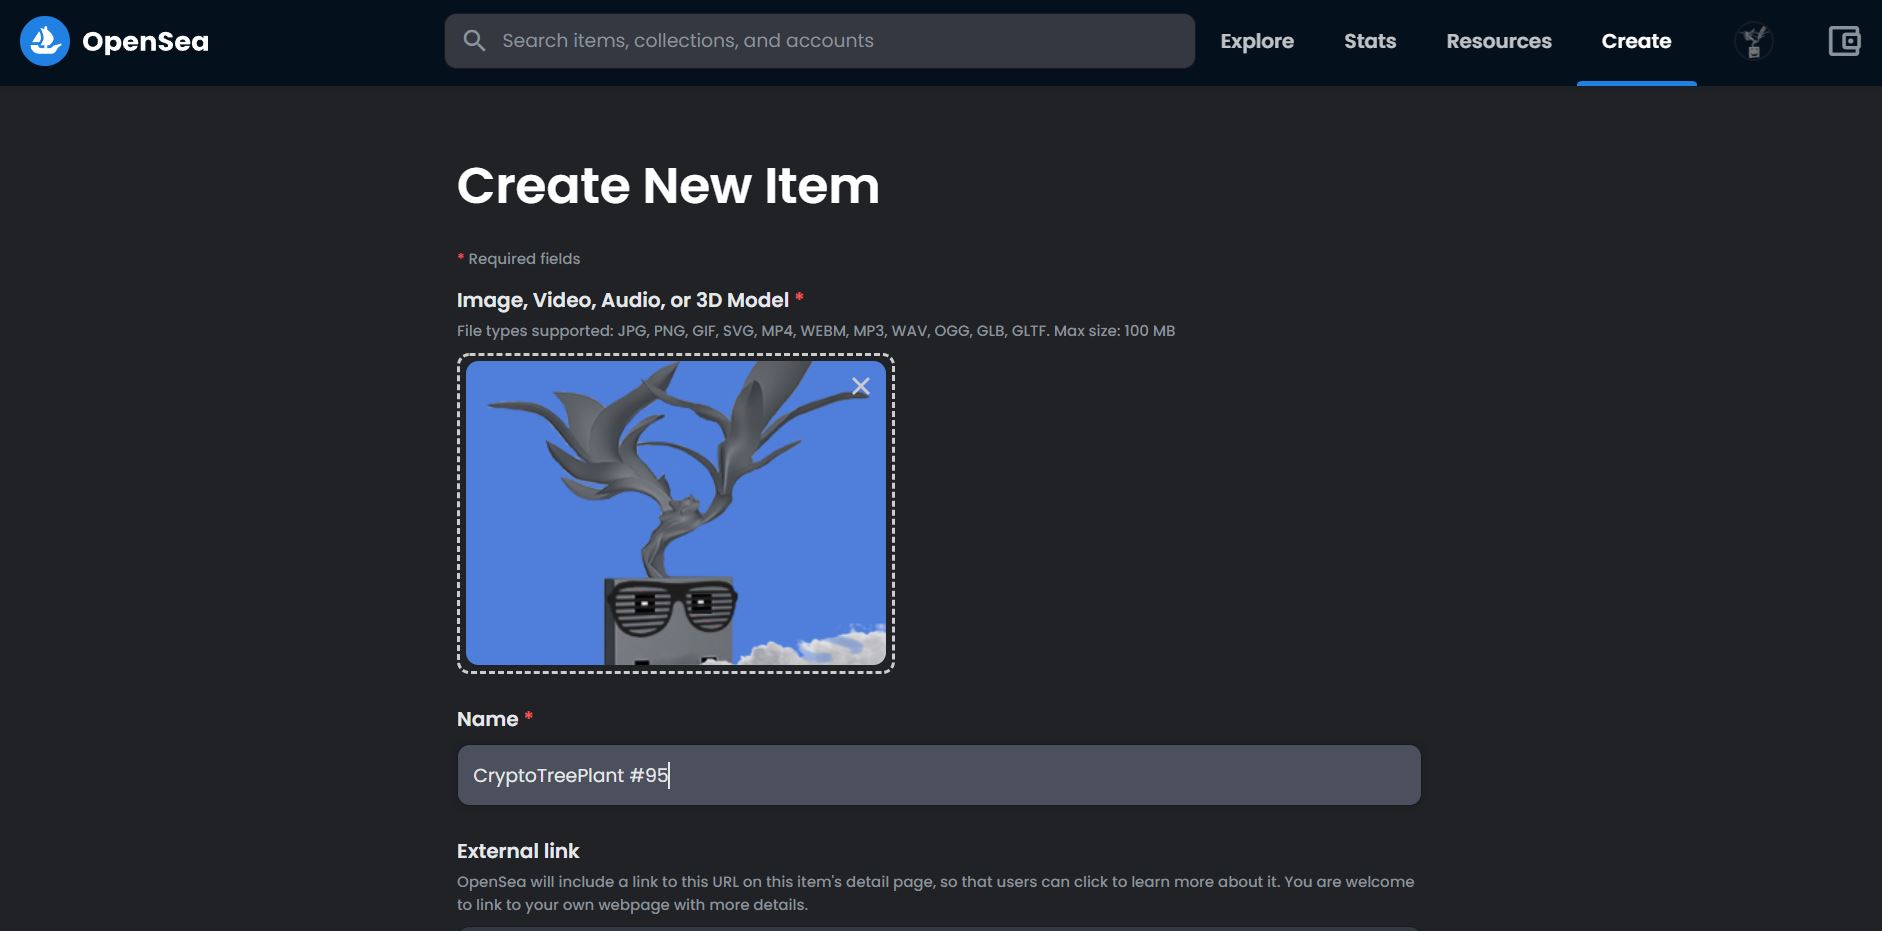
3. If you have done this correctly, you should see the “Create” page next. In it, upload your created NFT as a photo and give it a name. For collections, it is recommended to use numbers as this is the most familiar way.
4. Add a description for this specific item. For example describe its number or properties or you can also use the same description for each NFT from the collection. Make sure the description is well written and clear to understand:
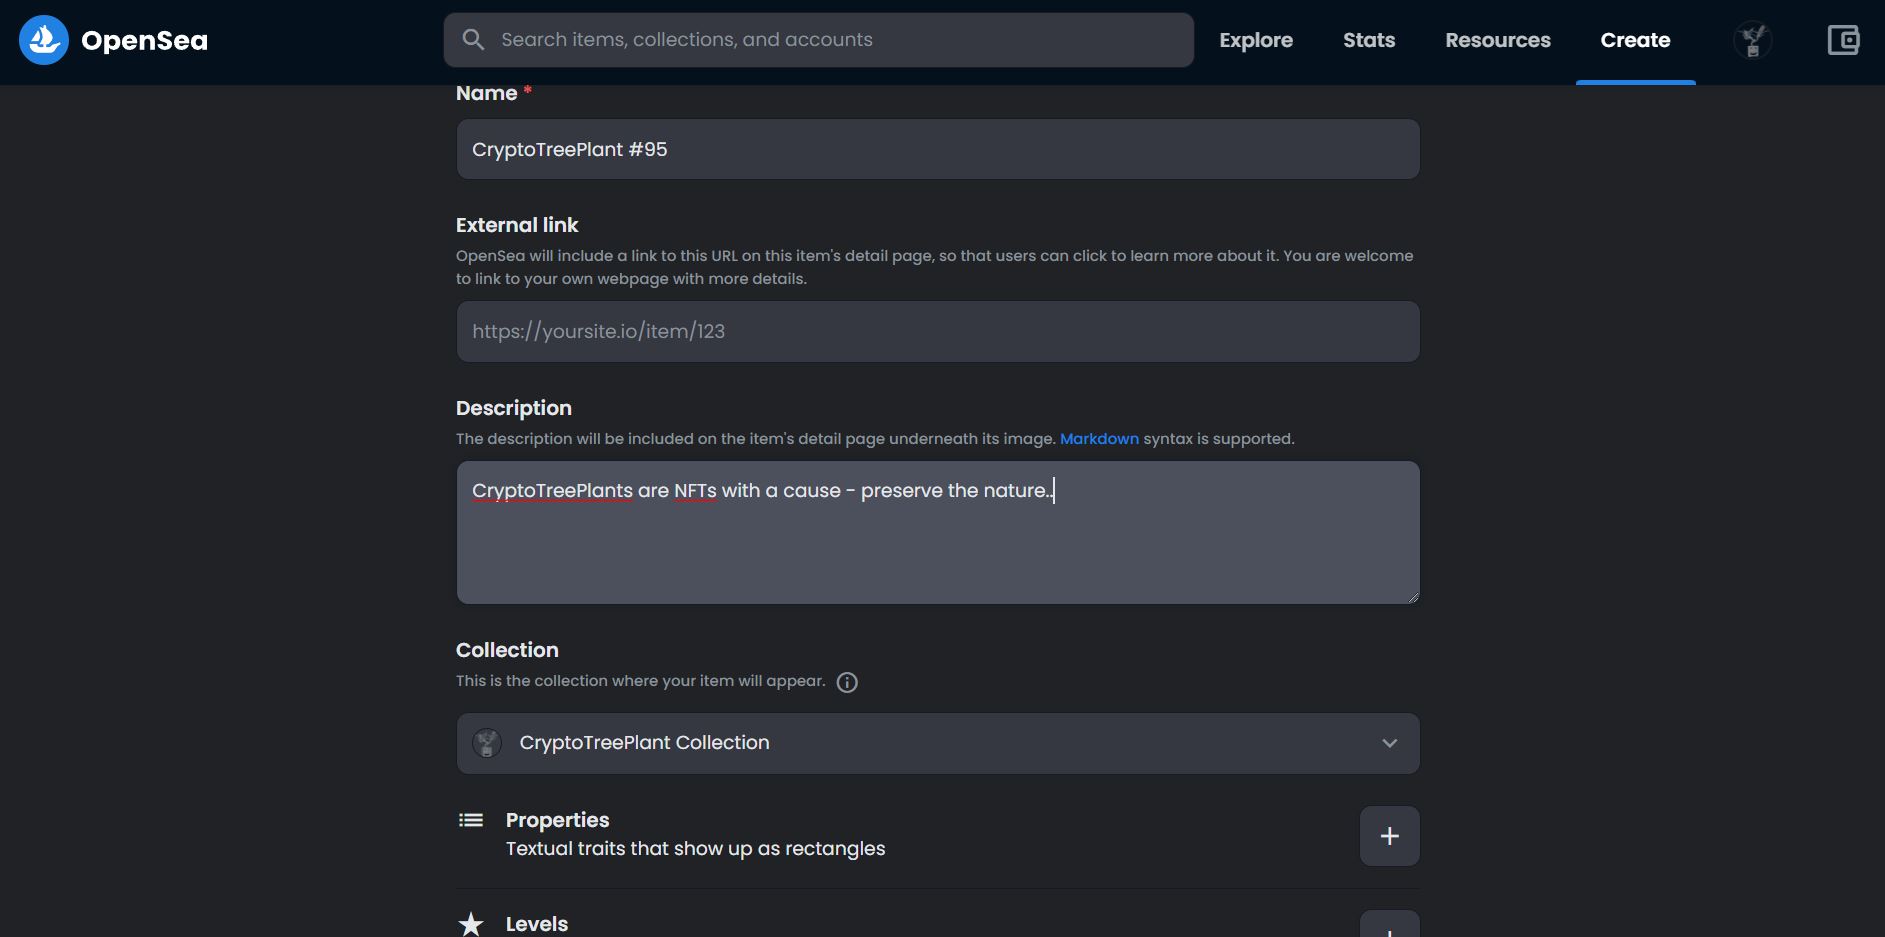
5. Under the collection, you will see the properties. Simply open the window and type all of the properties that you have already created in the NFT Generator (it is a good idea that you give name to each of them, for example blue sunglasses, etc).

6. In order to mint your NFT for free, it is recommended to list it on the Polygon network. Minting in on Ethereum requires a one time fee from your wallet so that you can use it to mint NFTs afterwards, which is not exactly free. Using Polygon network allows you to take advantage of the gasless network (gas-free).
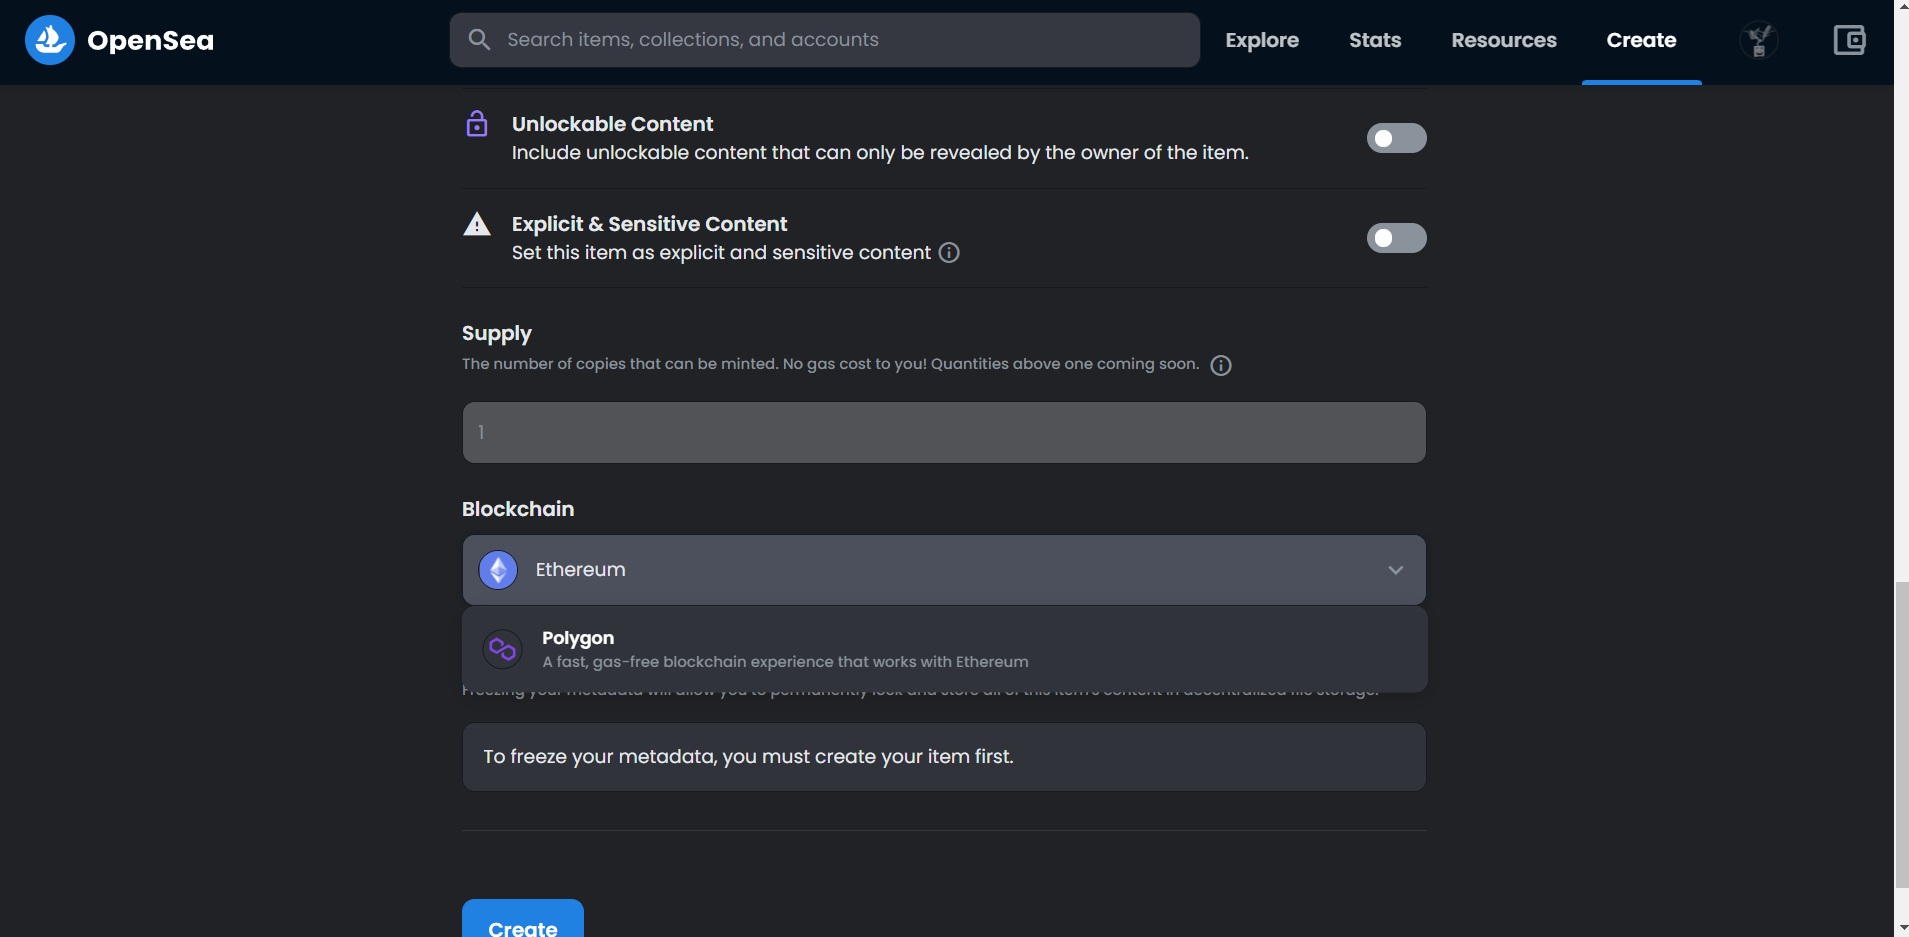
7. After you have finished setting up all of the properties for your NFT, simply click on “Create” and that’s it!
Now that you have successfully created your NFT, it is time to put it up for sale. To do this, complete the following simple steps:
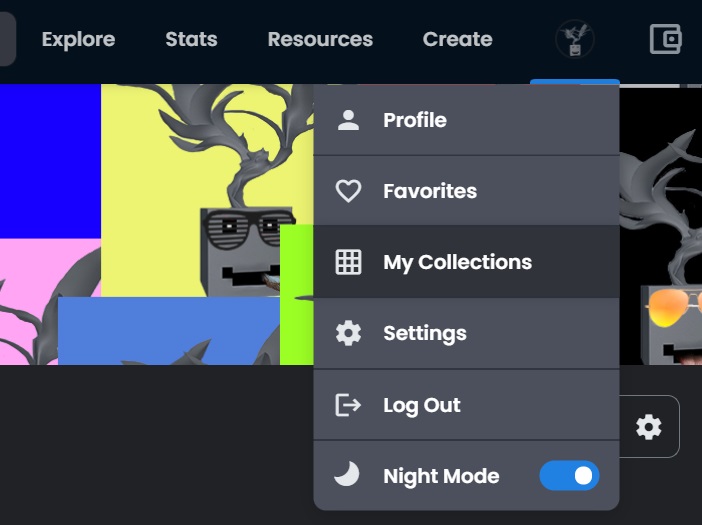
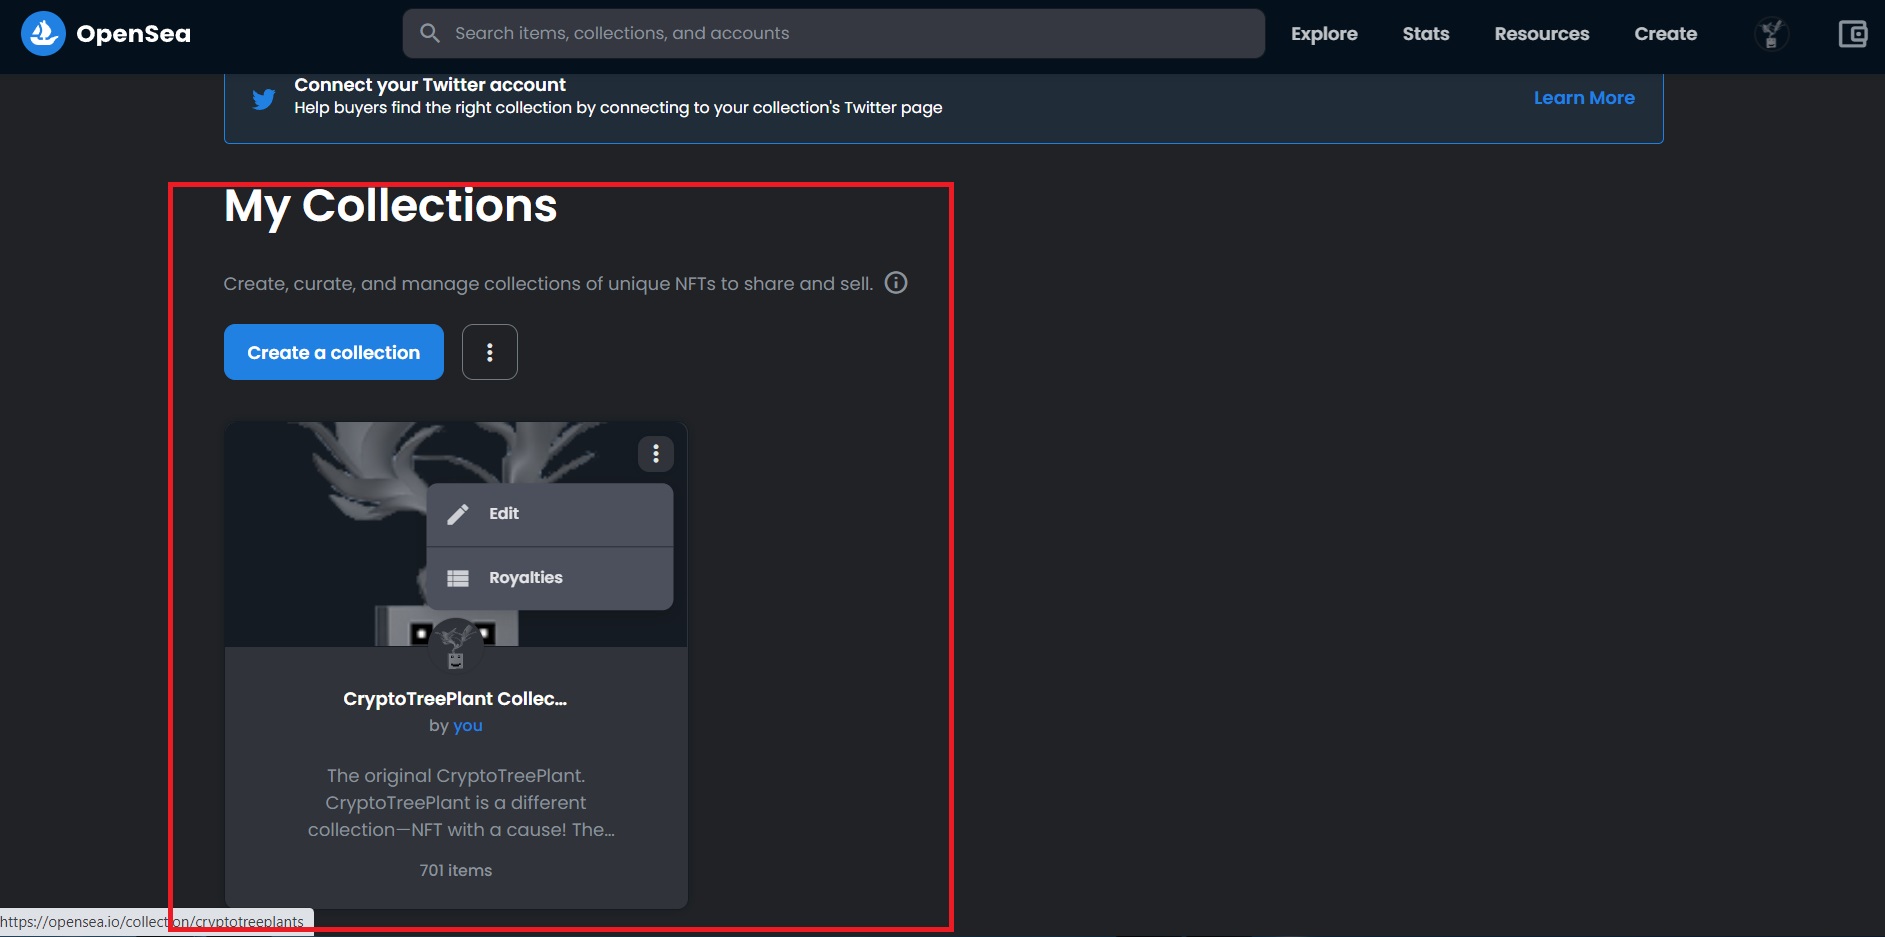
1. Click on your profile image in the top-right and open My Collections:
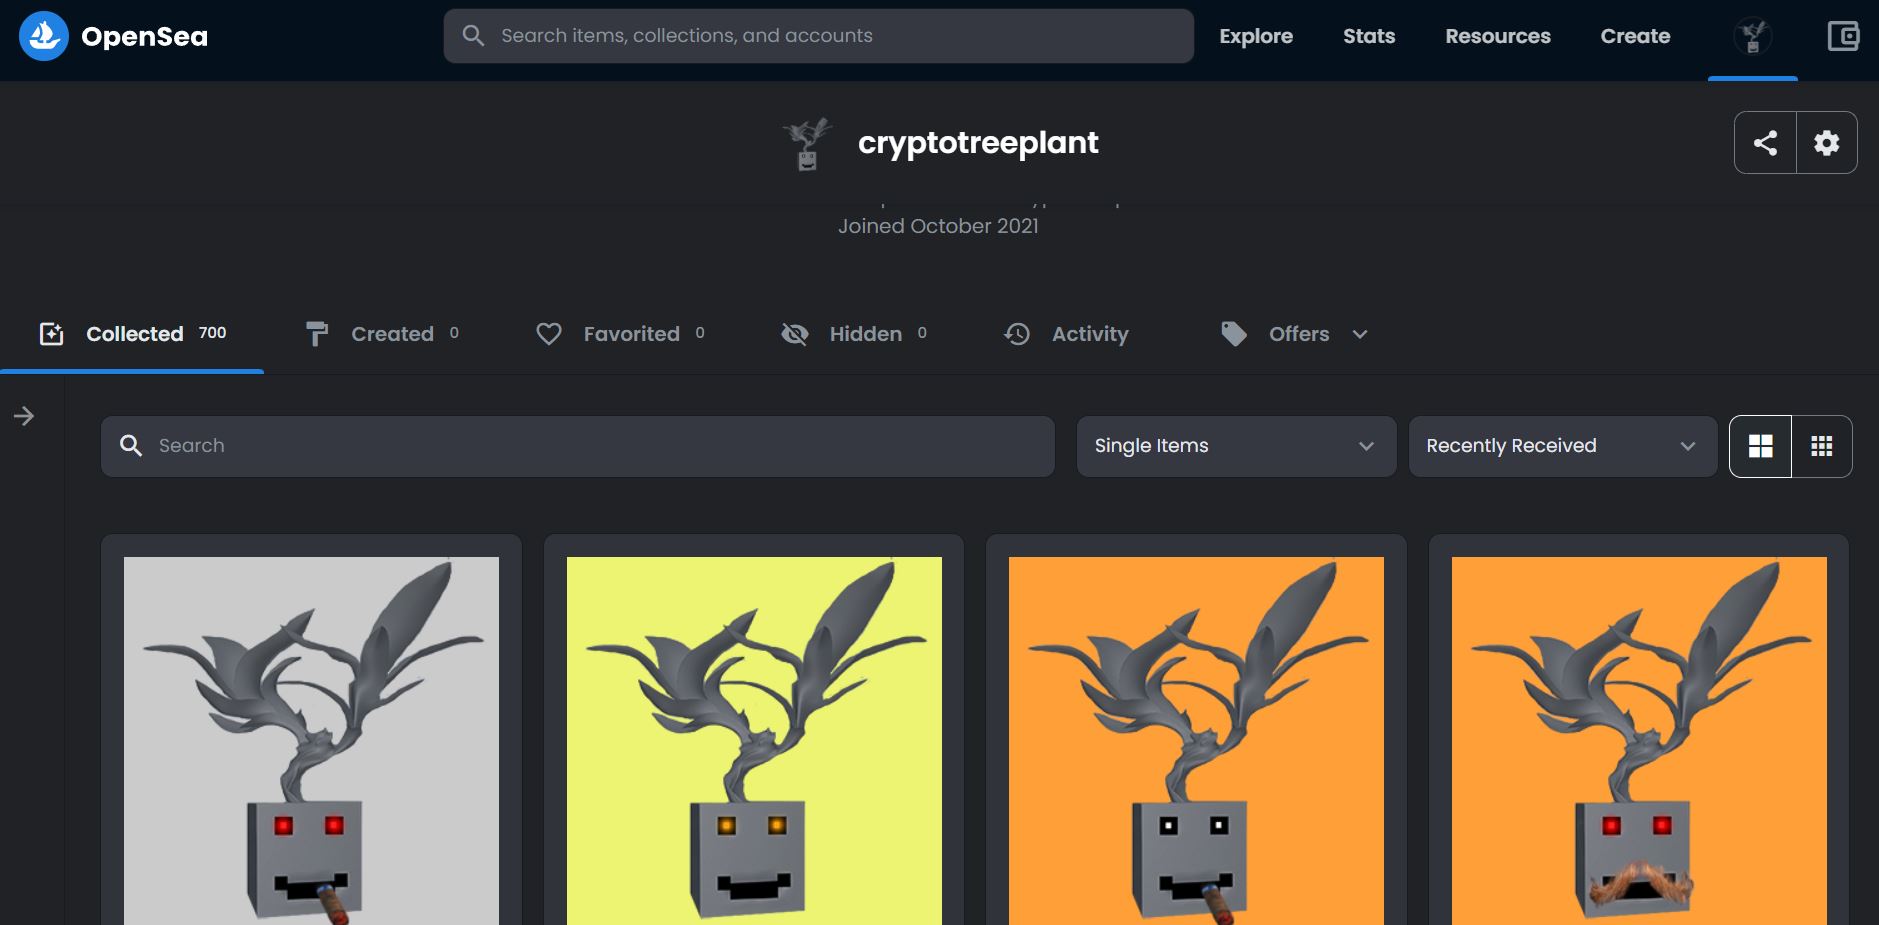
2. From your collection, select the NFT that you have just uploaded to open its profile:
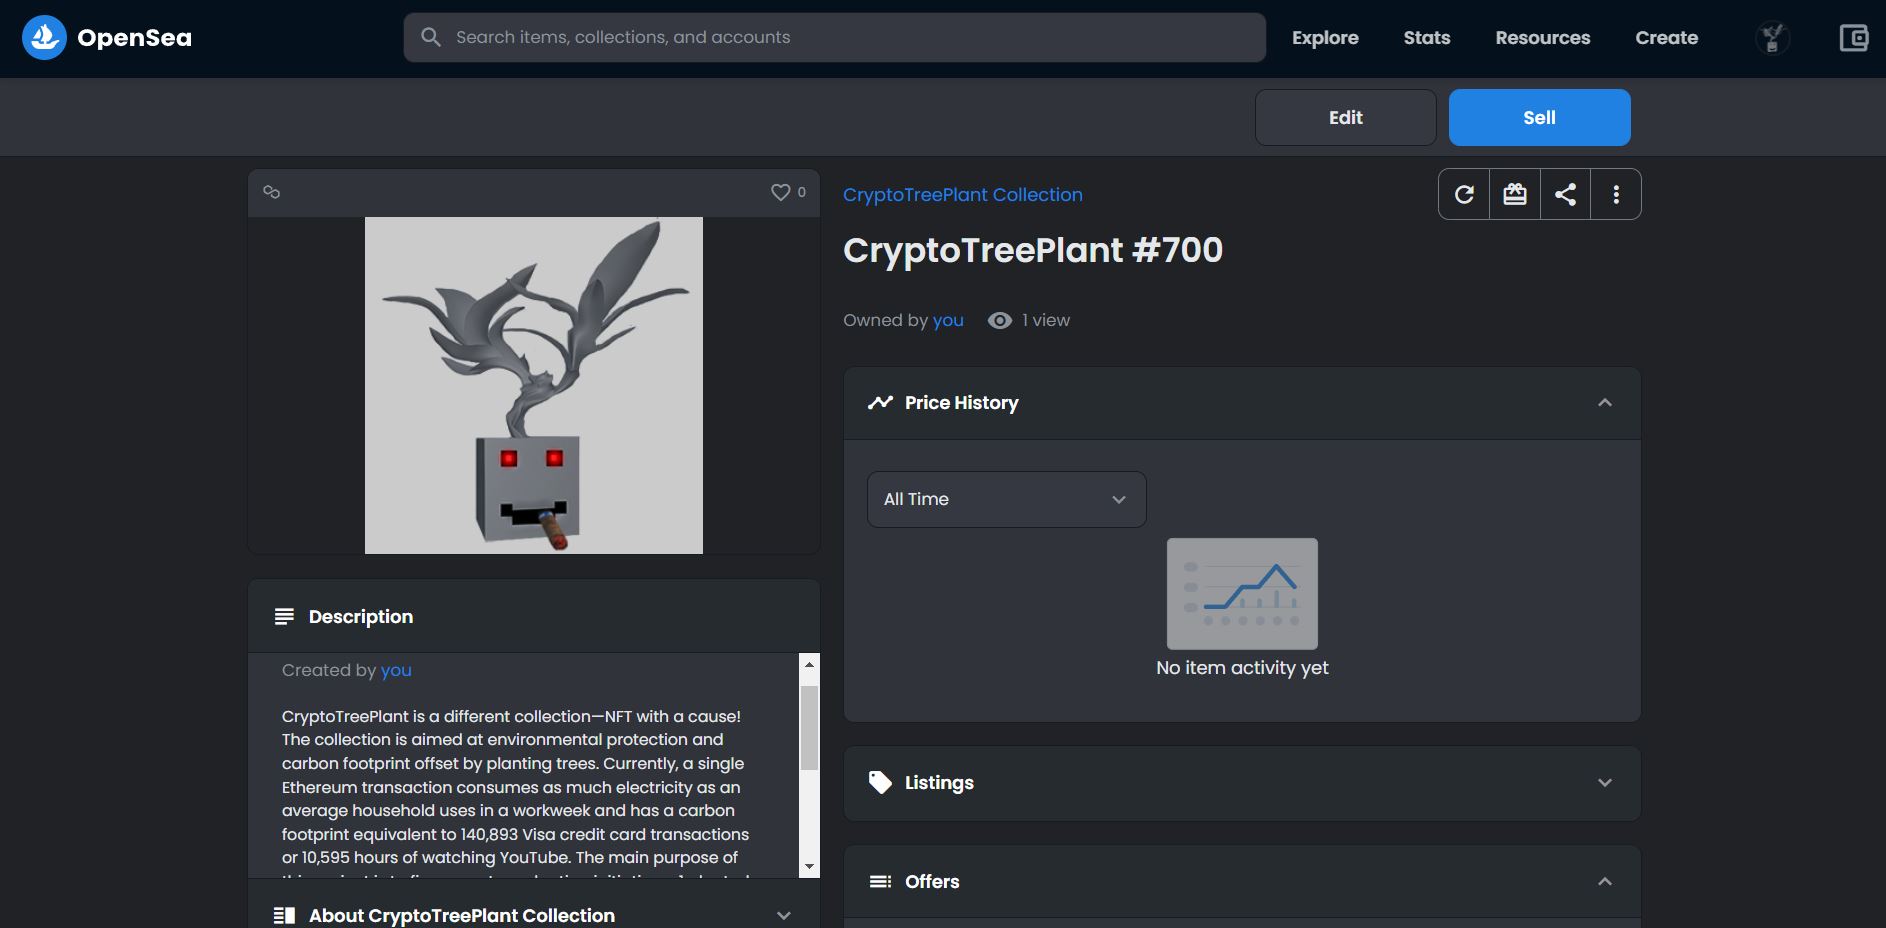
3. When you enter the profile of your non-fungible token, make sure to click on the “Sell” button on the top-right hand corner:
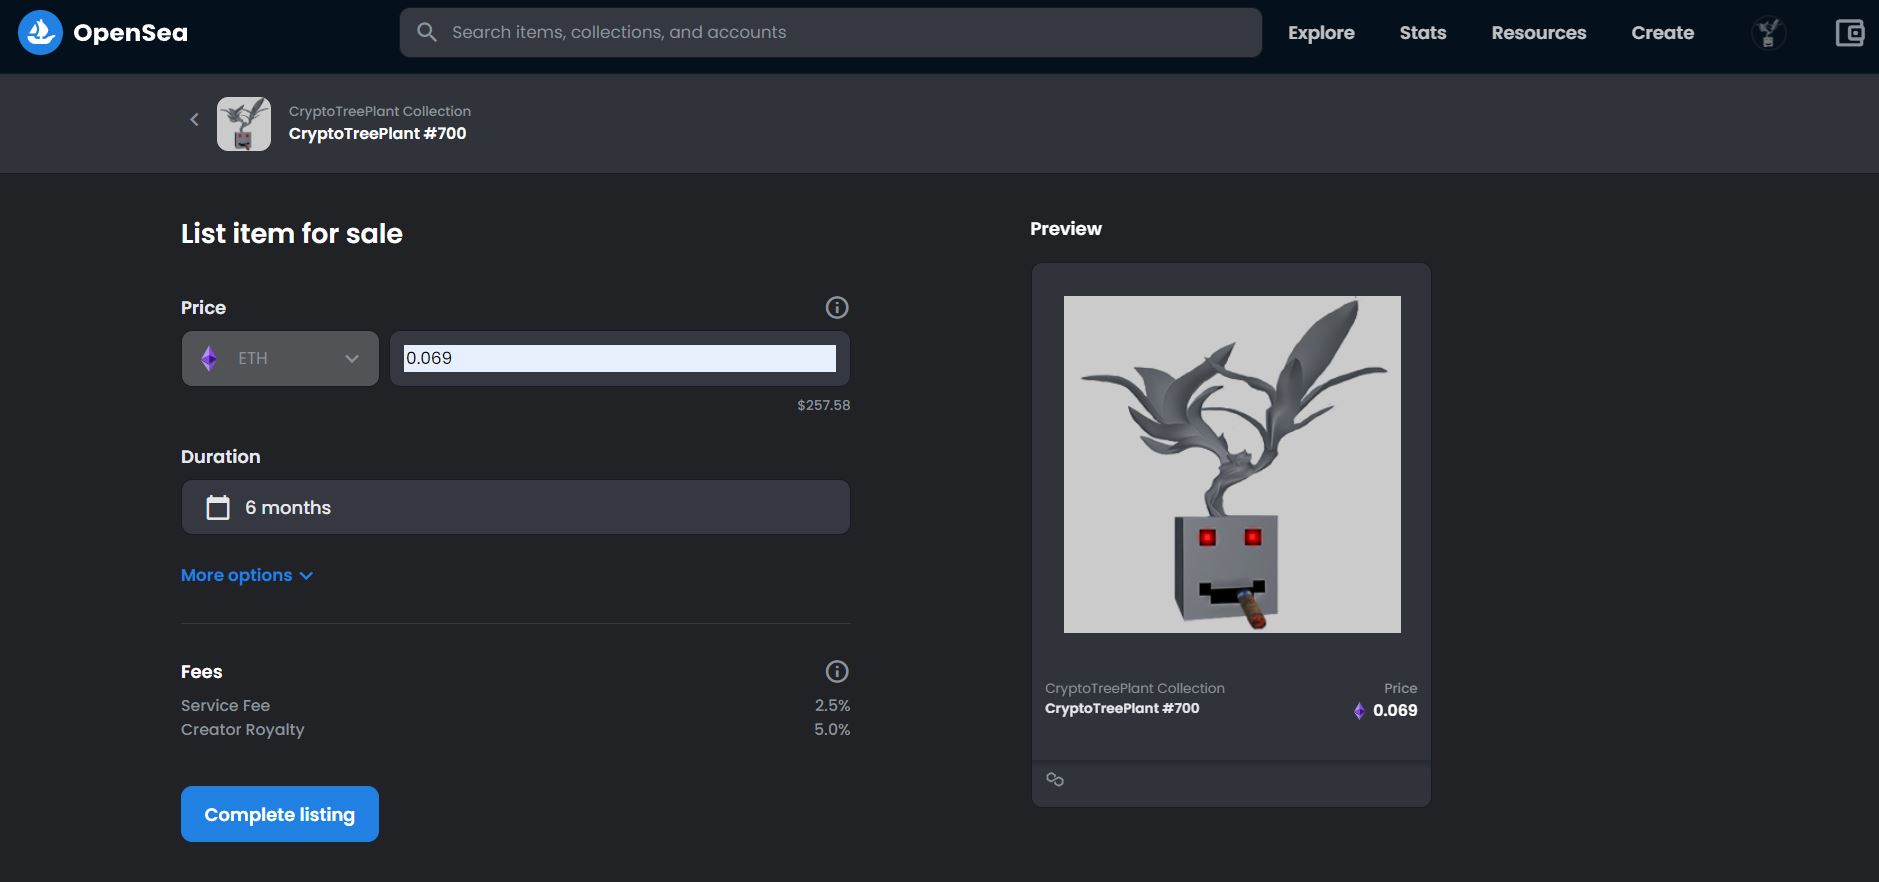
4. On the “Sell” page, select the price, the listing period and click on “Complete Listing” to list your NFT for sale:
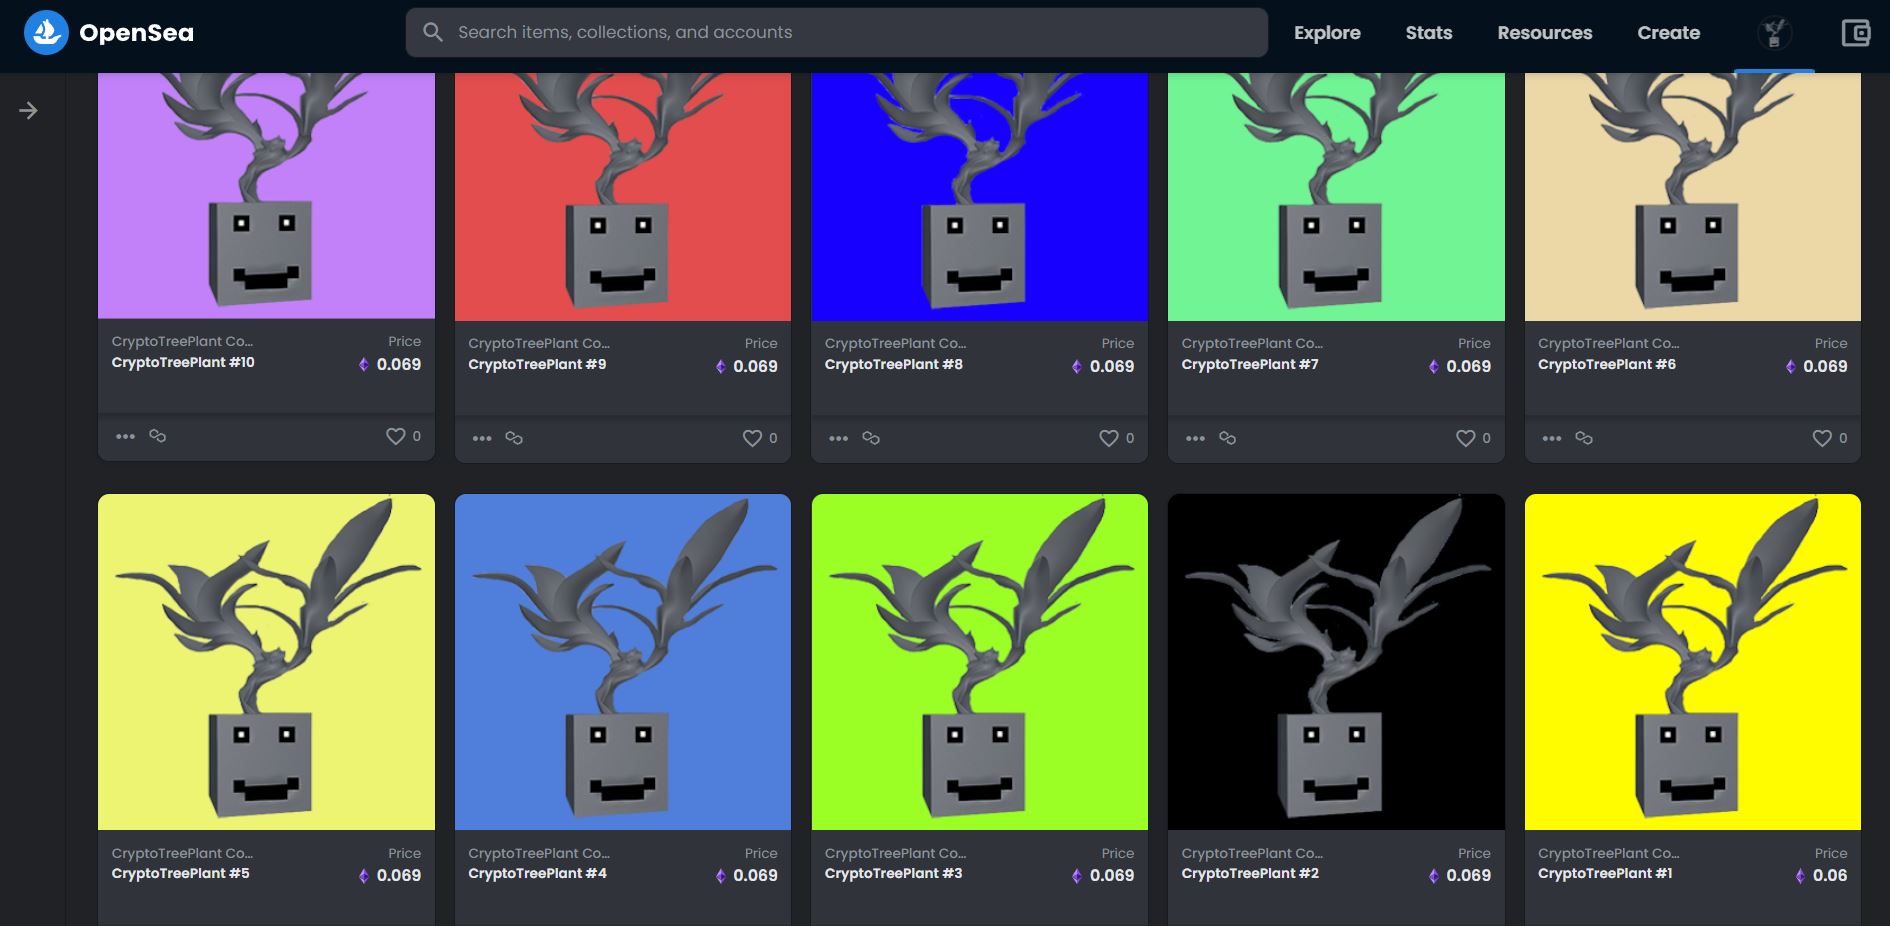
5. If you have done this correctly, your items should appear in your collection with a price on the bottom. Now they can be seen publicly:
Congratulations! You now know how to create and mint an NFT on Opensea!
Bonus Step: Improve Your Profile and Make It Known
Many people list their NFT projects but wonder why they did not succeed and why nobody wants to buy them. The secret is in how you market your product. This is why, we suggest that you customize your profile to include all of the different social media websites and a very good description that explains the mission of your project. This is very important, as people will perceive you as a legitimate artist and buy your NFTs. Here are some quick tips on how to improve your profile:
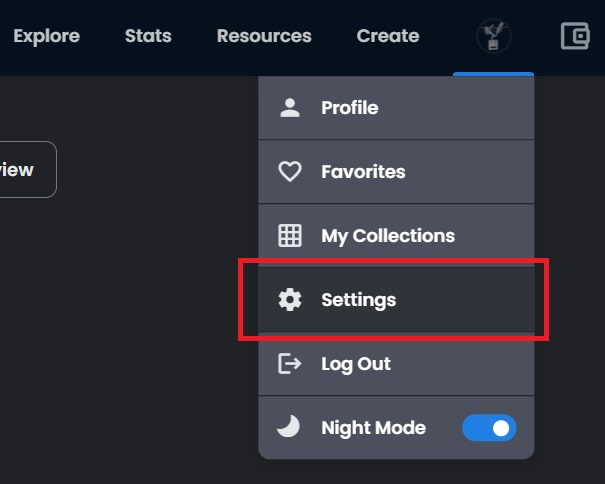
1. Click on your profile image on top-right and go to “Settings“.
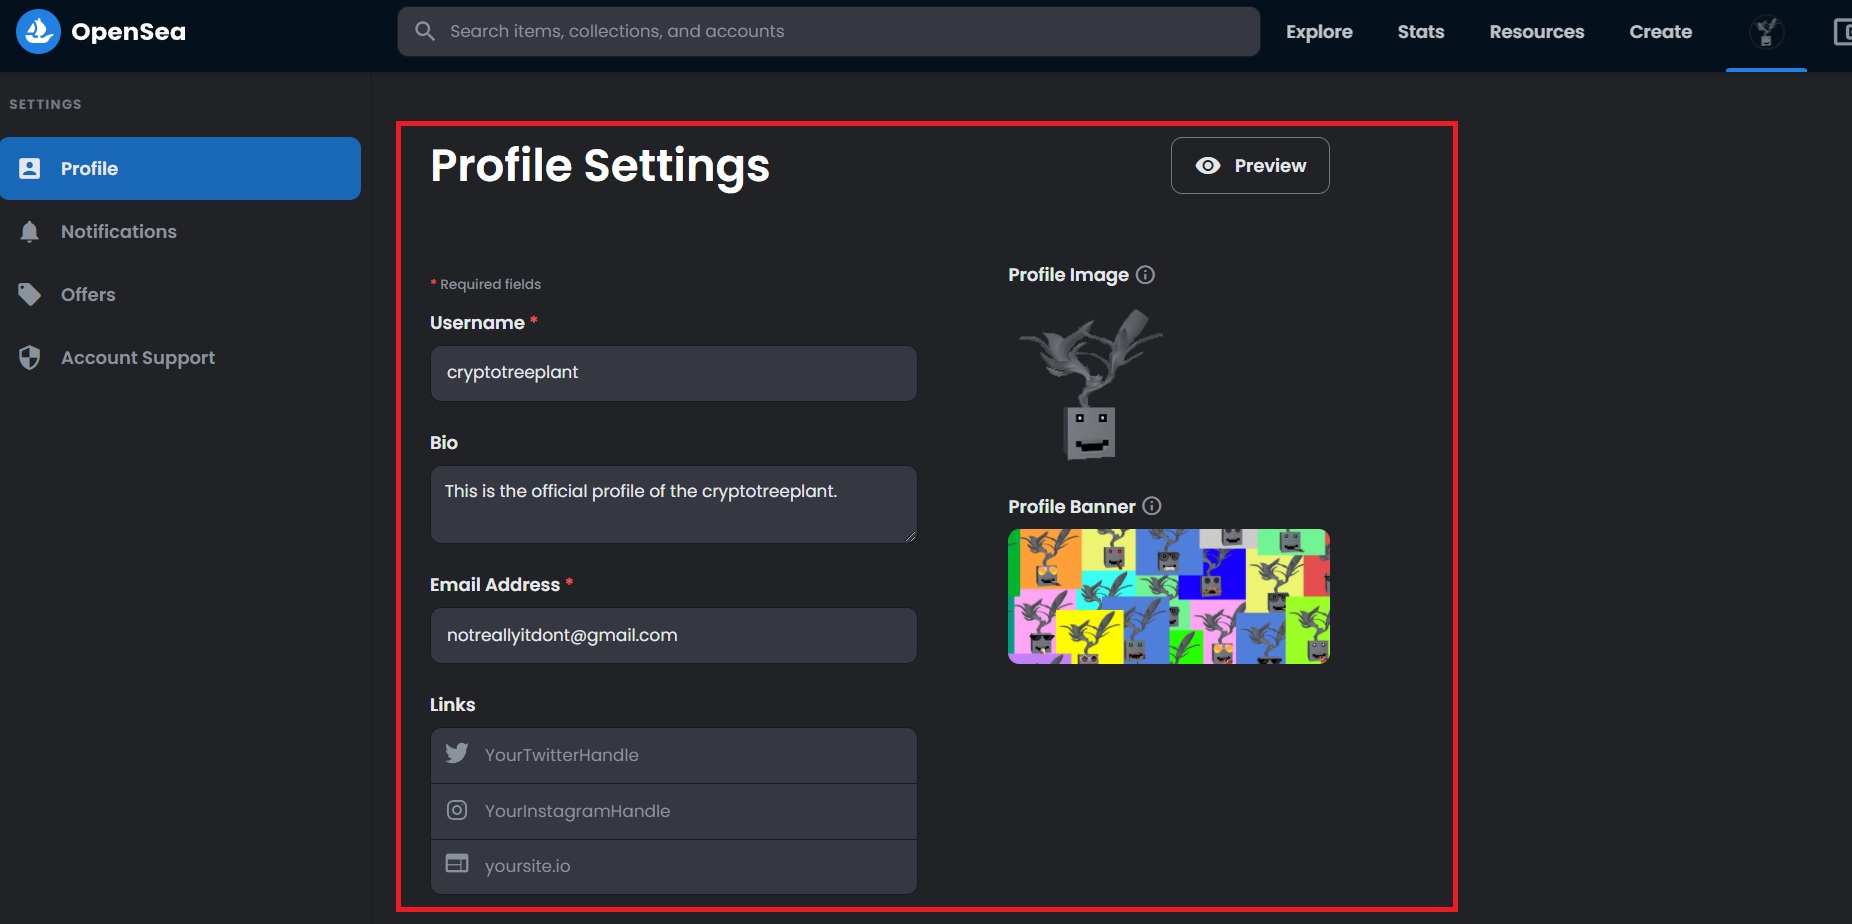
2. Customise your profile with relevant information by adding all of the social media profiles of your NFT, an avatar image and a background thumbnail.
3. You can also customize your collection by adding a description and filling up more information in it. You can do this by opening “My Collections” and then clicking on the three dots on the top-right of your collection, after which, clicking on “Edit“.
We hope our guide on how you can create and sell your NFT for free helped you. If you have any questions or something to add, we would like to see your comment in the comment section below. We will try to respond as soon as we can.