On This Page: [hide]
FTP stands for “File Transfer Protocol” and it is a standard network that is used for file transfer of computer files between a computer and a client-server. The FTP access grants you the opportunity to enter straight to the files and folders of your hosting account and thus to upload/download files.
Set Up Ftp Account
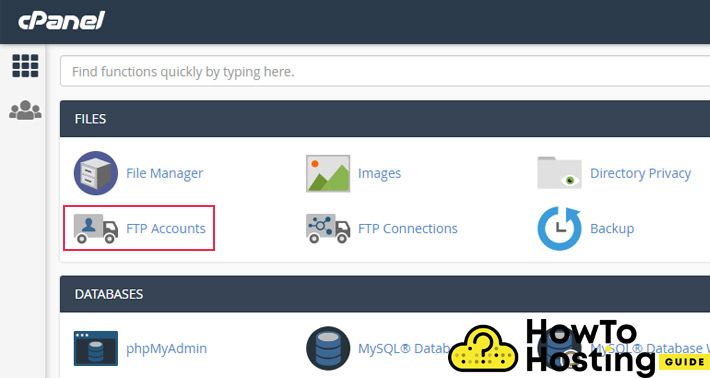
Setting up FTP credentials from your cPanel is a very easy thing to do. Just log into your cPanel, go to FTP accounts, and you will be taken to a new page where you can create your account.
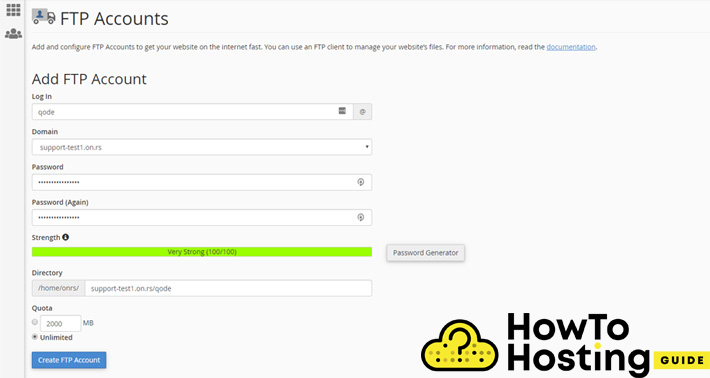
Write your login details in the input fields and use a strong password. Then click on the “Create FTP account” button.
Your FTP Client
After you’ve successfully created your account you should choose and download your FTP client. This is a software that allows you to log in to it. There are many software such as FileZilla, Cyberduck, WinSCP and many others, but for this tutorial, we are going to guide you through the login process with Filezilla.
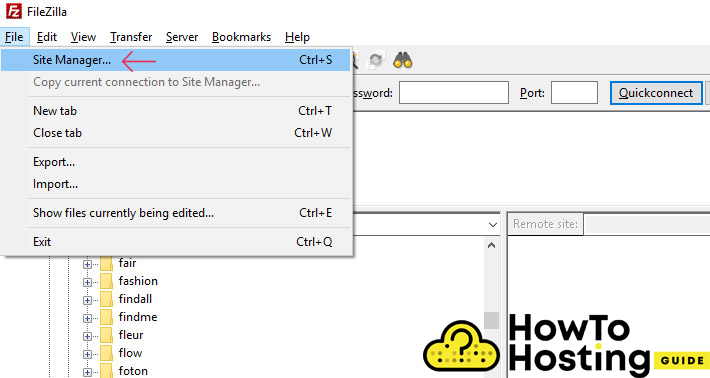
Once you install FileZilla, run it and click on the File, then Site Manager.
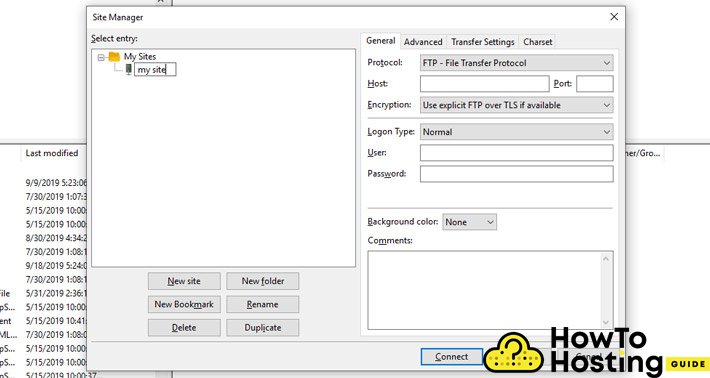
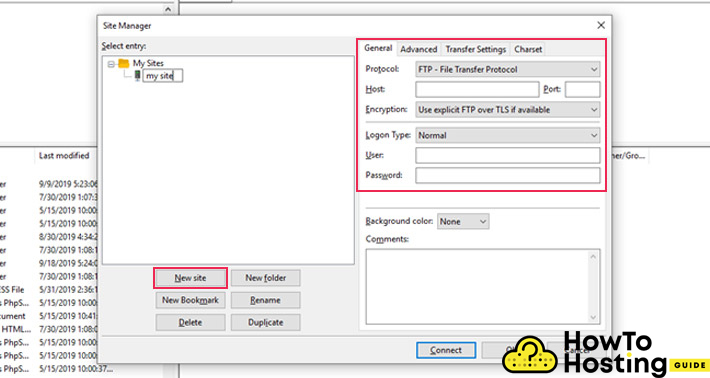
You will see a window, where you should add your website information.
Your protocol should be the protocol that your hosting uses, in most of the cases it is FTP, but if your hosting supports SFTP, then go for it.
Next, you have to enter your Host, which is your domain name.
Just below the logon type field, make sure you select normal and enter your username and password that you’ve created previously.
Then, just click the Connect button and you should be connected into the folders of your website.
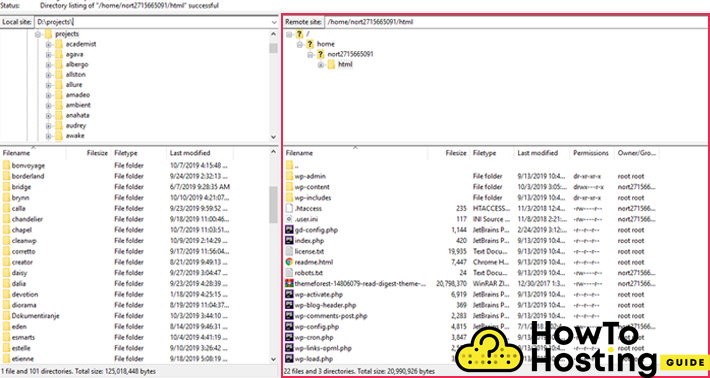
On the right column, you will see the files in the folders of your hosting provider, and on the left column are the files of your computer. If you want to upload something to your website, just drag and drop a file from left to right.

