On This Page: [hide]
In the following article we at howtohosting.guide are going to show you how to create a website using Pinata through the IPFS network.
In order to give you a complete picture into the topic, we will delve in deeper what the core terms of this article represent. Below we will shortly describe what they are, for your ease.

What is IPFS?
IPFS is an abbreviation for InterPlanetary File System. It is a protocol and its first release was back in 2015. The IPFS protocol is also a peer-to-peer network and it is decentralized and secure, and created with the idea to be better than HTTP.
IPFS has the ability to store and share data in a distributed file system. IPFS has the goals to make the Internet more open, resilient and upgradeable while it enables considerable bandwidth savings.
IPFS can be used to efficiently distribute huge sizes of data without creating duplicates. IPFS uses Content-addressable storage to identify items and files in a unique way, with enterprise-wide categorization of all file information between all computer devices.
What is NFT and Why Do You Need It?
NFT is the abbreviation of Non-fungible Tokens and they represent digital collectibles tied to a specific user. NFT has its metadata, which are the details about the NFT digital object, such as the file name, file contents, etc.
NFT is useful, as files, such as pictures and videos might get deleted from websites, but if they get uploaded to the IPFS network, the NFT Metadata and thus NFT assets will remain intact, even if a website, server or Internet provider goes down.
The biggest benefit is that you can store NFTs for free, such as work projects, personal family files and everything will be accessed only by you, safe and secure and always available, regardless of outside influences.
What Are NFT Domains (Blockchain Domain Name)
NFT (Non-Fungible Token) domains are a type of blockchain-based digital asset that represents ownership of a unique domain name. NFTs have gained popularity in the cryptocurrency and blockchain space as a way to represent and trade ownership of various digital items, including artworks, collectibles, virtual real estate, and now domain names.
Traditional domain names (like “example.com”) are controlled by centralized domain registrars and can be bought and sold like any other asset. On the other hand, NFT domains operate on blockchain platforms that support the creation and trading of NFTs, such as Ethereum or other blockchain networks. This allows for multiple benefits:
1. Simplify cryptocurrency addresses with NFT domains
– Attach your BTC, ETH, LTC and 275+ other cryptocurrencies to your NFT domain
2. Login with your domain
– A single, easy-to-remember username on the decentralised web
3. Own your domain, for life
– No renewal fees, ever
What is Pinata?
In computing, Pinata refers to a NFT Media Management and cloud hosting system created with the purpose to make NFT Storage of files, quick, easy, transparent and accessible to everyone, regardless if they have deep technical experience or not.
Pinata is an open-source tool with which you will feel safe into sharing media around the Internet. Harmful, illegal and offensive content is prohibited, monitored for and shut down. The Pinata service is free if you upload no more than 1GB of content. You just have to register on their website.
How To Upload Files to IPFS?
Uploading any file to IPFS, splits such a file into smaller chunks, which are cryptographically hashed, and gives a unique fingerprint called CID – or plainly, a Content Identifier.
If a person wants to access your file through IPFS, he does a lookup of this unique fingerprint. The lookup process scans their peer IPFS nodes to make certain that the person has access to the CID. Once verified and the particular CID is found, the file will be downloaded from IPFS and ready for use.
To upload files to IPFS using Pinata, you can follow these steps:
1. Sign up and Log in:
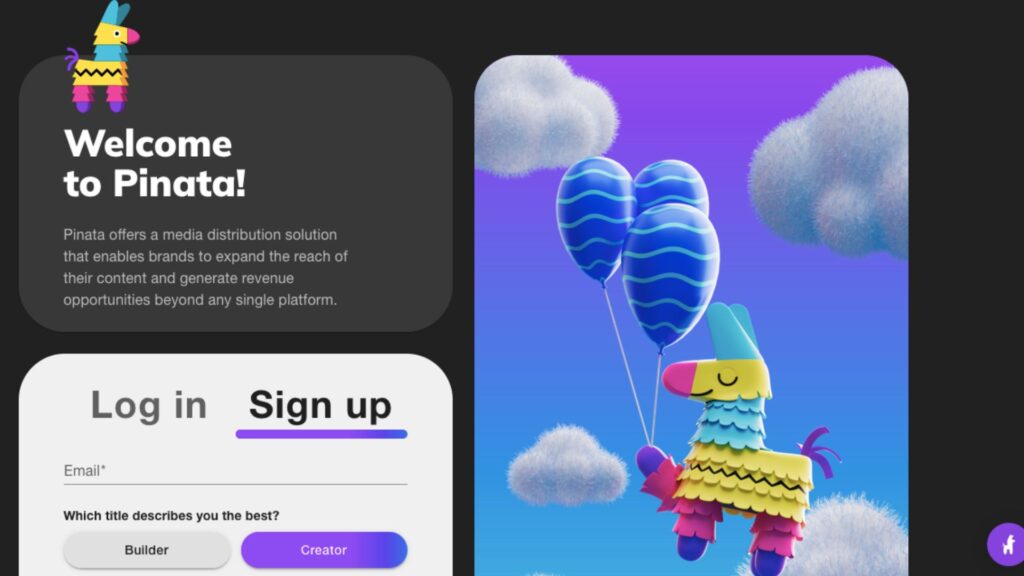
If you haven’t done so already, sign up for a Pinata account on their website (https://pinata.cloud/) and log in.
2. Get your API Key and API Secret:
After logging in, navigate to your Pinata dashboard. Under the “API Keys” tab, you will find your API Key and API Secret. You will need these to authenticate your requests to Pinata’s API.
3. Install the Pinata SDK (optional):
You can use the Pinata SDK to interact with Pinata’s API more easily. To install the SDK, you’ll need Node.js and npm installed. Open your terminal or command prompt and run the following command:
npm install pinata-sdk
4.Initialize the Pinata SDK (optional):
If you installed the Pinata SDK, you can initialize it in your project by requiring it and setting your API Key and API Secret:
const pinataSDK = require(‘@pinata/sdk’);
const pinata = pinataSDK(‘your-api-key’, ‘your-api-secret’);
5.Upload a file:
If you’re using the Pinata SDK, you can upload a file using the pinFileToIPFS method. If you haven’t initialized the SDK, you can use the curl command to make a direct API call.
a.Using the Pinata SDK:
const fs = require(‘fs’);
const filePath = ‘path/to/your/file’; // Replace with the path to your file
const file = fs.readFileSync(filePath);
const options = {
pinataMetadata: {
name: ‘Your file name’, // Replace with your desired file name
},
};pinata.pinFileToIPFS(file, options).then((result) => {
console.log(result.IpfsHash);
}).catch((err) => {
console.error(err);
});
b.Using curl (replace your-api-key and your-api-secret with your actual API Key and API Secret):
curl -X POST https://api.pinata.cloud/pinning/pinFileToIPFS \
-H “Authorization: Bearer your-api-key:your-api-secret” \
-H “Content-Type: multipart/form-data” \
-F “file=@/path/to/your/file”
c.Pin your files (optional):
Pinning your files on Pinata ensures that they are stored persistently and won’t be removed from the IPFS network. When using the SDK, this is done automatically by setting the pinataOptions.pinataMetadata.pinataPinName property. For direct API calls, you can add “pinataOptions”: {“pinataMetadata”: {“pinataPinName”: “Your Pin Name”}} to the JSON body.
That’s it! You’ve successfully uploaded a file to IPFS using Pinata. Remember that Pinata is a service built on top of IPFS that provides additional features and ease of use. It can be an excellent option for developers who want a managed solution for IPFS file hosting.
Create a Website on IPFS With Pinata [Easier]
Hosting a website on IPFS is easiest and fastest by using Pinata, although it might need a little tweaking to work properly. We at HowToHosting.guide will provide you with the necessary steps to get a website running in the following lines.
The website creation process is similar to Uploading files to IPFS as explained above and also requires obtaining a CID.
IPFS will not store your data forever. In order for content to be reachable by other nodes on IPFS, a node with that content needs to be connected to other nodes on the network. Thus, hosting a website on IPFS, requires the node you are using to host your content on, to be online all of the time.
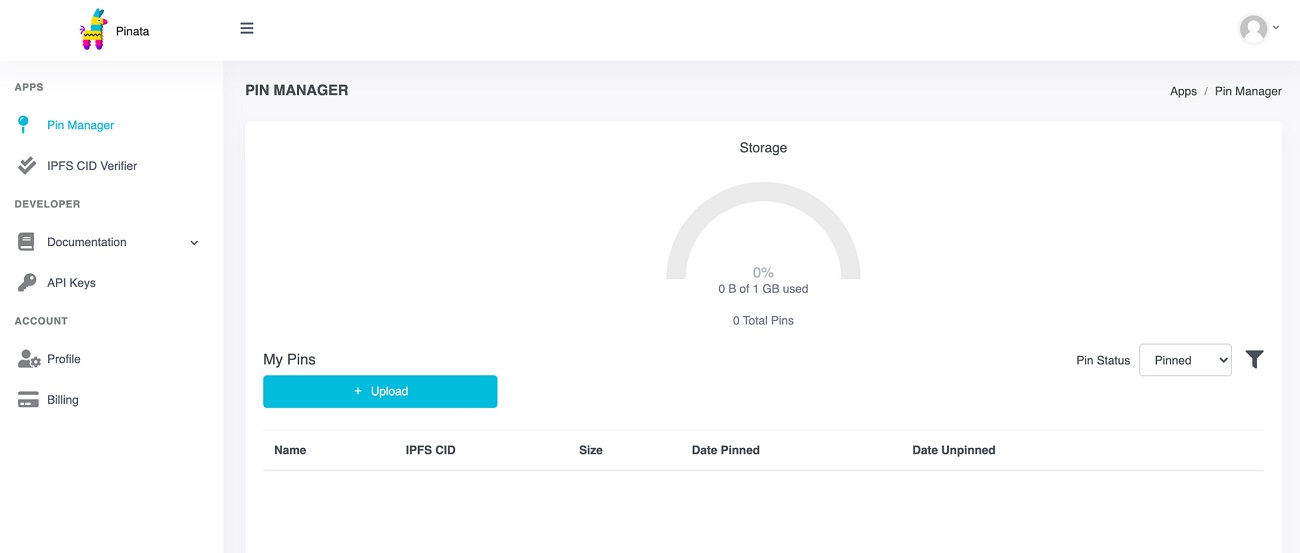
STEP 1: To get started, go to the official page of Pinata and register. It is free. Then you should upload the files of your static website by using the Upload Directory option and navigating to the directory containing the files of your website.

STEP 2: Note that the content for your website must be contained in one build folder, with an index.html file. Also, every link within your files should be relative links.
You will be using the Pin Manager:

Give a custom name for the pin and choose the option to preserve the folder name. Once the upload completes, you will now have a Content Identifier (CID) or an IPFS Hash.
If you click on the custom name, your files (or folder) will launch in the Piñata IPFS gateway. Your data is now pinned to IPFS for an indefinite period of time.
To check if your website is working, copy the Pinata IPFS Hash (the long code you see, after the upload) and go to this page:
- https://gateway.pinata.cloud/ipfs/yourWebsiteHash
Place the hash code in the place of yourWebsiteHash and hit Enter. Your site should be reachable immediately, but sometimes it may take a few moments. In case it gives you an error – wait 5 to 10 minutes and it should load.
There are free applications that let you synchronize Pinata and WordPress if you wish your website to be on that specific platform. Also, you can buy a domain name to further customize your website and branding.
Conclusion
Pinata is an extremely helpful tool for storing information, especially when it involves creating a website. You will not have to worry about media going down, showing a 404 error, 403 redirects or other common website hassles.
The service is free up to 1GB and super cheap if you go over that limit. Easy, accessible, fast, open and secure, IPFS and Pinata are the way of the future and will help you create a website, even if you are not so technically aspired.
You can read other, similar articles we have written on this topic:
How to Create a Blockchain Website
