On This Page: [hide]
Are you pumping out new tracks on a daily basis? Do you love creating new tracks? Do you want publicity for them? Or maybe you want to start making some money from the tracks you are creating? Here’s how to start. This is a guide to create a website for music in 2020.
Create Website for Music – What Will You Need?
In short, we’ll need these few things:
- Choose a proper domain name
- Choose a speedy hosting service
- Install WordPress
- Choose a theme & Setup A Music Playlist Plugin
- Keep your website optimized
- Marketing
- Pump out new songs regularly, but make it good
Step 1: Choose a domain name
In order to choose a domain name, you’ll need to come up with a good name for your music website. You could also use your own name in there. What you will need to focus on is to make sure that the domain name is short, easily rememberable, and has not a previous bad reputation.
But why?
Short and catchy names(and domain names) are the first thing people will see and should remember. It also helps utilize your SEO properly regarding your songs, so that your website can be easily found in Google.
Easily rememberable – if something is easy to remember, people would be more willing to search it again and would also be able to easily show it up to their friends if they like your tracks.
No previous bad reputation – this is needed so that people would be searching for something like that. Otherwise, they would either no search for it at all or they’ll be left with a bad first impression for your name. And first impressions are what might determine your visitor base, so this is very important.
Step 2: Choose a WordPress Hosting Service
In the next step, we’ll show you how to set up WordPress. In order to do that though you need to have a WordPress hosting first. For a WordPress hosting here are several mandatory things you need to be looking at:
- Free SSL
- 24/7/365 customer service
- A WordPress hosting company that cares for you
- Free CDN so that you can have the same speeds across the globe
- Daily Backups;
- Good price per speed ratio;
- E-mail service;
- Bandwidth;
- Server UpTime;
Here’s a summary of our top-rated hosting providers worldwide:
- WPX Hosting

WPX Hosting provides the best WordPress integration out there. They have a WordPress hosting service starting at 24.99$ that allows you to host up to 5 websites. Their UpTime is surely 99.9%. They also have great support that is available 24/7/365 to take care of basically any troubles you might experience with your website. They provide free SSL, free integrated CDN(so that your website loads in less than 300MS across any location, even outside The United States), Daily Backups, DDoS Protection, Free Optimization, Daily Malware Scanning & Removal, Simple to use Admin Panel, 30-Day Money-Back Guarantee and so much more. What’s best about them? – Their support team always cares to assist you with any troubles you might have. All that at a relatively cheap price, considering that they’re classified as a premium hosting service. - Kinsta

They’re a little bit more on the expensive side, however, they have a way to justify that. The WordPress hosting price starts at 30.00$ for 1 website. They have live chat support plus 99.9% uptime on their servers. And when it comes to the loading time, it is under 400MS. The customer support is at a 100% solving rate for all WordPress problems and they also have 24/7 support. Furthermore, the company is literally obsessed with speed, so this is something that you can be sure they don’t lack in having. The security is also on top-notch level, as KINSTA checks each one of the sites they host automatically every two minutes’ time, so you can rest assured that you will know if your site is down. Also, the sites are backed up on a daily basis, which is really good, when it comes to starting a betting site. They also have a free CDN solution from Google Cloud. While that is not as good as WPX Hosting’s solution, it’s still a top-notch CDN service. - GoDaddy
 GoDaddy is on the cheap side, however, while they provide a lot of stuff includes, some additional things might come out as paid, which is where the catch is. Still, if you need a quick and speedy hosting service on the cheap, they’ll do the job just fine. They start at 3.99$ on their cheap plan and go up to 14.99$ on their most expensive one. Sounds good, right? Their more expensive plans include Daily Backups, Free SSL, Unlimited Storage & Bandwidth, SEO & Speed Optimisation, Malware Scans & Removal and much more. They also provide free CDN from Cloudflare which is an alright CDN solution.
Step 3: Install WordPress
Now it’s time to install WordPress on your new hosting provider in order to create website for music. All Hosting Providers provide instructions on how to do that, however, if you are not familiar with where to find them, we’ve already taken care of that for you. You can check our article on how to easily accomplish that here:
Step 4: Choose a Theme & Setup A Music Playlist Plugin
After the WordPress installation has been completed it’s time to choose a theme and set up a music playlist plugin
You can search in ThemeForest in order to check on the best available theme there. They have a ton of themes, so they’re always a reliable source regarding that. If you’d like a fully customizable theme that lets you do anything with it, as long as you have the knowledge to do so, check out our review on Page Builder Framework.
Now it’s time to choose a plugin to create your music playlists with. Here are our suggested ones:
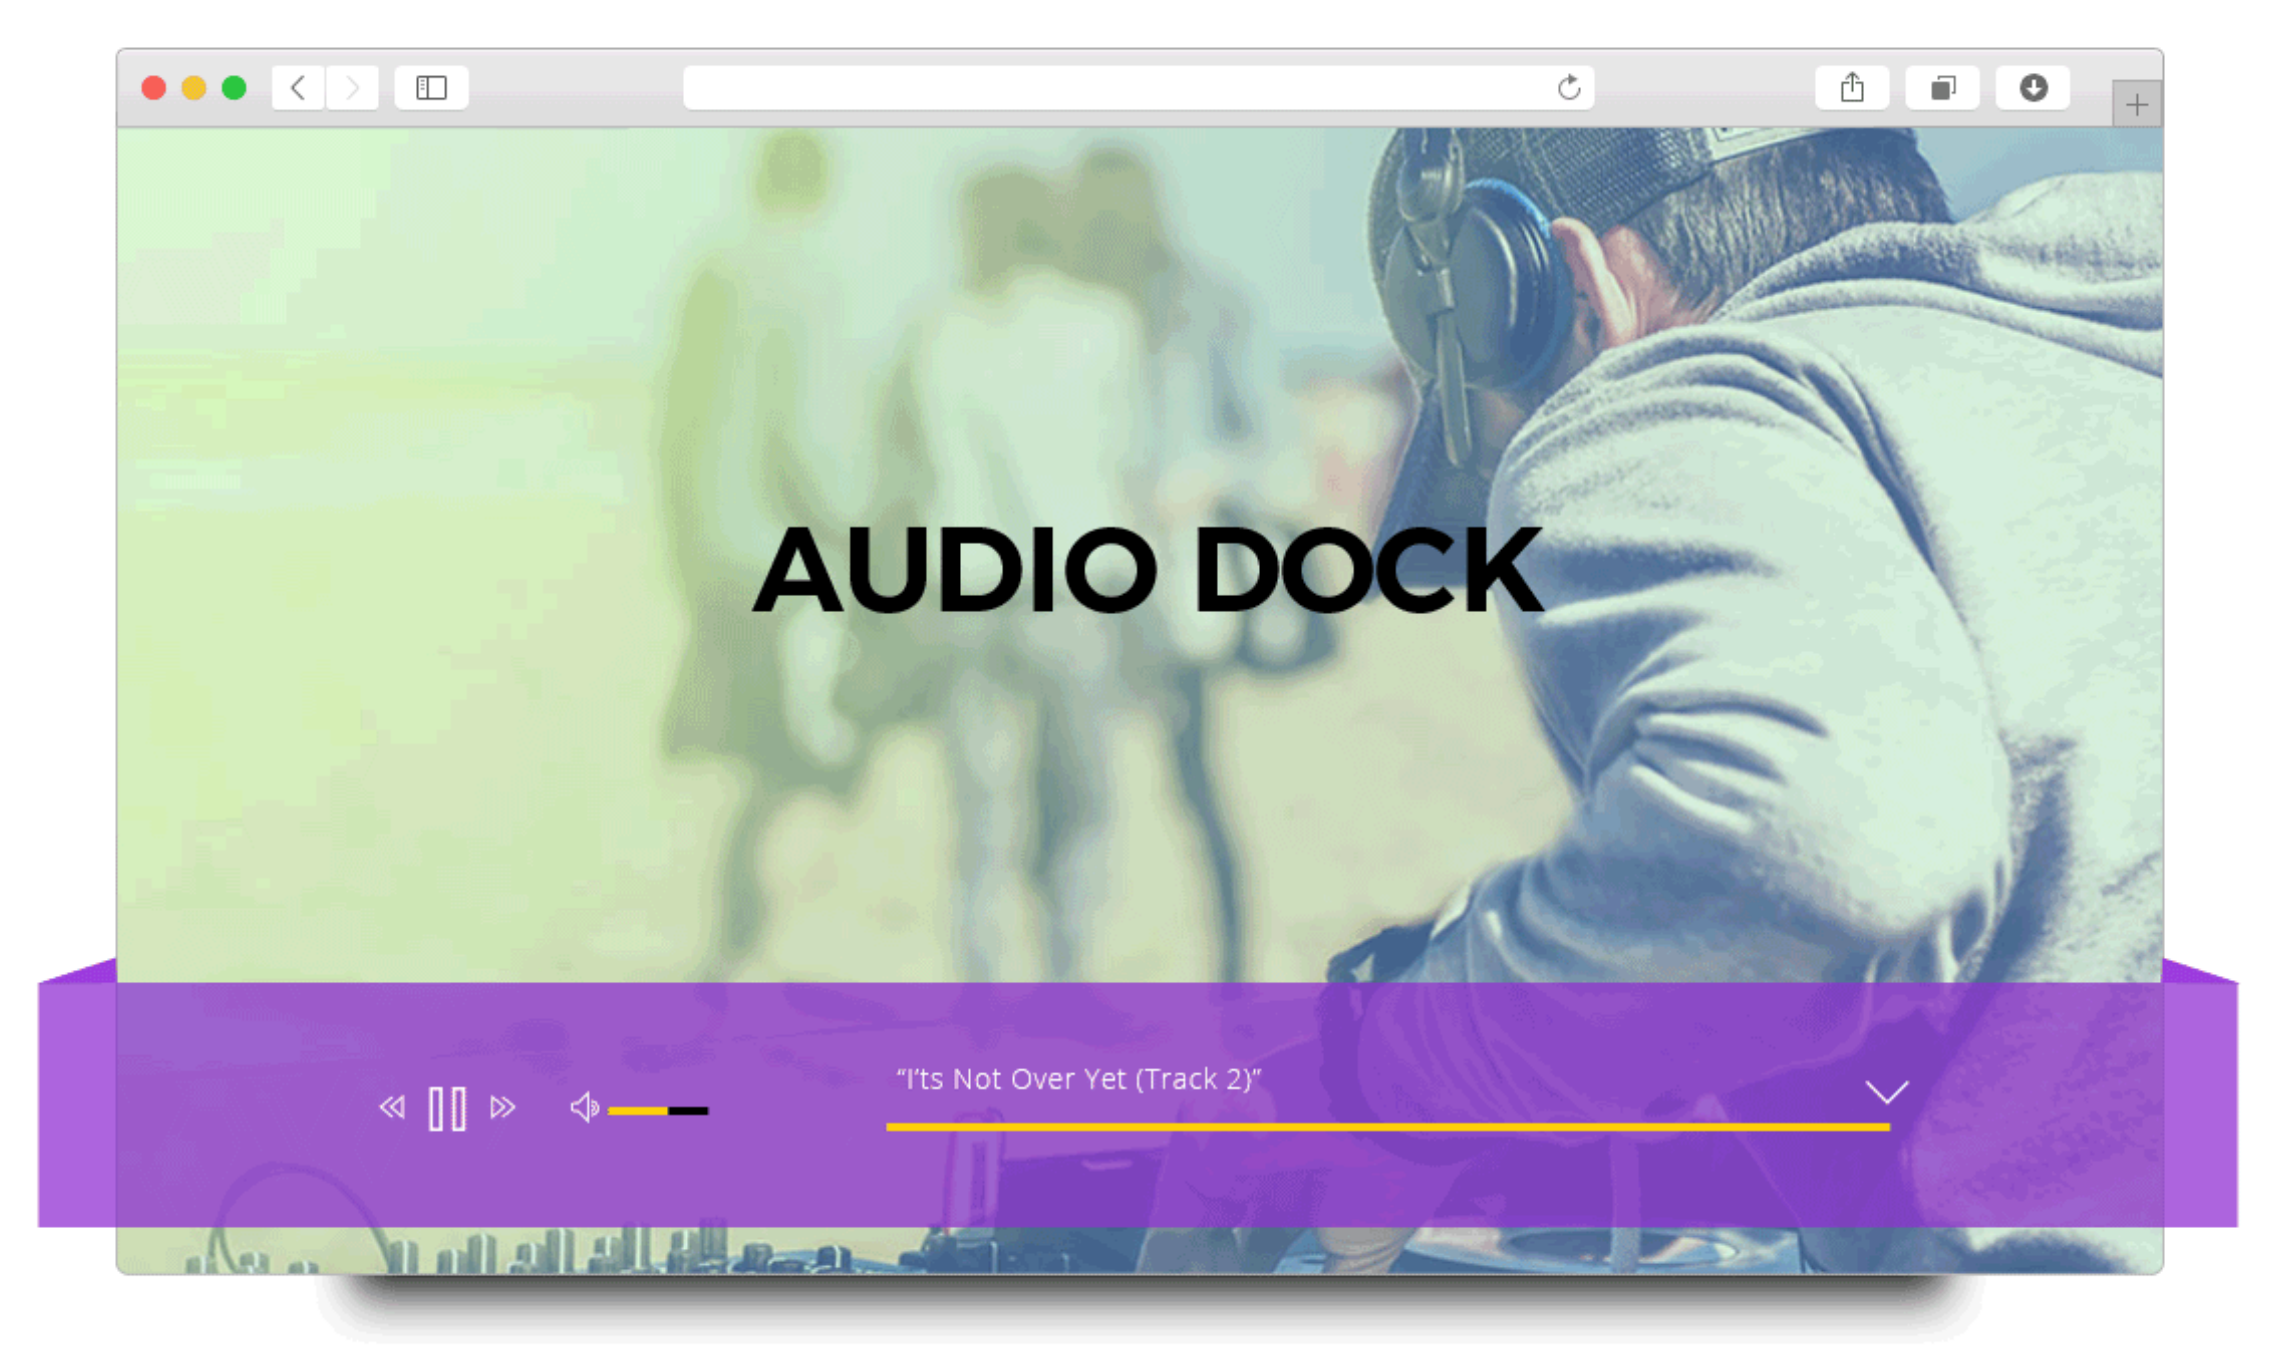
Audio Dock
Audio Dock is a free and very powerful solution that will allow you to add & create playlists to your website. This is a perfect plugin for any artist to use for this. We totally suggest using it. Here are it’s key features:
- Works on any WordPress theme
- Custom Title for Each Track
- Responsiveness across all resolutions and devices
- Unlimited Number of Tracks
- Custom Color
- Completely Free
We suggest checking out their documentation regarding any help you might need.
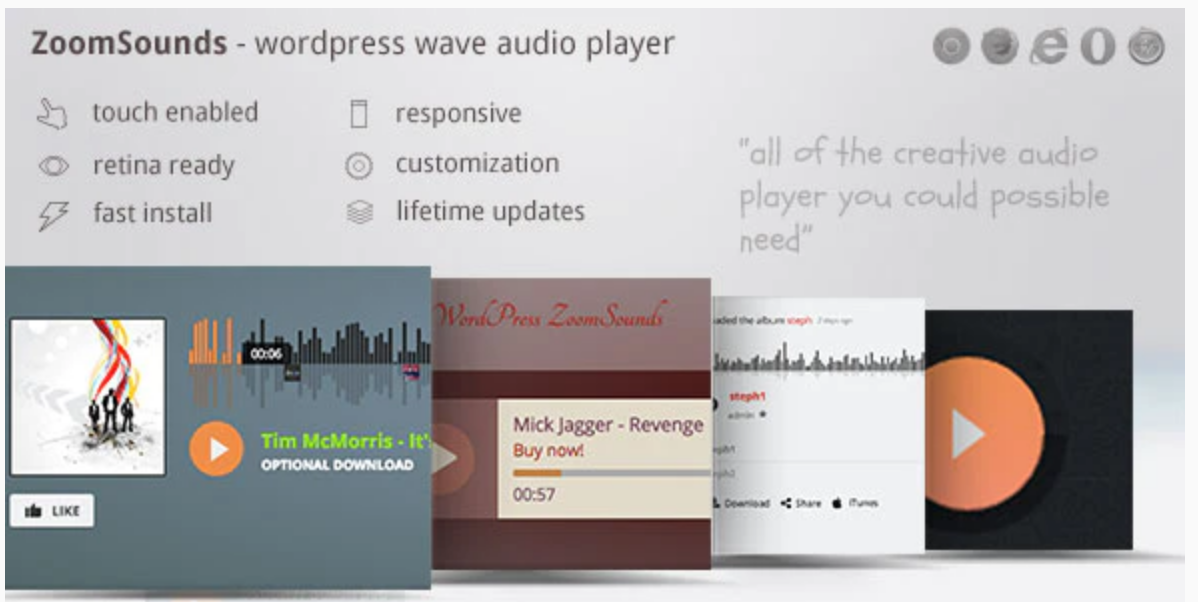
ZoomSounds is one of the most trending bought plugins. At just $20 it offers a lot of features. Here’s some of them:
- Compatible with any WordPress Theme
- Social-Friendly – users can interact using their social media
- Many Customisations
- Playlists
- WooCommerce ready* – if you want to start selling your music in the future
- Different skins/looks
- Multi-device support
- Lifetime Updates & Support
- SEO Friendly
- Import folders of music
*If you’d like to learn how to setup WooCommerce in order to start selling your music, check out our video on how to begin:
Step 5: Keep your website optimized – fast and reliable
This is one of the most mandatory things for the future of the website. To create website for music, you need to keep it as fast and reliable as possible so that your visitors do not feel frustrated while having to wait for the pages to load. We’re sure that if you enter a slow website yourself, you wouldn’t be satisfied with that.
In order to do so, we have a couple of tips for you.
Tip #1: Reduce the length of your pages. That can be done by splitting long pages into 2 segments.
Tip #2: Do not use any external resources unless it’s mandatory(i.e. adding a YouTube video or images from another link).
Tip #3: Use a caching plugin. We’ve already covered that kind of information for you in our WP-Rocket article. You can check it out here:
Step 6: Marketing
One of the most mandatory things to keep your website running with success in the future is to have good marketing. Here are some quick tips in order to accomplish that:
- Create Paid Membership
- Occasional promotions and discounts
- Keep up with the trends
- Pump out new songs regularly
- Setup a community hub(forum)
- Create tutorials regarding music
Step 7: Pump out new songs regularly, but make it good
Yes, you need to pump out new songs regularly so that everything is up-to-date and people do not get bored with the old songs, because it is normal. We as people get bored of things eventually. However, never forget that quantity > quality. Make sure that your songs are good, and they’re not just a number.
Conlusion on Create Website for Music
We’ve taken care of showing you the most mandatory steps you need to take care of in order to create website for music in 2020 and with some tips to keep it running after that. It might be a little bit of a time-consuming task, however, it is doable and definitely worth doing, especially if you love your own music – then people would love it too. Do what you love and it will payout sooner or later. Below you can find detailed instructions on how to create a website in less than 5 minutes time.
We wish you success with your future endeavors!
What do you need before starting a website. Before starting site setup process, we strongly advise that you complete the following preparation steps:
- Have a clear idea for the site’s domain name. For example, good tip is to make it short and with focused keywords.
- Make sure to have an active credit or debit card so that you can make online purchases with it.
- Make sure you prepare a computer that has stable internet connection.
Step 1: Purchase a domain name and web hosting type.


Step 2: Install WordPress and an appropriate visual theme for your website.


