On This Page: [hide]
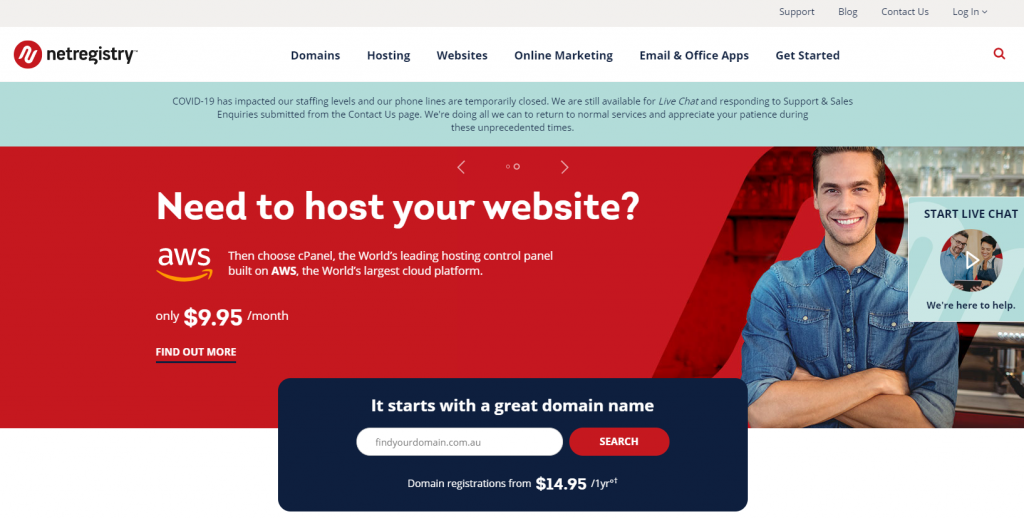
Netregistry is one of the largest web hosting providers in Australia. They do offer domain names as well as hosting services, and they’ve grown significantly since 1997 when the company was established. Serving more than 500,000 businesses all over the world, Netregistry is a trusted and reliable hosting provider. Netregistry also provides WordPress hosting services and installing WordPress on their platform is a relatively easy job.
Netregistry.com.au
| Targeting Locations | Australia |
| Price Range | Hosting Services starting from 9.95$/month to 29.95$ per month |
| Products | 3 different hosting plans – Started, Business, Premium |
| Support | 24/7 chat support |
| Suitable for | WordPress, Online Stores, Email services |
Also, Read How to Install CloudFlare on WordPress Website
How To Install WordPress on Netregistry Installer
Some of the hosting plans of Netregistry offer automated package installer that allows their customers to install some of the most popular third-party applications used for website creation, such as Joomla, Drupal, and WordPress.
Log Into Netregistry’s Console
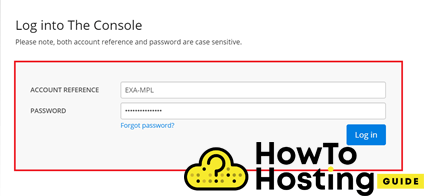
The first thing that you should do is to log in their console with your account name and password.
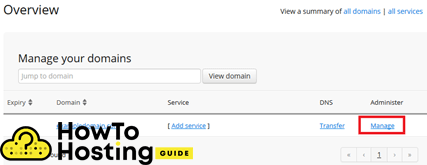
After you have successfully logged in, you have to click on “Manage“.
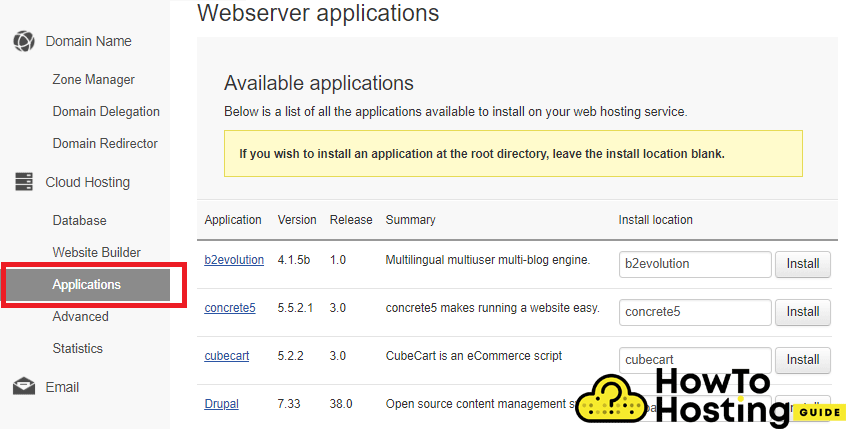
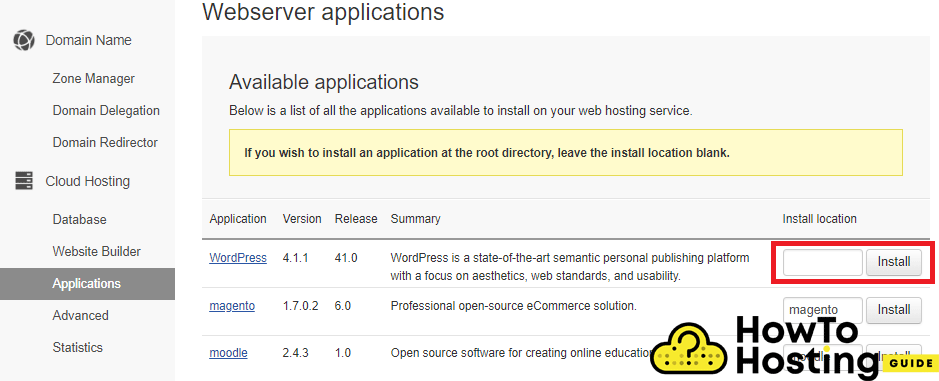
After that, select your specified hosting for example Cloud hosting, and click on the Applications menu, which is positioned on the left column.
Then you will see a list of applications including WordPress. Leave the “Install location” blank if you want to install the WordPress in your root directory, that will be accessible by your audience when they type your domain name in the URL address of their browsers.
Then click Install.
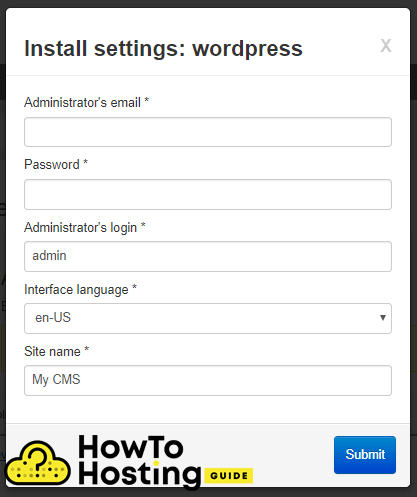
After that, you will see a window with your installation settings, such as email, password, and administration details regarding your WordPress.
Have in mind that you will need to use this administration information to log into your website and make changes to it. The password should be strong to minify the risks of getting your website hacked.
After you’ve filled the details click on the Submit button and you should wait up to 5 minutes for your application to be fully installed.
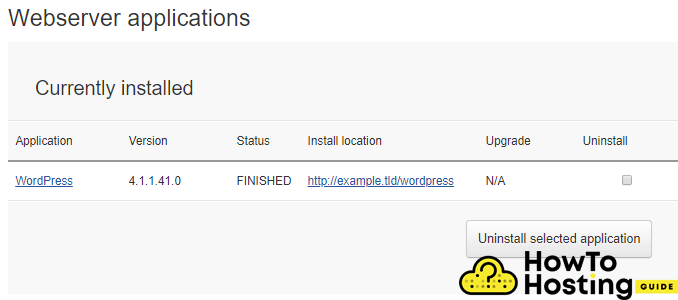
When you see the status change to “FINISHED” you can already log into your domain name /wp-admin/ and log with your administration account and start building your website.
Also, Read How to Create a Blog on WordPress

